
Grizzly (Sherman M4A1) Sexton
(Canadian tracks)
Friulmodel 1:35 Scale Track Set No. ATL-127
Review by Terry Ashley
The Grizzly chassis was also the basis for the Sexton SPGs also built in Canada which mounted the British 25pdr and was basically the equivalent to the US Priest 105mm Howitzer.
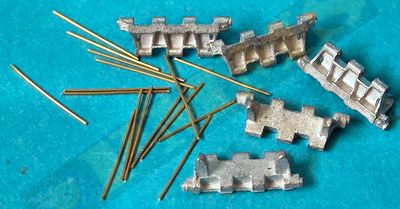
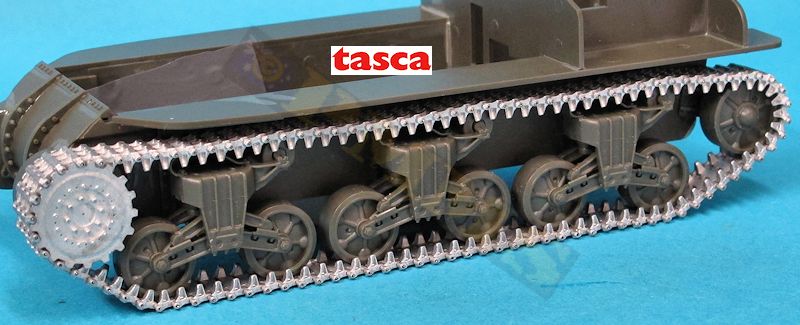
The set consists of 200 cast track links, the four sprocket halves plus the coil of 0.4mm wire for the track pins. There is also an additional mounting sleeve to use if required depending on the target kit, but this was not needed for the DML and Tasca kits used for this review.
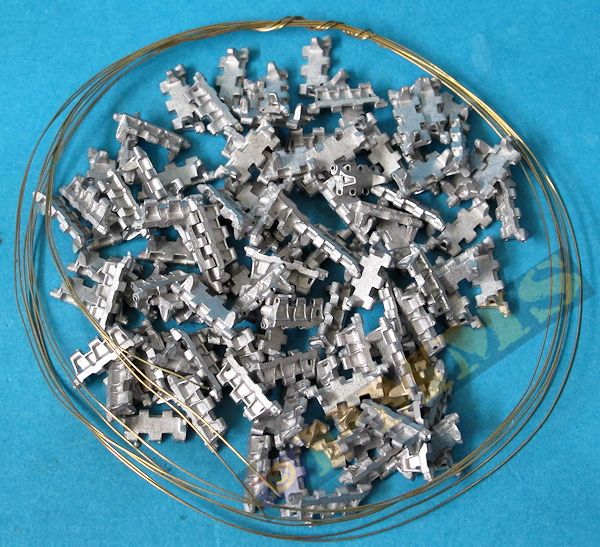
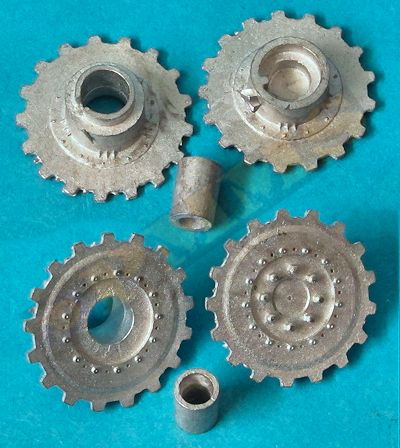
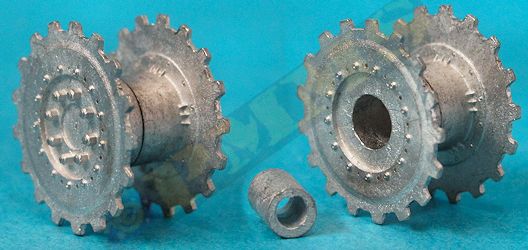
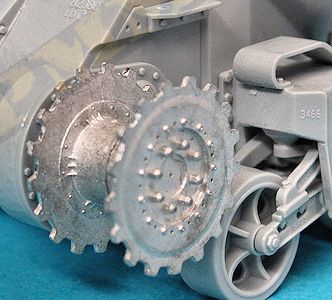
Casting is good overall with nicely defined rib details on the links with most Fruil tracks you need to check that all pin holes are fully drilled out using a 0.4mm drill bit; this is a fairly quick process as most didn’t need any real drilling just clearing out any casting residue from the holes. Assembly of the drive sprockets is also straightforward with the two halves mating perfectly and glued together using thicker cyanoacrylate for a stronger bond.
Detail on the sprockets is nicely done with well-defined bolt head detail although the raised outer ring may be a little too close to the outer tooth ring but this is just a very minor point and probably not issue on the final model.
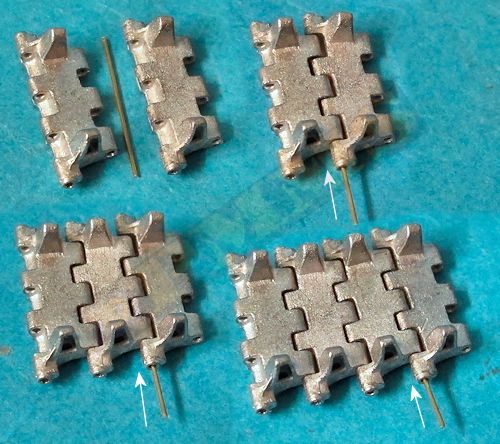
Assembly of the links is then very quick and easy from here in the usual manner for assembling Friul tracks of fitting one link into the next and slipping the pin into place and securing the end with a dab of thicker cyanoacrylate, the full track run of 98 links per side doesn’t take that long once you get into a rhythm.
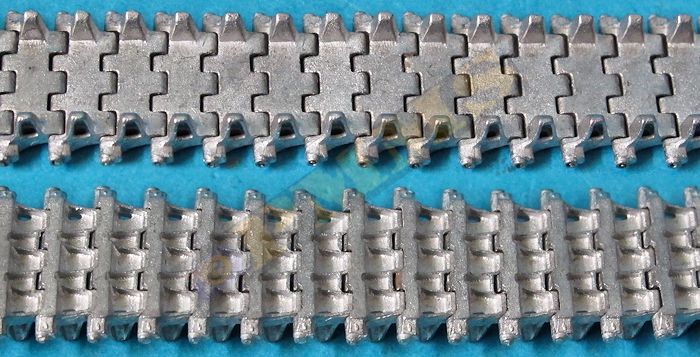
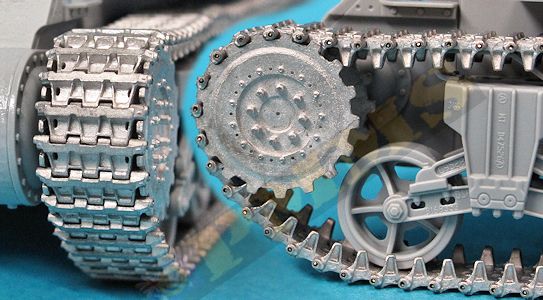
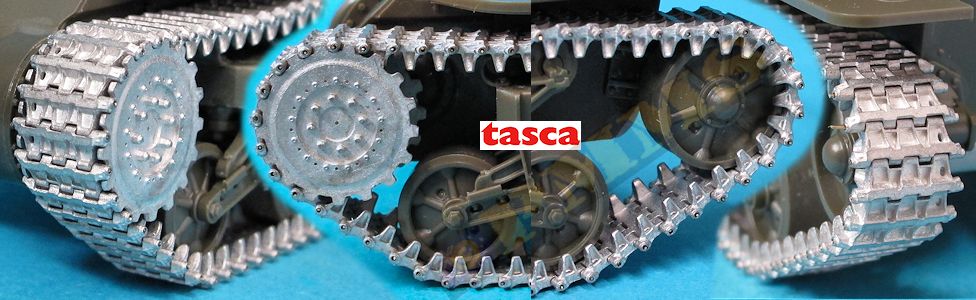
Images of the assembled track run details.
The tracks are not handed which means on the left side of the vehicle the wire pin hole will face outwards while on the right side the pin will face the hull, this isn’t a real problem as the end of the pin sits basically flush with the link pin boss, if any of the wire pin protrudes just file this flush once glued in place.
The assembled track runs are quite robust as you would expect with metal track and can take fairly rough treatment if you like to treat your track rough.
Note the tracks are a little loose using the 98 links and reducing by one will improve the track tension.
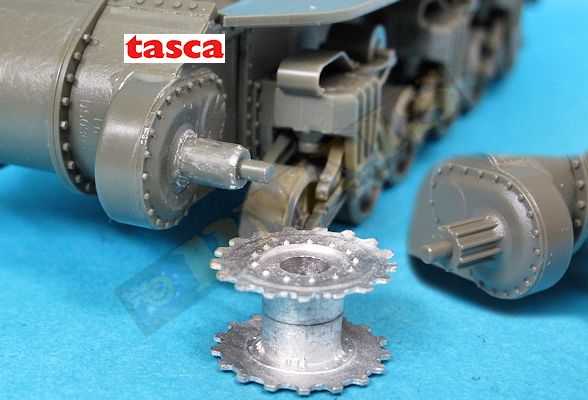
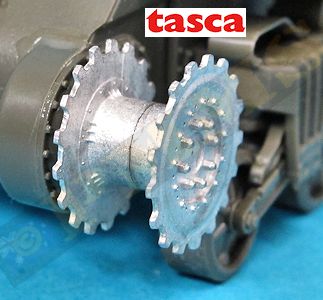
To fit the sprockets to the Tasca Shermans a little minor surgery is needed the final drive axle by removing the raised ribs on the axle stub just leaving the central rounded core which then resembles that of the DML kits, you don’t have to worry about the appearance of the axle as it’s hidden anyway, just trim until you have a good fit to the sprocket. The outer axle pin designed to hold the normal Tasca Sherman drive sprocket in place by way of the trapped poly cap can stay as this doesn’t hinder the fit of the metal sprockets and does actually help keep the sprocket the right distance out from the final drive housing. Leaving the pin also means you can easily use the normal Sherman sprocket if you wish to change the track on your model at any time with track made up of 98 links for a good fit.
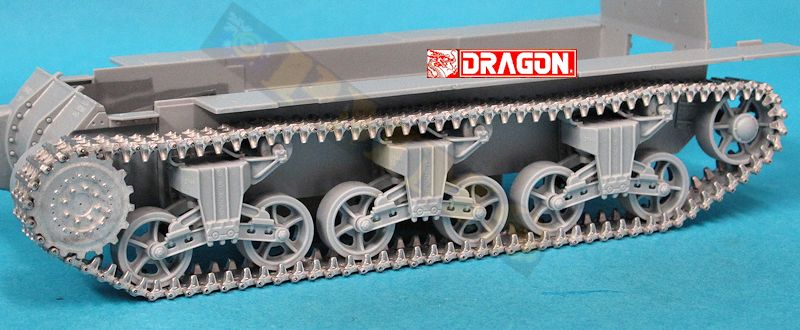
When fitting the track to the target kit running gear you should ensure the idler is positioned to get a good straight top track for although these are dry pin tracks no sag is evident on photos with the track tensioned correctly.
Fitting of the drive sprockets to the target kit is straight drop replacement for DML Shermans and with just fairly minor alterations to the Tasca kit final drive axles to fit.
Rating 9/10
| SHERMAN R.P.Hunnicutt. Presidio Books ISBN 0-89141-080-5  |
Modeler's Guide
to the Sherman MMIR Special. Ampersand Publishing  |
