

Sherman T51
Workable Track Link Set
Bronco Models 1:35 Scale Kit No. AB3542
Review by Terry Ashley
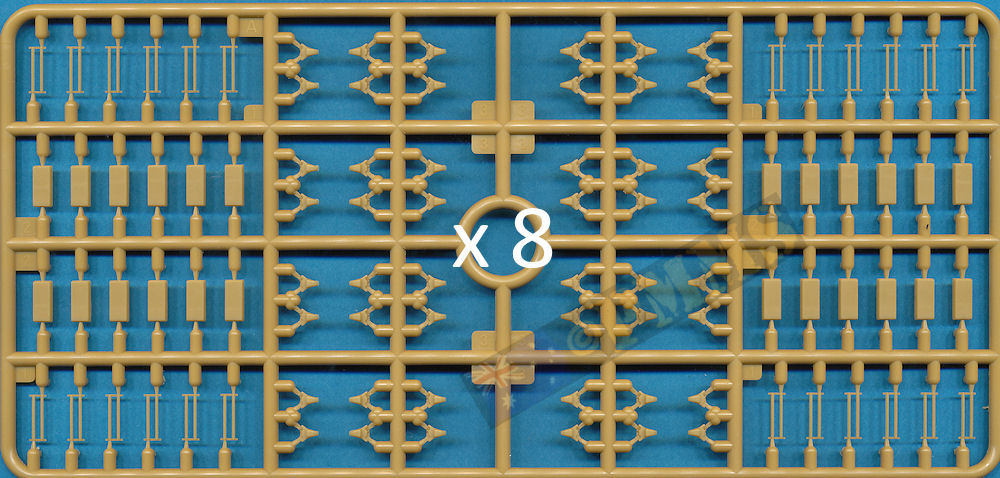
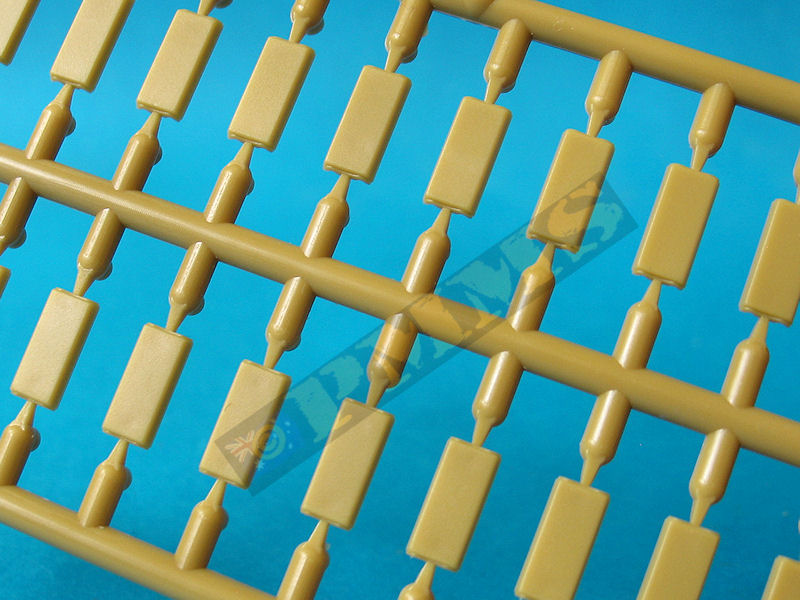
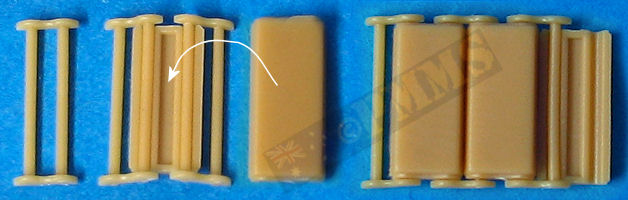
The parts are cleanly moulded with the only cleanup other than the sprue attachment burs is a bit of fine flash on the tip of some guide teeth. The track rods (part A1) have sizable mould seams but these don’t hinder assembly or the track articulation so save some cleanup by ignoring this.
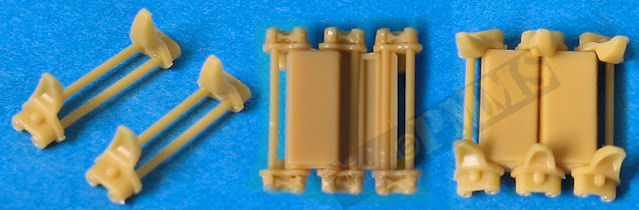
Detail images

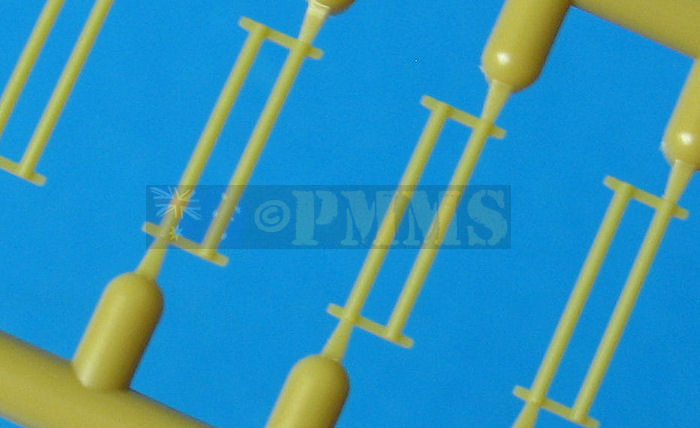
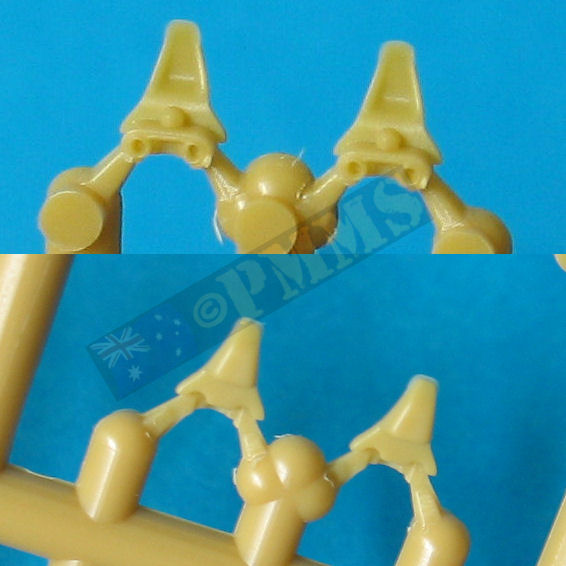
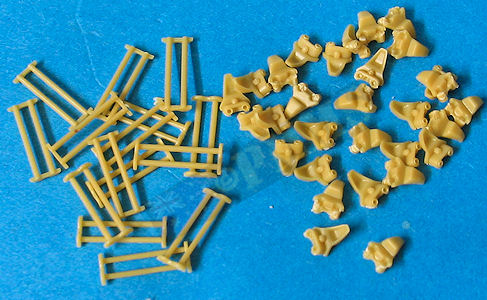
Due to the number of parts there is quite a bit of sprue bur cleanup but the most time consuming cleanup is with the small end connectors that have two proportionally large sprue attachments and care is needed when trimming these, the end connectors are also not easy to grab hold of due to their shape.
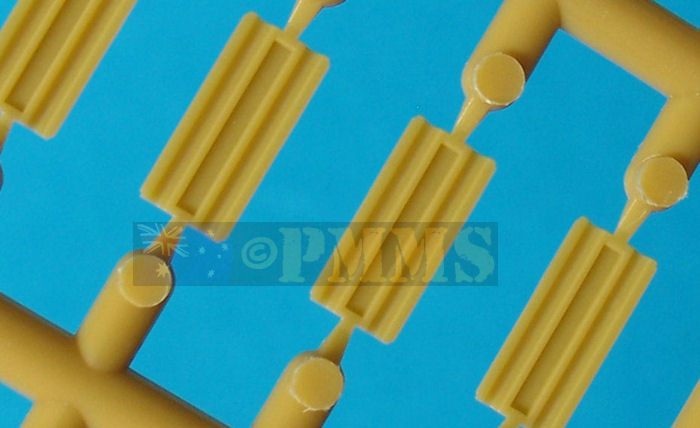
Detail on the link parts is nicely done, with nicely defined pin ends and guide tooth with the inner rounded profile but the self locking nut isn’t that well defined and some may wish to replace this?
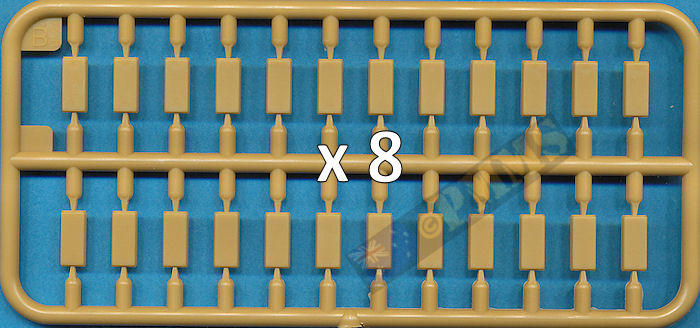
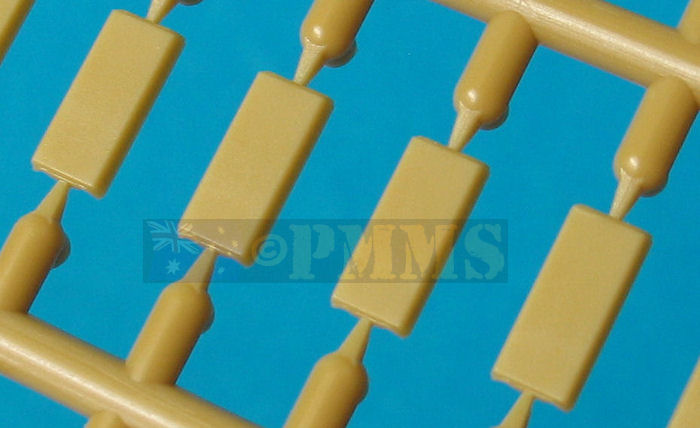
The main issue with this set is the thickness of the rubber block, this is far too thin to properly represent the T51 track block and is more reminiscent of the earlier T41 rubber block track which had a much thinner pad.
The track pad thickness could be improved by adding a section of plastic card to each pad to better represent the thickness of the T51 track which would be rather time consuming or rough up the pads to depict well worn track which would be seen on tanks that have seen a lot of action.
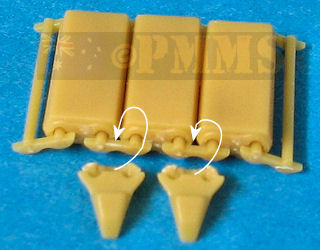
The instructions on the back of the box show to lay two of the track rod parts over a inner track pad half and then attach the outer pad half trapping two of the rods and leaving the other two rods exposed to repeat the process for each link. Obviously care is needed when attaching the outer pad not to glue the rods as well.
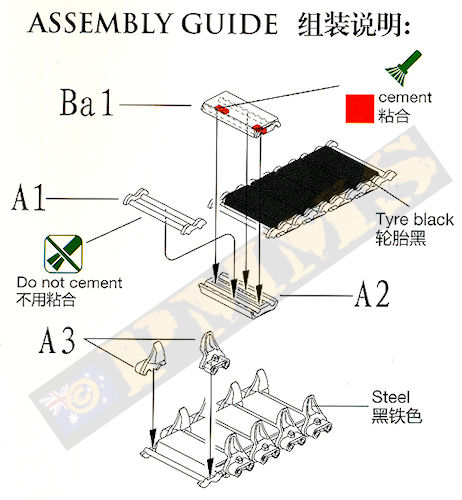
You must also take care to fit the track rods the right way around as the flat section at each end is designed to fit to the end connectors and this flat section must face the inner pad half, it’s easy to get this wrong if not careful.
After assembling a section of track pads the end connectors are designed to attach to each end of the exposed track rod, this is not easy without getting glue on the track pads in the process as the attachment point is quite small and the end connector rests against the end of the pads.
I decided on a different method of assembly to bypassed that process for the end connectors as I could only see pain if you wanted the links fully workable, it really wouldn’t matter for the ground track run and gluing these solid might be an advantage.
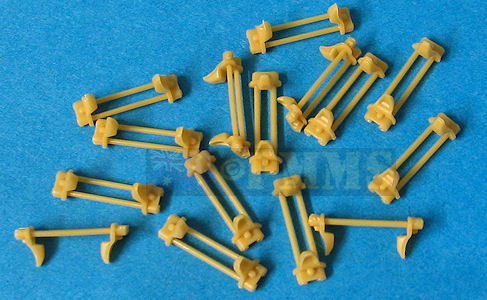
The first step was to glue the end connectors to the ends of the track rod parts and letting the glue dry completely before proceeding. You then continue as before by slipping the inner pad half over the rods and trapping with the outer half to complete each track link, repeating the process for the full track run.
and the assembled rods/end connectors ready for fitting to the track blocks
Assembled track runs using the modified method of attaching the end connectors
to the track rods before fitting the block halves as described above
I also didn’t glue the track pad halves together as indicated in the instructions but instead ran a small dab of liquid glue along the outer pad join; this will seal the join should you want to smooth this out for the links around the drive sprocket and idlers.
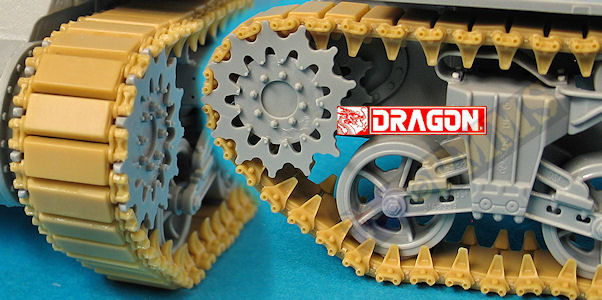
The assembled track run is very robust and articulates freely and I test fitted the tracks to applicable kit drive sprockets from Academy, AFV Club, DML, Italeri, Tasca and Tamiya to see how the fit went for the different sprockets.
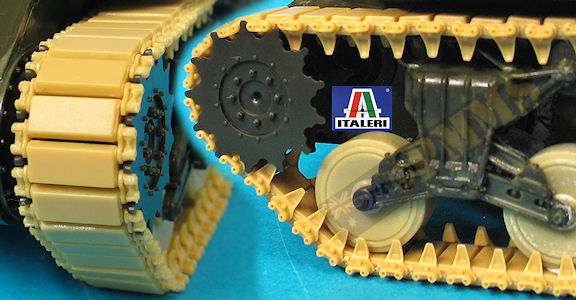
Out of the six kits randomly selected from my stash the Bronco track would only fit the drive sprockets on the AFV Club (Achilles Mk.IIC kit #AF 35039), DML (Sherman Mk.III kit #6313), Italeri (M4A3 Sherman kit #6440) and Tasca (M4A1 Sherman kit #35-010) kits as they came unaltered.
With the Academy (M-12 155mm GMC kit #1394) the space between the sprocket discs was slightly too narrow as well the discs being too thick to allow the track guide teeth to fit between and on the Tamiya (M4A3 Sherman kit #35122) the sprocket discs were again too thick to allow the track guide teeth to fit between them.

Bronco T51 track on the DML kit
Bronco T51 track on the Italeri kit
Bronco T51 track on the Tasca kit

The end connectors with the two proportionally large attachments need the most care cleaning up but once done assembly is fairly straightforward but not without some built in traps with gluing the end connectors as described above.
Rating 7/10
| SHERMAN A History
of the American Medium Tank R.P.Hunnicutt. Presidio Books ISBN 0-89141-080-5  |
Modeler's Guide
to the Sherman MMIR Special. Ampersand Publishing Company, Inc  |
 for the review set.