Airspeed A.S.51 Horsa Glider Mk.I
Bronco Models 1:35 Scale Kit No. CB35195
Review by Terry Ashley
Part 2 the Kit Build
Page 2 of 2
There are also separate lower flaps that can be fitted lowered or closed as you wish but these would mostly be in the closed position unless actually coming in for a landing. On the outer wing rib are the outer wing attachment lugs to show if you are displaying the outer wing separate in a diorama setting or such.
The instructions show to assemble the full wing before fitting to the fuselage but I found it easier to attach the wing box first to the fuselage, I also altered the sequence by attaching the rear roof section (C6) to the wing box and not to the fuselage as shown. This allows you firmly glue the front of the roof to the wing spar for added strength, something that is difficult to do if gluing the wings after the roof section is attached. If following this method make sure the roof section is perfectly aligned with the top wing so the fit is snug on final fitting.
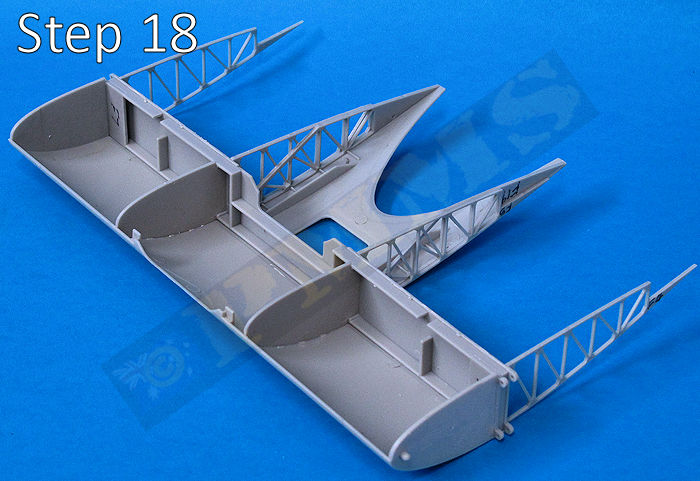
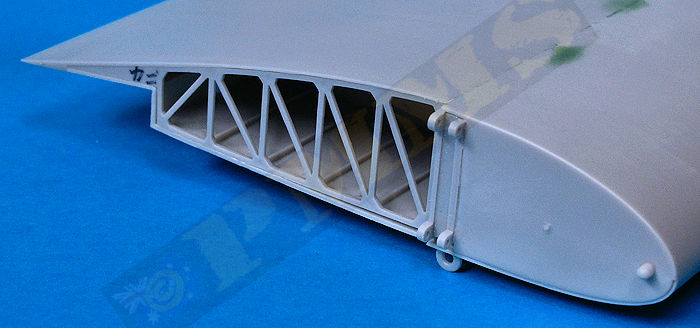
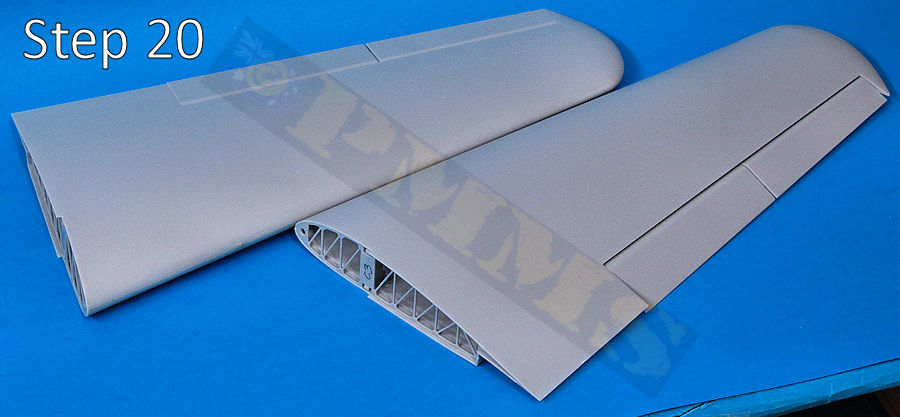
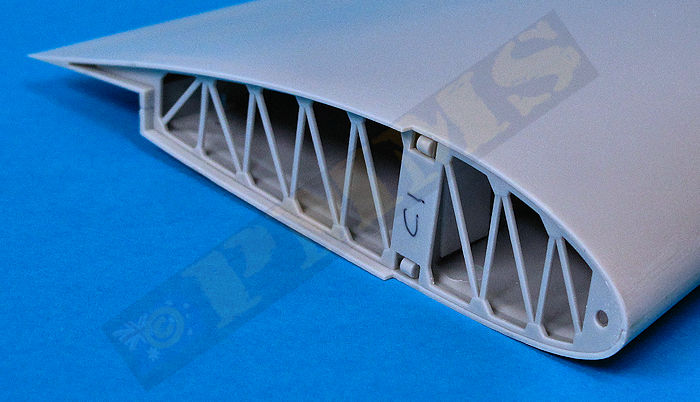
The outer sing sections are quite conventional for aircraft kit with the top and bottom wing sections if two halves, note the wing surfaces are completely smooth as they should be with the main wings made from wood so there are no rivet or other details to add. On the inside of each wing half are internal ribs to keep the wings rigid but the ejection pins on the lower wings (Ha2, Hb2) are raised above the level of the ribs and you must trim these back down so the wings will fit together properly, not a big deal and easy to fix.
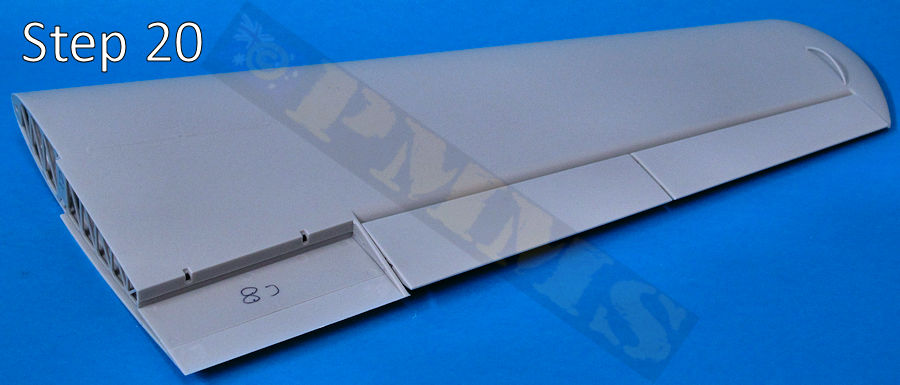
The two part ailerons are glued together and end pins trapped between the upper and lower wings to be movable, just watch as parts are numbered incorrectly, parts L2, L4 are for the starboard flap and L1, L3 for the port flap, not L2, L4 and L1, L2 as shown in the instructions. There are also separate landing flaps and extendable air brakes that can be positioned as you wish with the overall assembly of the wings very straightforward with only the usual sanding of joins as with any aircraft kit. The large landing flaps like those on the inner wings can be shown lowered or closed depending on your preference?
The wings have ends ribs (C3) added but the instructions show to glue the these ribs to the inner wing box and then glue the wings in place but I found it easier to glue the ribs to the actual outer wing before attaching the wing sections but this can go either way so it’s your preference really.
Adding the ribs to the outer wings will also allow you to show the wings separated after landing as sometimes seen in period photos, there are also outer wing skids (G20) and the underside tow cable hooks (C30, G30) are added to finish off the main wings as well as the large undercarriage support legs that fit to the previously assembled undercarriage legs as the wings are attached.
There are some pin marks on the inside of parts that will be visible to be removed and the raised pin ejector marks on the inside of the wing and tail sections need to be removed for proper fitting but this in not excessive and easily dealt with.
The remainder of the kit, the wings and rear tail structures are quite straightforward with nothing out of the ordinary for aircraft kits and the finishing method little different for armour modellers who may not have tackled many aircraft previously but basically the skill sets transfer quite ok.
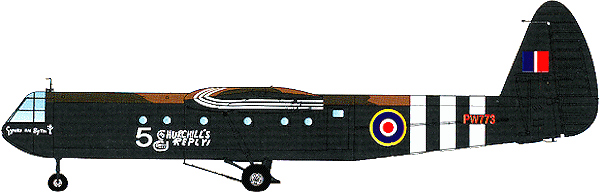
As with any kit there is additional details that can be added such as the items absent from the cockpit and general detailing to the level you wish as well as a number of configuration options in the kit and a good selection of vehicles, ordnance, equipment and figures already available to go with the Horsa from Bronco and others for any number of diorama settings with the diorama possibilities almost endless.
Detail images
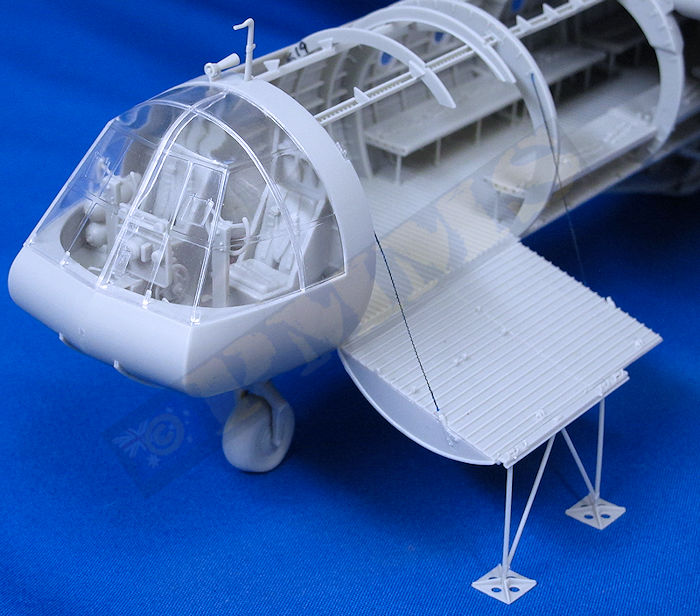
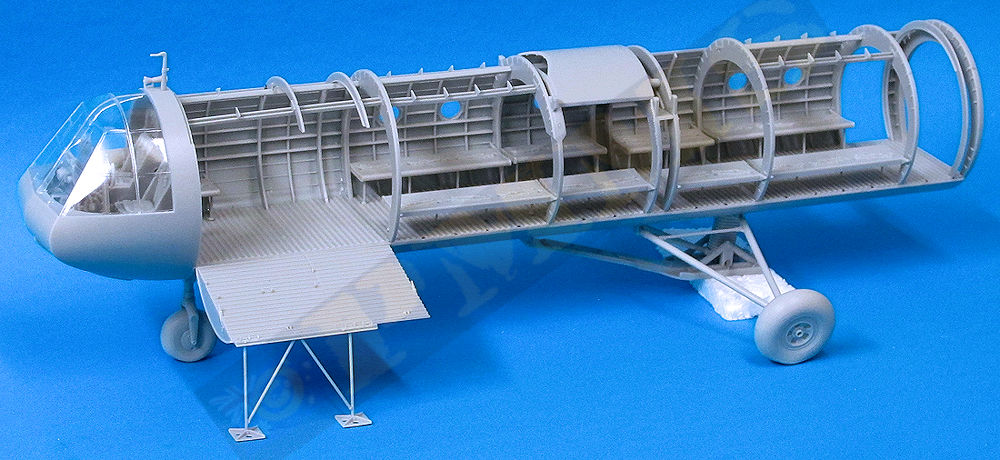
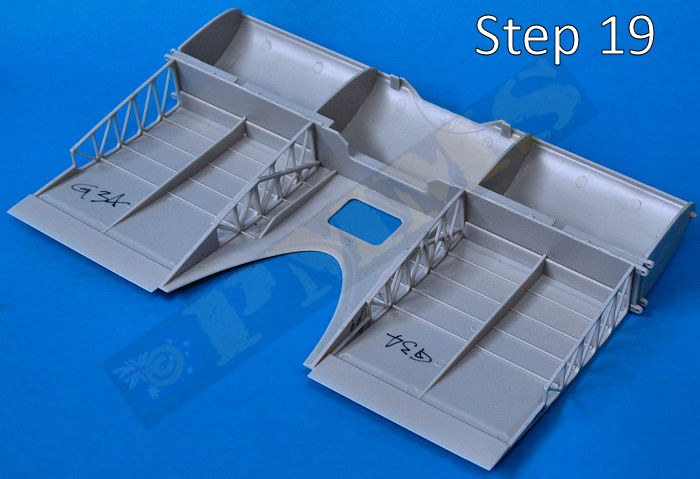
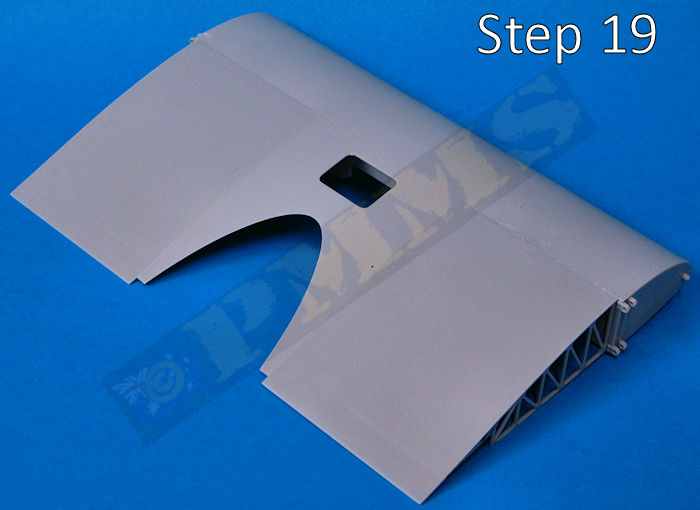
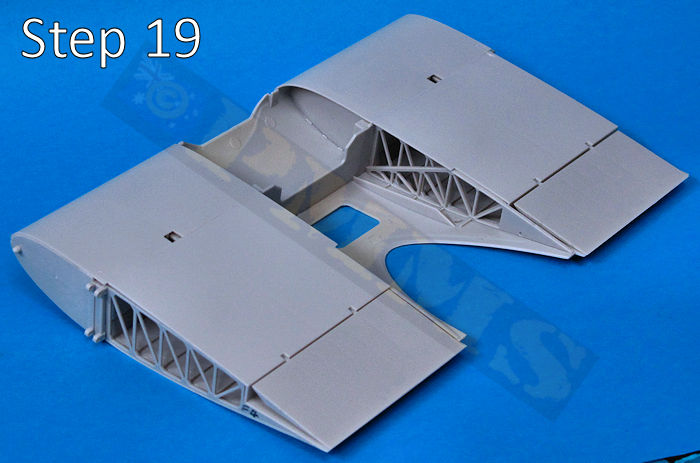
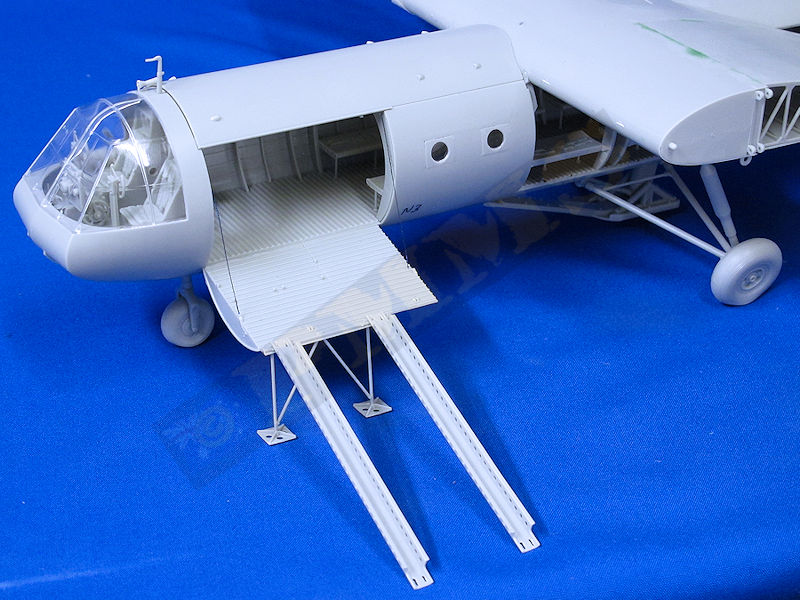
Port side loading ramp door and vehicle channels attached
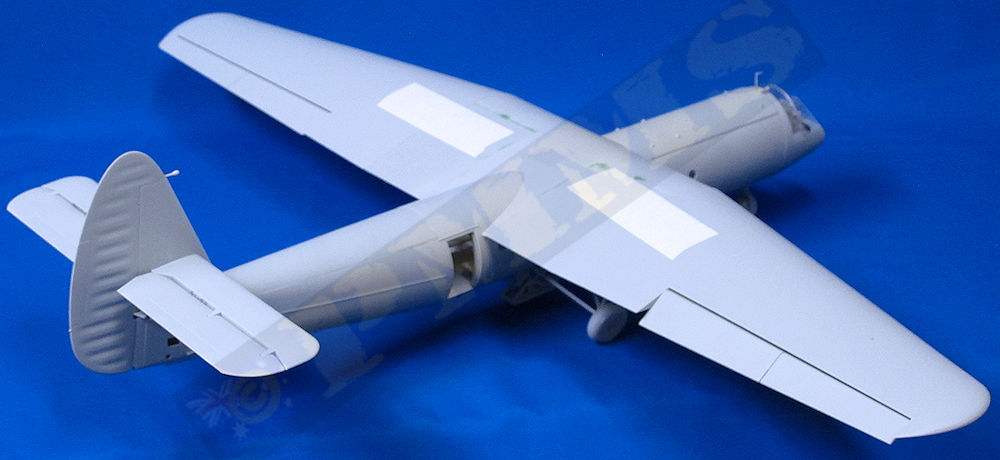
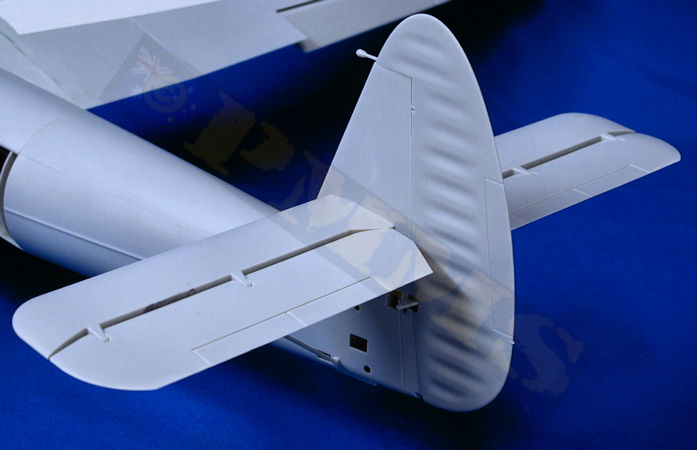
Tail assembly
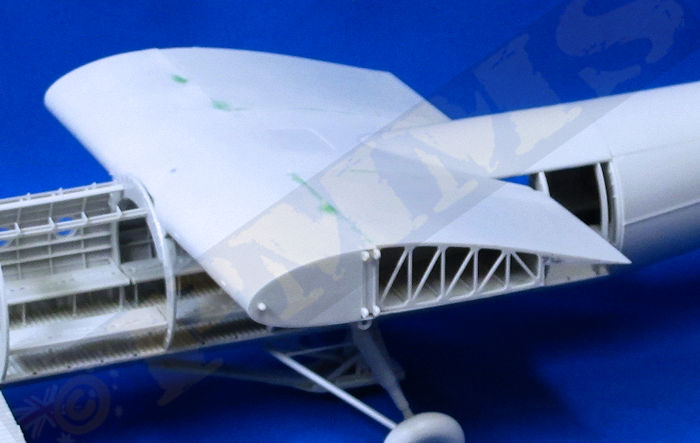
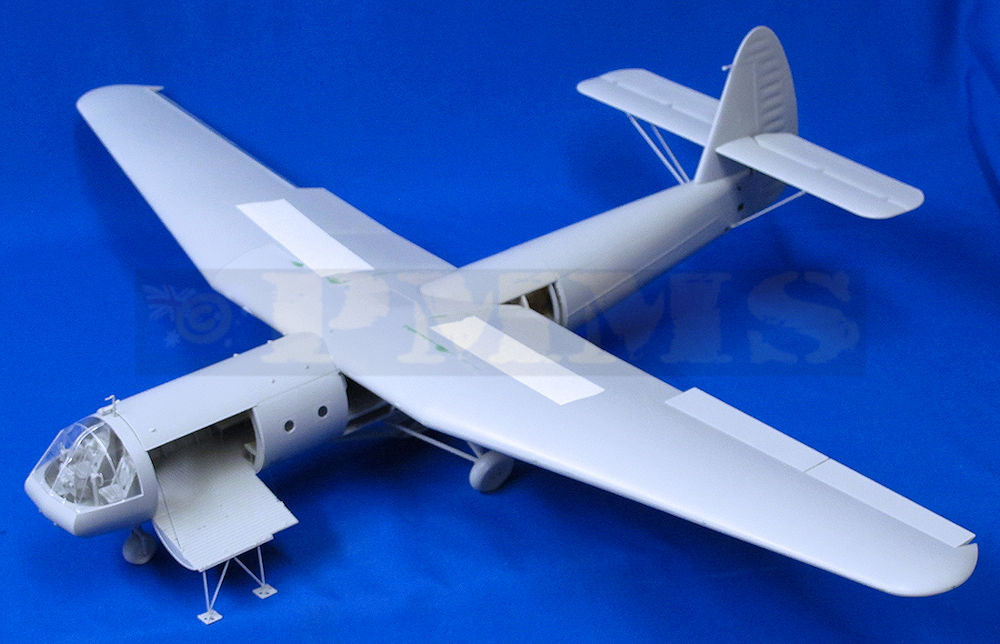
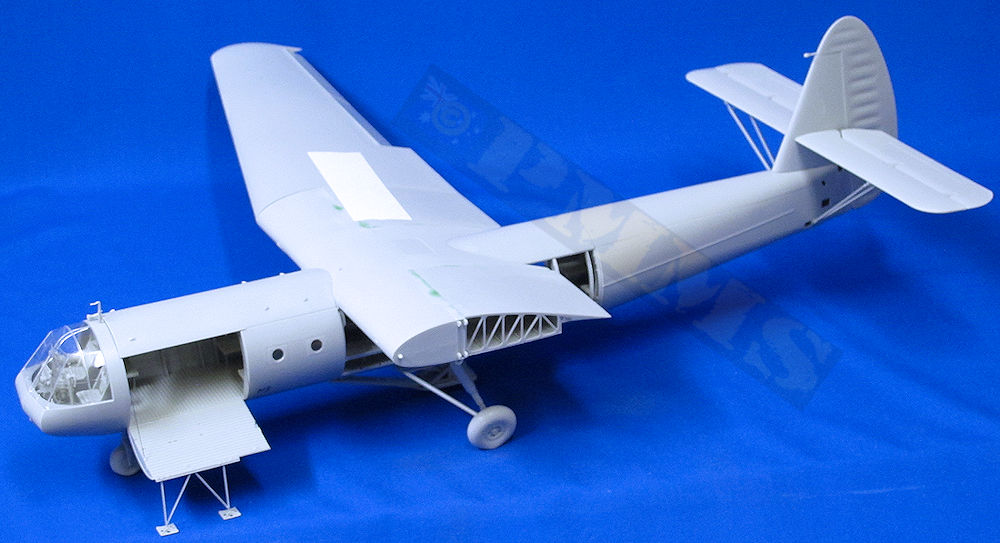
Overall view with the port wing removed showing the inner rib detail visible.
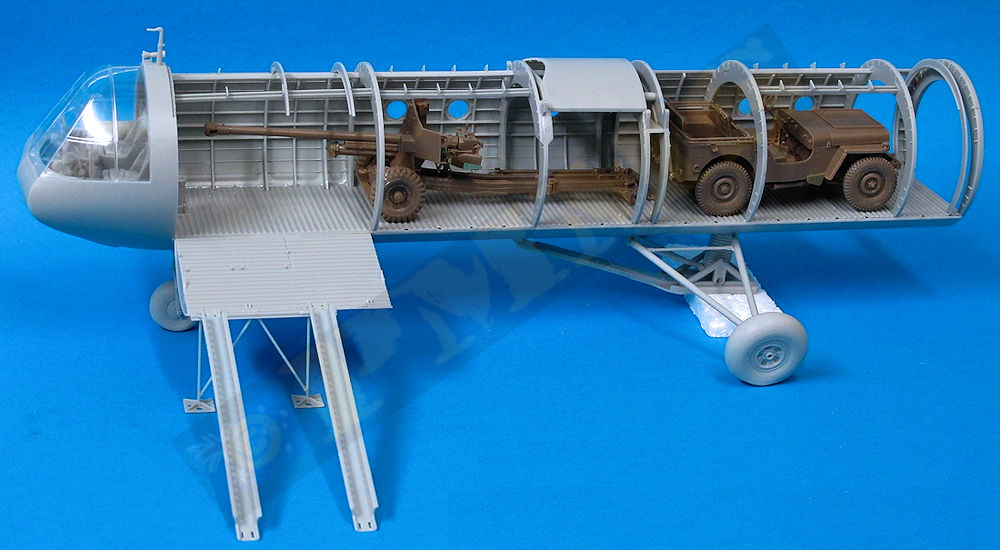
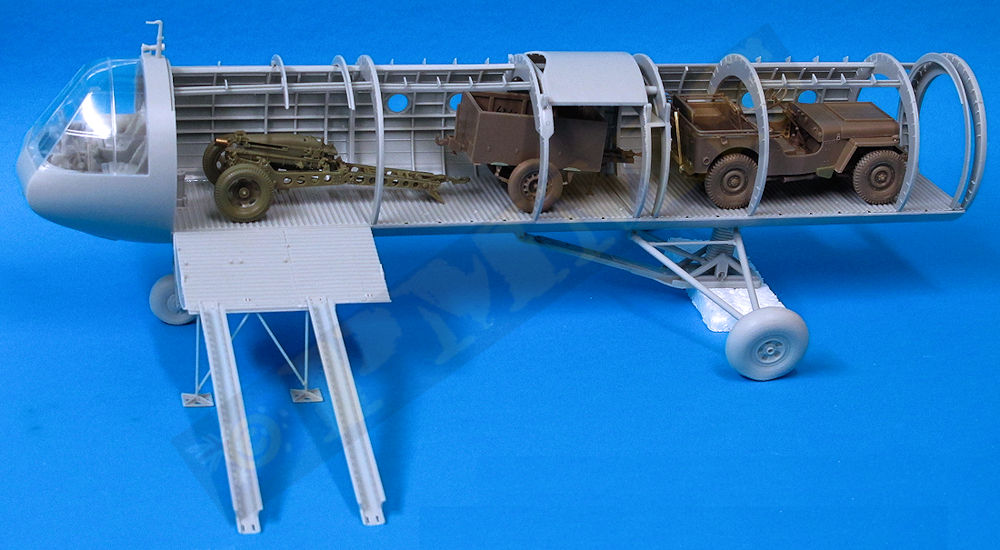
Views showing alternate load-outs possible with the additional Airborne kits aavailable from Bronco Models
Airborne Jeep and 6pdr AT Gun
Airborne Jeep with 10cwt trailer and 75mm Pack Howitzer
Troop seats fitted