
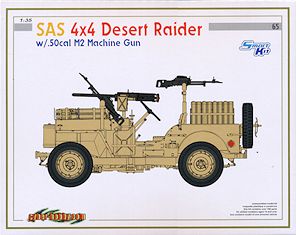
SAS 4x4 Desert Raider
Cyberhobby 1:35 Scale Smart Kit No. 6681
Review by Terry Ashley
This kit from Cyberhobby is the first “new” tooled kit of the venerable “Jeep”, (or 4 x 4 Truck/Desert Raider or whatever people have to label the kits to avoid the greedy corporate lawyers) since the revised kit from Tamiya (kit #35219) back in 1997 and has been eagerly awaited since the announcement. I too was looking forward to the kit as would most Allied modellers only to be somewhat disappointed at the errors and omissions within the kit; read on.
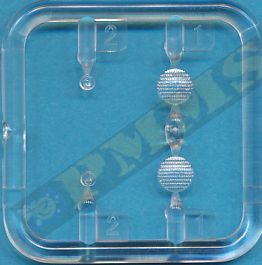
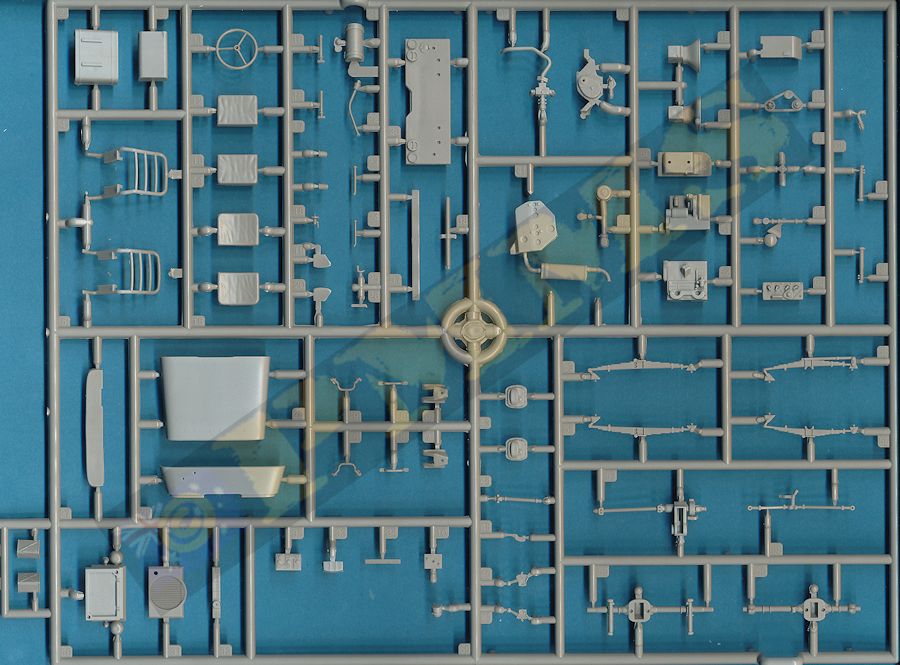
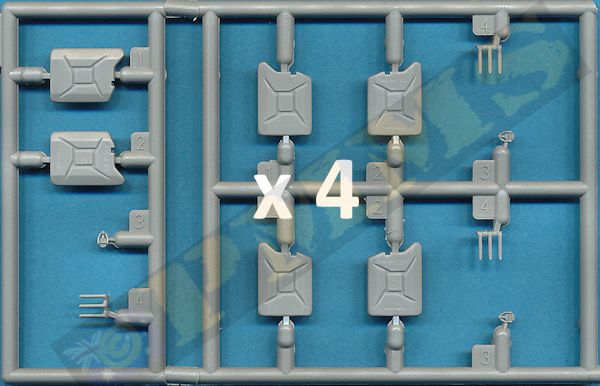
The kit has 157 parts in the usual grey plastic with 65 of these for the weapons and jerry cans plus 46 etched and 4 clear parts with a small decal and instruction sheets. The quality of mouldings is a mix of crisp and some not so crisp detail but quite excessive mould seam lines gravitating to fine flash on some parts with the overall quality of moulding is a bit below what we usually expect from DML. Dimensionally the kit measures out well overall but there are a few smaller areas that have issues in dimensions and details such as the front radiator grill and body interior as well as some uncharacteristic fit issues.
Included with the review are a few comparisons with the Tamiya Jeep to see how this new DML kit stacks up detail wise to give you a better idea where this kit sits in the overall scheme of things.
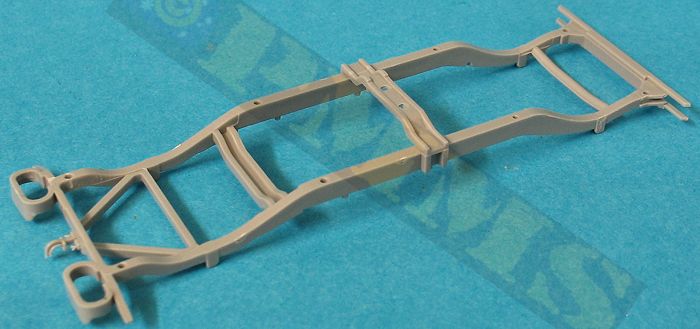
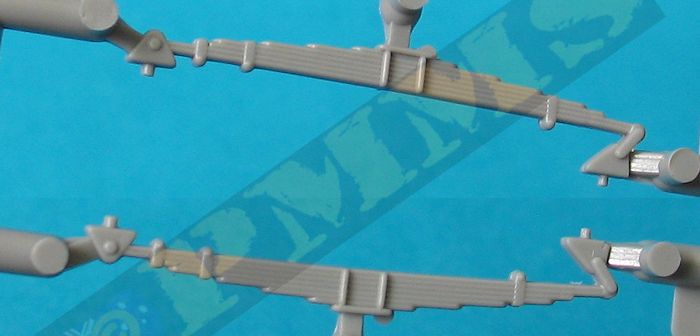
The only locating pins on the suspension are at each end of the leave springs and the axle/spring join has no pins meaning you have to be careful to position these correctly, also the shock absorbers have no locating pins for the chassis and are just butt joined so again you have to make sure the axles, springs and shock absorbers all line up correctly before the glues dries, not one of the most precise assembly sequences. The position of the two steering arm brackets on the front suspension (parts B46, B47) is not clear at all and I needed to refer to reference photos to determine the correct position.
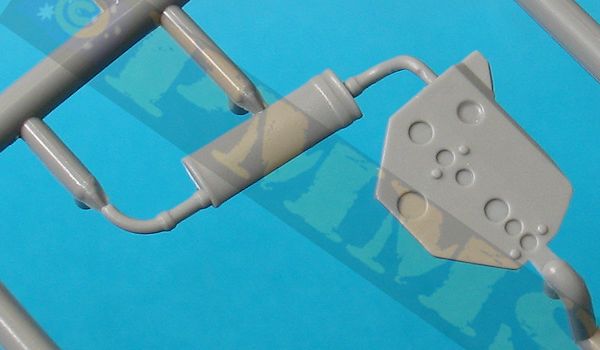
Added between the front and rear differentials is the centrally mounted transfer case and drive shafts and again the fit of the transfer case isn’t that precise and needs care to position correctly with the lower guard and exhaust pipe/muffler then added, the end of the pipe could be frilled out for a better appearance.
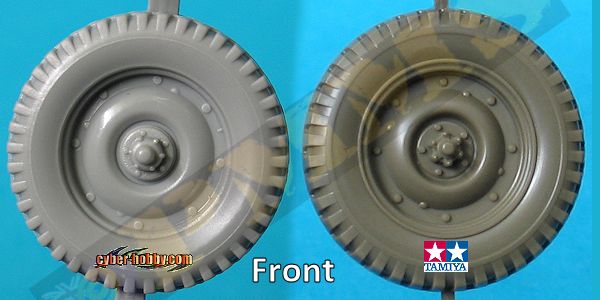
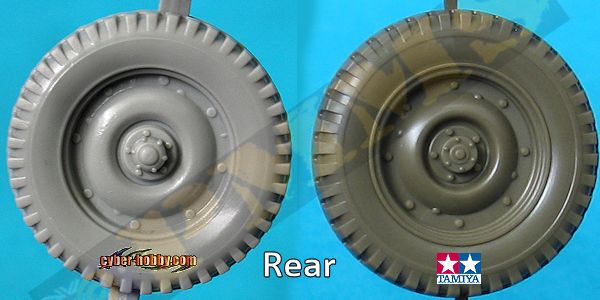
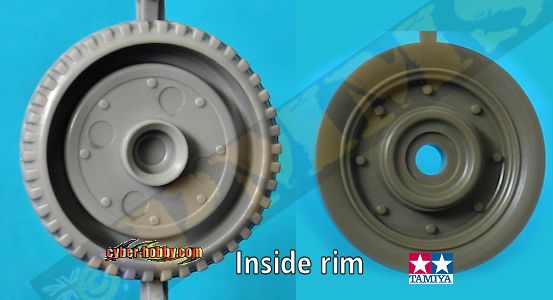
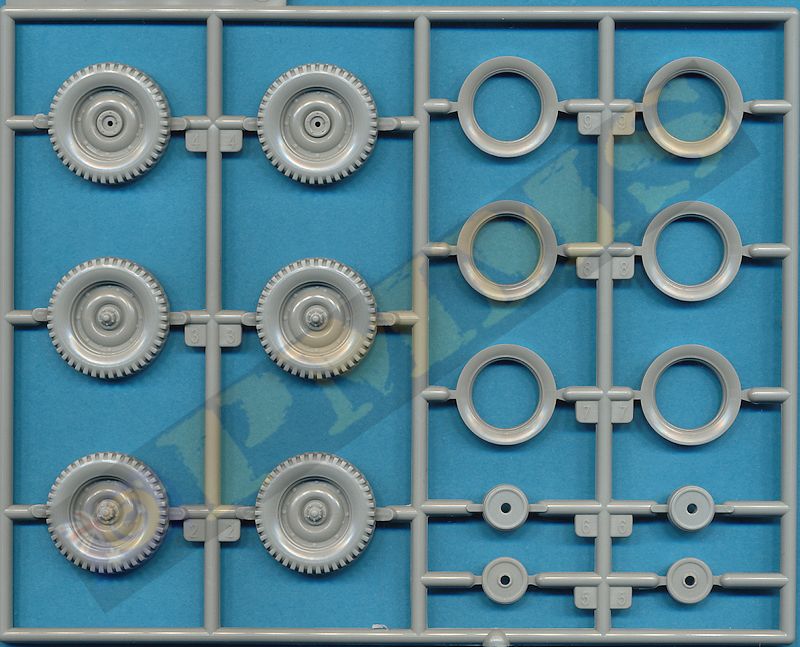
All wheels have the standard combat non-directional tread that is too square at the shoulder and should be more rounded while on the inner wheel dish are four large pin marks, these will mostly be hidden after assembly apart from the rear mounted spares but will be very difficult to remove without damaging the rivet detail? When fitting the inner brake drums (parts A5, A6) the fit is quite loose and you have to ensure the drums are fixed centrally on the dish.
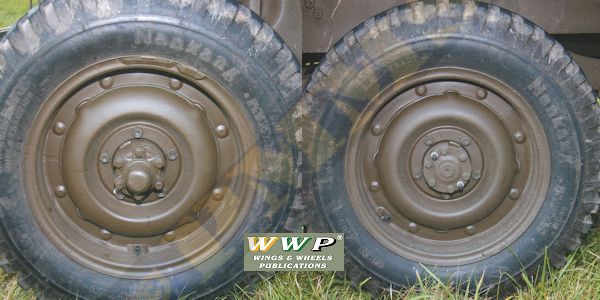
The rear section of tyre sidewall doesn’t fit snugly into the main wheel and may need some trimming for a better fit with the wheels designed to be glued to the axle stubs. It should also be noted that most images of SAS/LRDG Jeeps had a combination of combat and civilian tyres fitted with it rare for all one tyre type being fitted.
Images of the Cyberhobby kit wheels as above with the Tamiya kit wheels and actual wheels for comparison..
The engine is quite complete and nicely detailed with the only major item missing being the generator on the right side. The detail on the separate head, carburettor and front fan assembly as well done as is the two part radiator with just some minor detailing and the usual wiring/plumbing to finish off a nice engine assembly. This is probably the best detail on the kit but unfortunately you can’t see any of it other than the lower sump after assembly with the jerry cans arrangement on the hood. The fit of the engine to the chassis is good with precise locating lugs but the rear transmission will need the top trimmed smooth to fit under the body transmission hump properly.
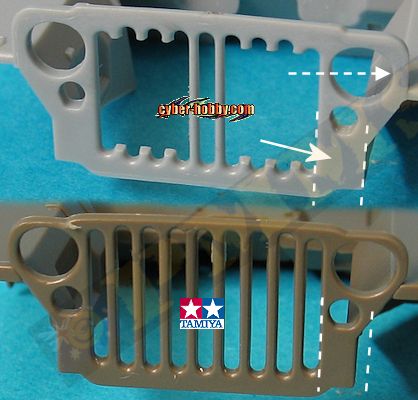
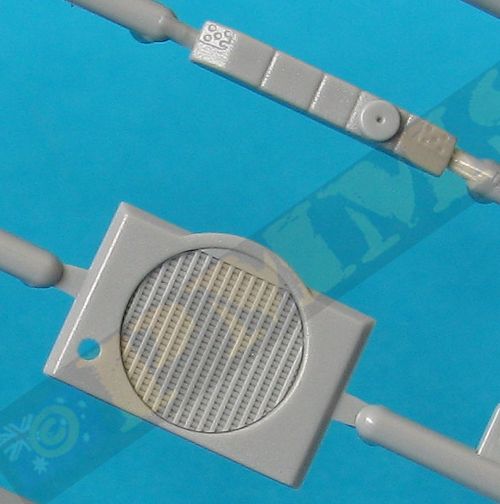
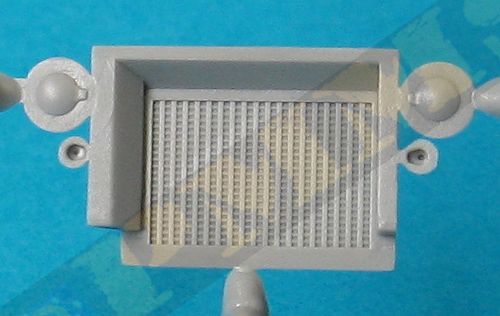
The radiator has fine mesh texturing included with the lights included on the sides, these have clear lens parts, just note there is a raised lug for the headlight ‘glass’ but no corresponding hole on the concave clear part so ensure this sits with the glass lines aligned correctly. The assembled radiator is designed to glue to the back of the front grill and isn’t attached to the chassis which shouldn’t be a problem after assembly.
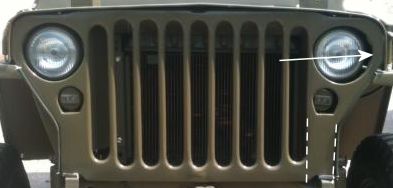
This is not easy to rectify unfortunately as reducing the width of the side section would then need the spacing of the grills and light cut-outs moved slightly, also the head lights on the radiator part would need to be moved outward slightly to align with the repositioned cut-outs. The Tamiya grill has the correct dimensions in this area as indicated in the image below along with the actual grill for comparison.
The grill has the normal modifications for desert use with all but the middle two grills removed for greater cooling and a water condenser mounted and connected by two tubes to the radiator, there was no standard design for the condenser and variations may occur but you will need to add the tubes to finish off the condenser.
The hood is a separate part but doesn’t have the centrally located engraved line as it should but as this is covered by the jerry cans isn’t an issue here but if further kits follow this omission would be more visible. Added to the sides of the hood are two etched T clips although there are actually 4 clips on the jeep hood but the second set designed to hold the windscreen in the down position were mostly removed along with the windscreen on the SAS Jeeps.
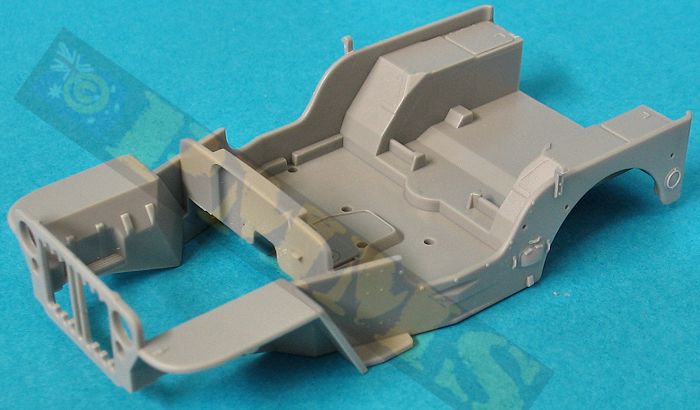
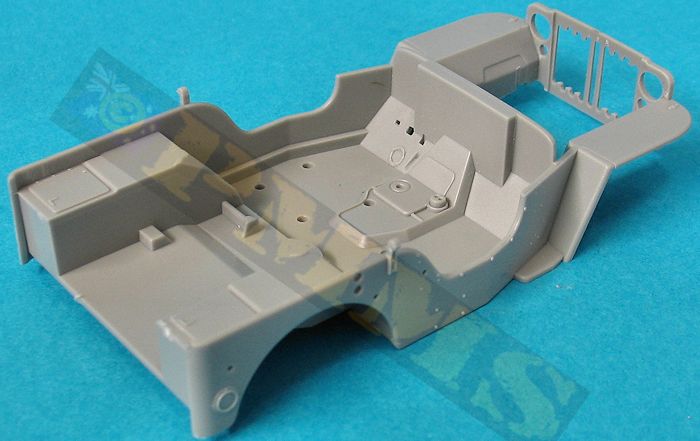
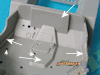
Moving to the inside the central transmission hump has an indentation on the top and lip around the edges, I have not seen this on any MB Jeep floor pan with the hump having a smooth top and edges and this recess would best be filled with plastic card and sanded smooth. The large recess in the firewall has square edges but these should be rounded although this is mostly hidden by the instrument panel after assembly if you wish to overlook this?
There are square channels on either side of the floor pan at the base of the side panels which shouldn’t be there at all and would need to be removed, something that is not easy due the one piece design of the body. There is an actual channel on the left side panel under the entrance “doorway” but this is positioned clear of the floor pan with a distinct gap between the floor and channel.
The seats have a few issues, firstly the instructions show the part numbers transposed, part B4 is the Driver’s seat and B5 the passenger seat, not the other way around as indicated. The two supports on the back of the backrest are way too thick and should be about a third the thickness, the Tamiya seats have these supports the correct size but there are also four pin marks on the back of the seat to contend with.
The Driver’s seat frame is simply the wrong shape at the front and has a large curved section, for what reason I can’t fathom as the instruction illustration has the correct frame profile which is the same as the Passenger seat. You will need to bend the frame to form a straight line at the sides and trim about 1.5mm off the bottom of each frame leg, and then when fitting the underside fuel tank you will need to trim the underside of the seat frames to fit the lugs on the fuel tank.
Lastly when fitting the modified seat the holes in the floor for the frame legs are in the wrong place and you will need to fill these holes before fitting the seats. The fuel tank has a small recess to fit over the central transmission hump but this is incorrect due to the tank being too big and you should trim the bottom of the tank to an even line without the recess.
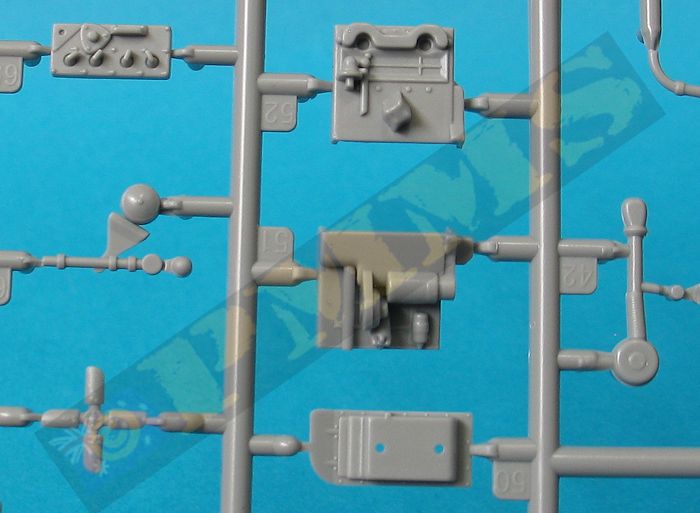
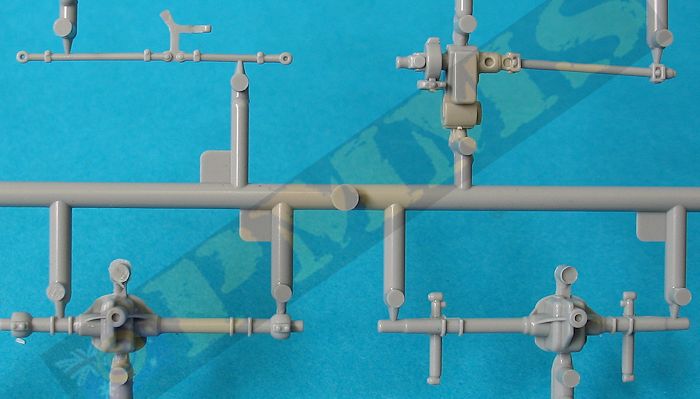
The instrument panel has nice details included along with decals for the instrument dials and compartment data blocks with the steering wheel and column added to the underside of the panel and through the firewall. On the floor are separate Driver’s foot pedals and gear shift levers as well as the hand brake handle and a small sun compass attached to the top of the instrument panel, this appears to be a little undersized from reference photos of the actual compass.
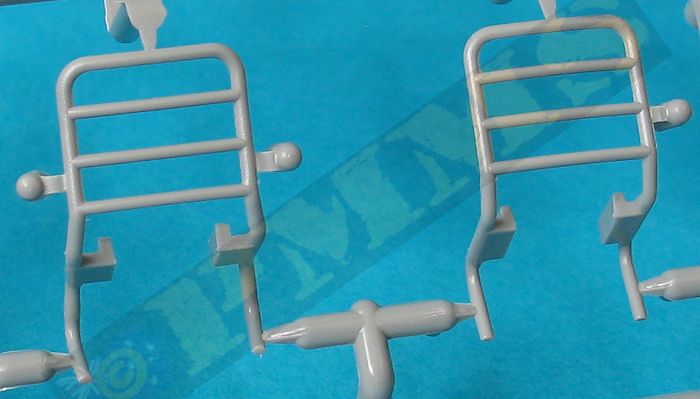
The rear plate is also slightly taller than the side panels it has to mate to meaning you will need to trim a bit off the top of the rear panel to be level with the side panels. When fitting the top body section over the instrument panel it is slightly too wide for the body leaving a small step and this will need to be sanded so there is a smooth join between the two panels. The four grab handles added to the sides and rear corners are separate parts and finely done for a good appearance when attached.
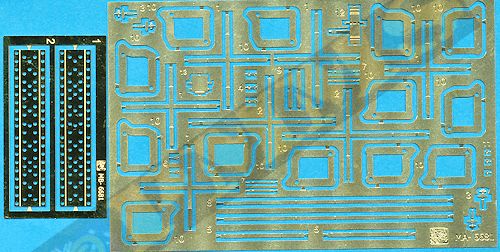
Added to the rear plate are the two spare wheels and mountings plus etched sand channels but these have slightly the wrong profile for the channel type provided. The outer edges of the etched channels have a bend line to add the upward kink but there should be two bend lines as the outer edge of the channels should actually form an inverted V shape not just a single bend.
The fit of the body to the chassis will also require some modifications; firstly you should trim the two pins off the rear chassis cross member for easier fitting. The transmission will need the rear top trimmed smooth to fit under the body transmission hump properly and there is a small projection on the inside of the firewall that will also need to be trimmed off to allow the body to fit properly over the engine.
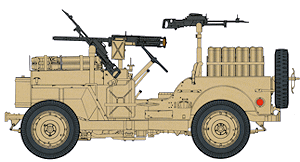
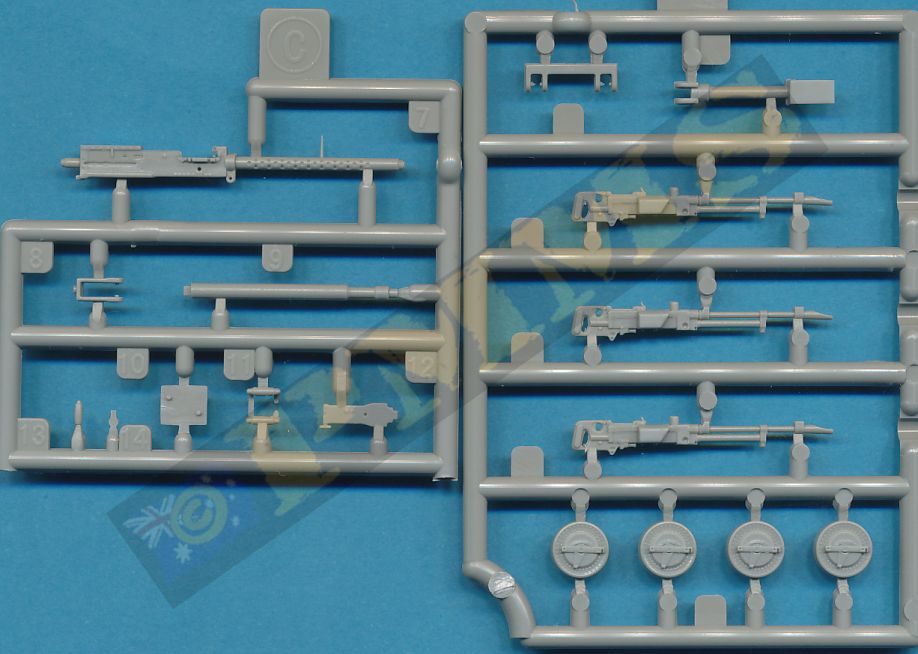
The mounting for the gun fits to the top of the body but you need to open out the locating holes for the mounting, also the mounting post should extend through the top body section and secured to the floor and you will need to add this post from plastic rod as it’s not included in the kit. The gun clips into the fixed mounting allowing it to elevate but not swivel although it wouldn’t be much work to alter the mounting for it to swivel?
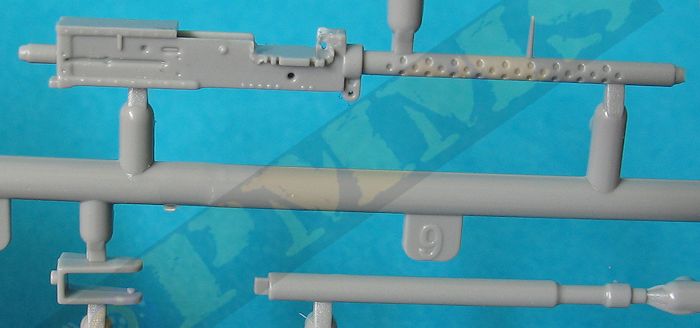
The three Vickers K guns are also nicely done although I don’t have exact measurements on the size the detail is crisp with a separate magazine fitted to the top of the gun. The twin mounting has etched brackets and small etched sights with the guns clipping into the fixed mounting allowing it to elevate but not swivel but again it wouldn’t take much work to alter the mounting for it to swivel? You also need to take care as the pins inside the mounting are very small and easy the snap off while fitting the guns.
The single mounting on the left front fender strangely doesn’t have any pins in the mounting and the gun has to be glued in the required position unless you modify the mounting to allow for elevation as well as to swivel?
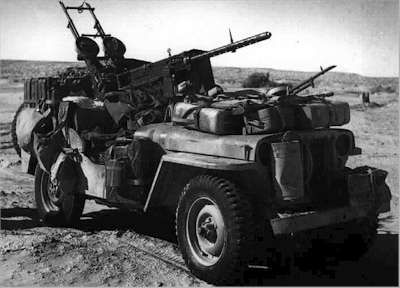
The only additional storage is one spare Vickers magazine and this leaves the Jeep conspicuously empty as they usually carried large amounts of ammunition and personal gear, the image below is of a typical SAS Jeep with the exact weapons fit as the kit and may have been used as a guide? Note the vehicle has a civilian tread tyre on the back as noted above.
cililian style rear tyre.
The small decal sheet has the instrument dials and data blocks with two sets allowing for any mishaps or to use on another Jeep if needed?
 |
There are some good features such as the engine, although it’s not seen after assembly and the weapons are nicely done and I guess it does look like a Jeep for those who aren’t that fussed with the finer details or accuracy? But is it better than the 14 year old Tamiya? Not really, the only improvements over the Tamiya kit appear to be the engine detail and the provision of the Driver’s foot pedals plus the etched hood T clips but you are probably better off getting the Tamiya kit and a SAS conversion to build a more accurate kit. Apologies if that all sounds a little harsh but this is 2011 and there are more than one or two Jeeps still surviving about the place to get some of the basic detail right?
Rating 7/10
Click on thumbnails for larger view
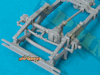
Build images
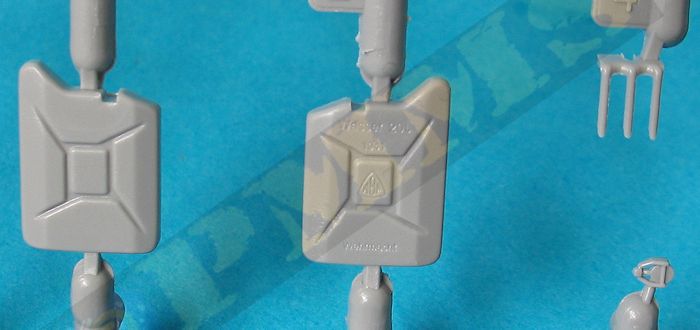
Sprue detail images


| Jeeps in detail Wings & Wheels Publications SML 29  |
MB Jeeps in detail Wings & Wheels Publications R 054  |
