
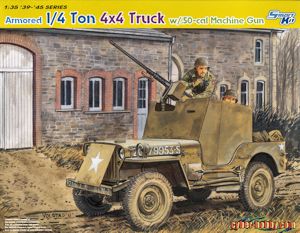
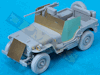
Armored 1/4ton 4x4 Truck w/.50cal Machine Gun
DML 1:35 Scale Smart Kit #6714
Review by Terry Ashley
Following the release of their “SAS 4x4 Desert Raider” (kit #6681) under the Cyberhobby brand which despite the predictable glowing words from the usual suspects was beset with dimensional and accuracy issues, DML have released of this new 1/4ton 4x4 Truck (aka a Jeep) kit that thankfully addresses most of the major issues from the first kit but there are still a few minor things to watch out for as we’ll see below.
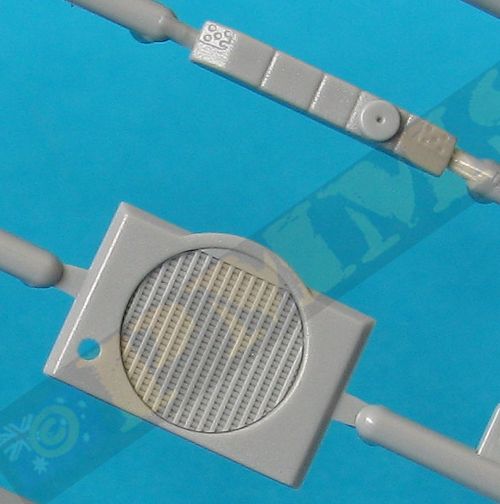
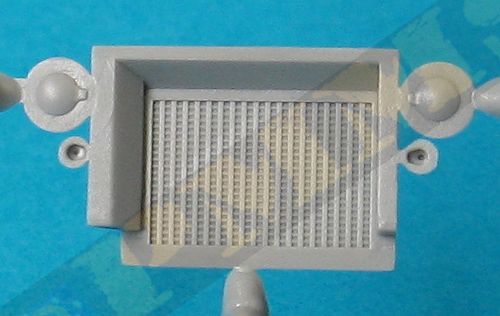
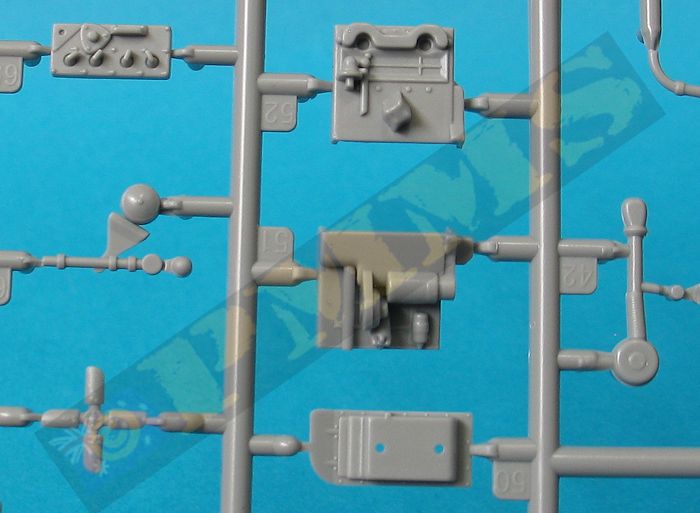
The kit also includes two M2 cal.50 HBMGs, one on sprue B included in the instruction parts layout and another on Sprue J that isn’t mentioned in the main parts layout but has a small extra instruction sheet so I presume this is a last minute inclusion. The gun on Sprue J is far better detailed and is the one that you should use but more on this below.
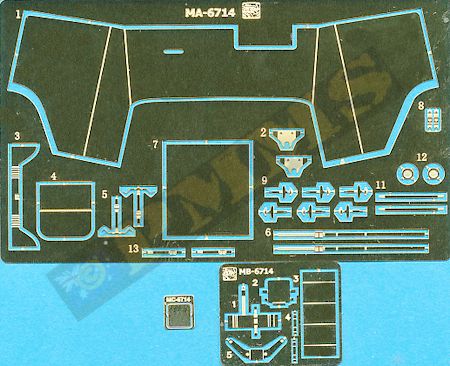
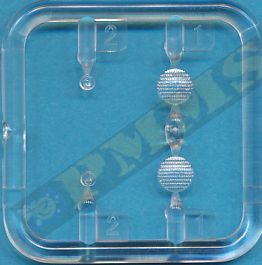
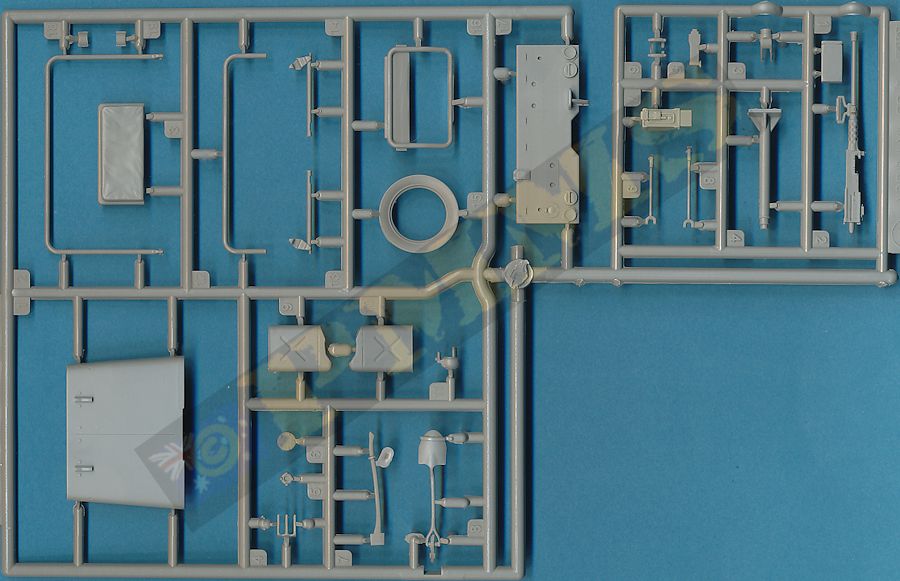
The kit has 137 parts in the usual grey plastic with 4 clear parts, 31 etched brass parts along with a small decal and the instruction sheet. The quality of mouldings overall is quite good although these is a little flash here and there as well as the usual mould seams to be removed. Dimensionally the kit measures out well overall and includes additional details over those of the first kit.
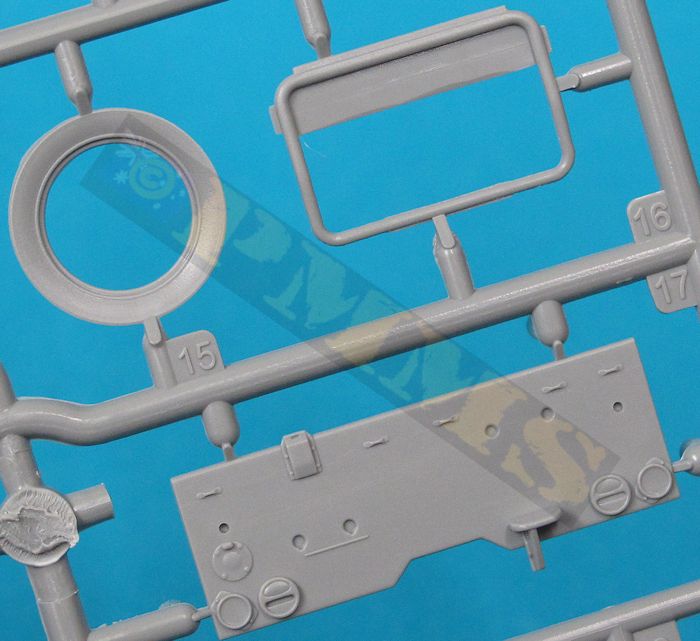
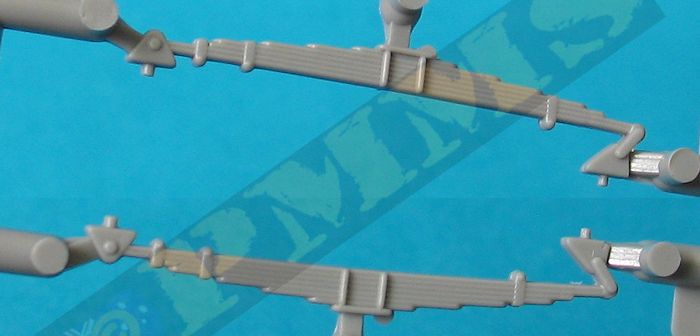
The only locating pins on the suspension are at each end of the leave springs and the axle/spring join has no pins meaning you have to be careful to position these correctly, also the shock absorbers have no locating pins for the chassis and are just butt joined so again you have to make sure the axles, springs and shock absorbers all line up correctly before the glues dries, not one of the most precise assembly sequences. The position of the two steering arm brackets on the front suspension (parts B46, B47) is not clear at all and again you need to be careful when fitting these.
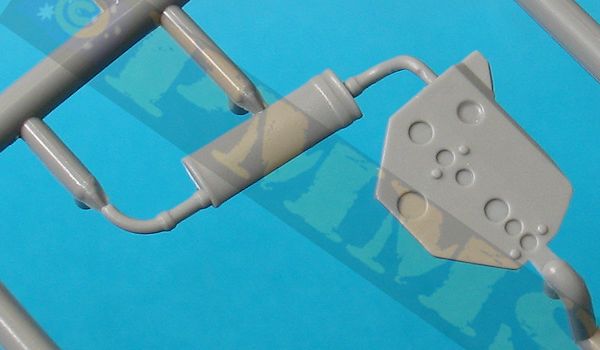
Added between the front and rear differentials is the centrally mounted transfer case and drive shafts and again the fit of the transfer case isn’t that precise and needs care to position correctly with the lower guard and exhaust pipe/muffler then added, the end of the pipe could be drilled out for a better appearance.
The rear axles are slightly too wide resulting in the rear wheels sitting just outside the bodywork and you should reduce the width if the axles a fraction to allow the wheels to sit just inside the bodywork. At the front the bumper bar has a separate insert leaving small joins to be eliminated and the crank hole is missing from the bumper and drilling this will improve the appearance.
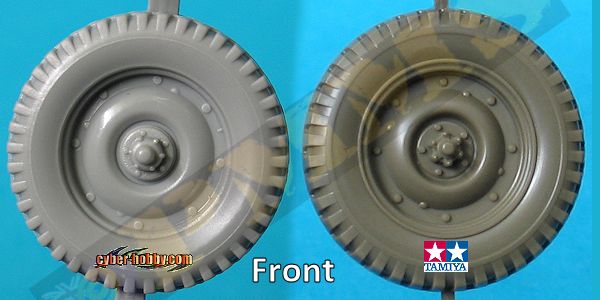
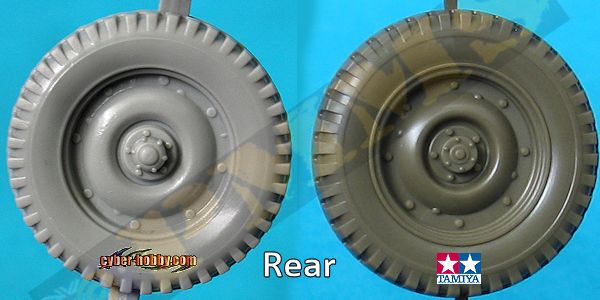
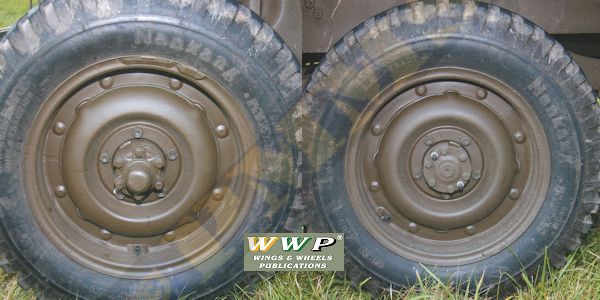
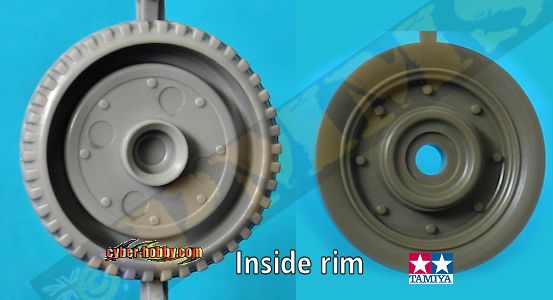
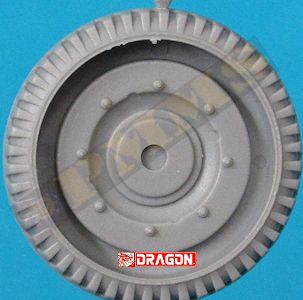
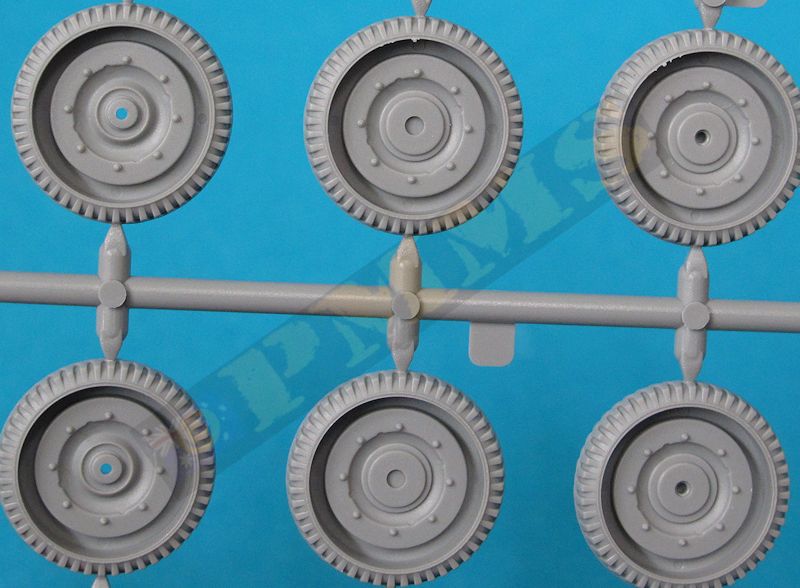
The fit of the rear tyre section and brake drums is excellent and in all these wheels are a vast improvement and are comparable to any Jeep wheels going around. One could ask why DML couldn’t have done this in the first place but I guess we shouldn’t go there?
Images of the Cyberhobby SAS Jeep kit wheels with the Tamiya kit wheels and the new revised wheels from this kit (right) along with the actual wheels for comparison..
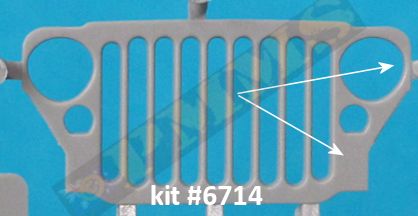
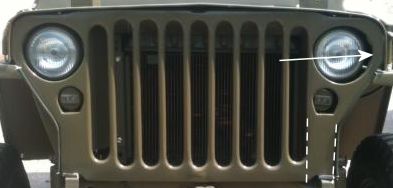
The radiator has fine mesh texturing included with the lights included on the sides, these have clear lens parts with the assembled radiator designed to glue to the back of the front grill and isn’t attached to the chassis as per the actual Jeep which shouldn’t be a problem after assembly.
Tamiya kit grill and actual grill for comparison along with the revised grill in this kit.
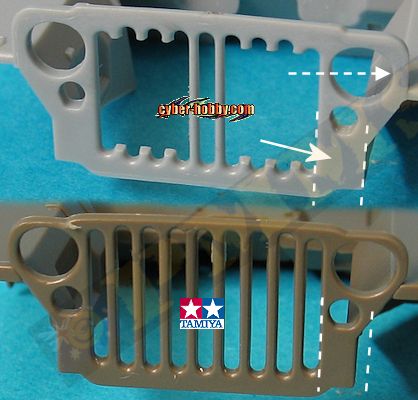
Revised front grill with corrected details
The separate hood now includes the central engraved line as it should although there isn’t inside detail should you want to show the hood open. Added to the sides of the hood are the two etched T clips per side and these are quite a challenge as the instructions are rather vague as to how to bend these to shape. The kit gives you 6 clips and you’ll need all of them because the hood bracket is included with the T clip and some nifty bending is needed to get the job done and being so small is not easy, it may even be easier to cut the small hood bracket from the clip and fit separately?
Basically you have to bend the top T section forward over the stem and then back over its self so the T section is located centrally over the stem, easier said than done. Then the T section has to have the curve added while the small hood bracket attached to the T clip has to be bent to the right angle for fitting. Being very thin you only get a couple of chances to get right as they will break apart if you bend too many times and after getting one done for the review images left it at that although they do look nice when done.
Also included are the two hood windscreen rests but these have a slight indention on the rubber section for some reason and should be flat, you can simply replace the rubber section of the rest with plastic strip if you wish? The top body section over the instrument panel is a better fit than previously but it still has the two locating holes for the SAS kit gun mounting on the right side and you will need to fill these before fitting, there are also two large holes just behind the crew entry on the right body that will also need to be filled as they aren’t applicable to this kit.
Mounted on the left fender is the blackout light with etched mounting and guard, this needs careful bending to get the right curve as the guard is quite thick metal and also there is no locating hole for the light as indicated in the instructions so you need to cut off the locating pin and take care to position this correctly. The fenders themselves should have a small lip on the edges, this is included on the rear sloped fender section but not on the top section.
The separate rear wall has no inside rib details but this is mostly hidden by the two part rear passenger seat and the side joins may need a little attention as they weren’t perfect on my kit. The body side and rear corner grab handles are separate parts as are the shovel and axe stowed on the left body, there mountings for these are nicely done with additional etched securing straps and you need to cut the etched strap to the appropriate length to fit.
The taillight detail is nicely done and there is a separate spare wheel mounting and jerry can rack in etched brass with a US style fuel can for a good appearance, the rack assembles easily using cyanoacrylate (or soldering) but you need to add plastic card spacers when fitting to the rear body to clear the panel detail; this will become obvious when you try and fit the rack. There is an issue with both the taillights and the reflectors being positioned too far inboard, the reflectors actually should overlap the rear panel/ body join and not sit inside it as with the kit.
Moving to the inside the central transmission hump has been corrected with smooth top and edges although the large recess in the firewall still has square edges and not rounded although as they should but this is mostly hidden by the instrument panel after assembly if you wish to overlook this?
There are square channels on either side of the floor pan at the base of the side panels which shouldn’t be there at all and would need to be removed, something that is not easy due the one piece design of the body. There is an actual channel on the left side panel under the entrance “doorway” but this is positioned clear of the floor pan with a distinct gap between the floor and channel.
The seats have also been revised, but firstly the instructions still show the part numbers transposed, part B4 is the Driver’s seat and B5 the passenger seat, not the other way around as indicated and the two supports on the back of the backrest are too thick and should be about a third the thickness. There are two locating lugs on the top of the fuel tank but these are in the wrong place to attach the seat and you should fit the tank to the floor and then position the seat so the legs fit into the floor locating holes, you may need to add a section of plastic strip under the inside seat frame for it to sit level?
The floor holes for the seat legs are actually way too big and you could fill these beforehand and then drill new holes the appropriate size for the legs to avoid the large gaps left after fitting the seats into the holes as they come.
The instrument panel has nice details included along with a separate hand brake handle and decals for the instrument dials and data blocks with the steering wheel and column added to the underside of the panel and through the firewall. On the floor are separate Driver’s foot pedals and gear shift levers as well as the hand brake handle for nicely done details.
The fit of the body to the chassis require some minor modifications; firstly you should trim the two pins off the rear chassis cross member for easier fitting as I found these unnecessary and just got in the way, the four pins on the chassis beams are more that adequate. The transmission will need the rear top trimmed smooth to fit under the body transmission hump properly and there is a small projection on the inside of the firewall that will also need to be trimmed off to allow the body to fit properly over the engine. Test fitting will determine the extent of trimming required but after the mods the body fitted nicely to the chassis.
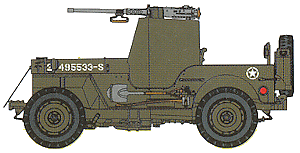
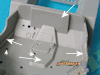
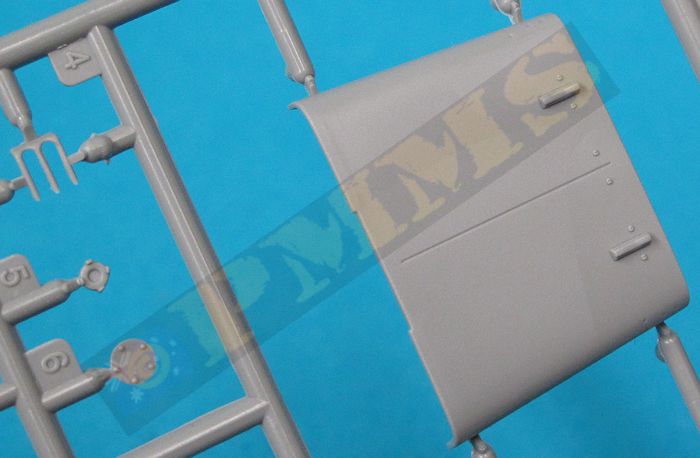
Finally there is the additional armour plates provided in thicker etched brass, the large cabin panels have engraved bending lines and easily bend to shape, just bend a little at a time and test fit so you don’t bend these too many times causing them to come adrift. The larger armour sits neatly inside the cabin but not snug against the instrument panel as the period image would suggest but some minor trimming would fix this if you feel it’s required? The rectangular front armour plate is just glued under the hood overhand and over the bumper bar, note the direction of the armour plate as it should be fitted longways and is also slightly too long and extends a little too far over the bumper bar when compared to the reference image in the Concord book, a bit of filing will remedy this easily enough.
Also included on the sprues are the folded canvas roof frames for the rear body but these are not used with the recon Jeep featured in the kit so we may well see other 1/4ton 4x4 Truck coming in standard configuration, in any case you can leave off the armour panels from this kit and you are all but there in any case.
One notable omission is there is no radio included as recon Jeeps would have been most likely fitted with the SCR-510 or SCR-193 radio set so this will have to be sourced this elsewhere to complete the model appropriately.
Another reason you shouldn’t use the B gun parts is the pintle mount isn’t tall enough to clear the top of the armour plate when fitted while that with the J parts does as well as being better detailed. The instructions indicate to use the early style etched magazine box but the reference image in the Concord book clearly shows the gun is belt fed without an actual ammo box fitted. The mounting post has two locating pins on the base but there are no corresponding holes in the floor so simply cut off the pins and glue the base directly to the floor, the base locates had up against the central transmission hump and corresponds to the middle of the armour gun recess.
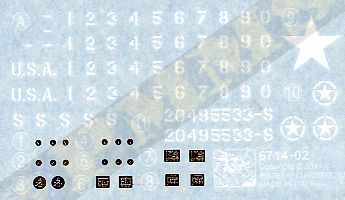
The small decal sheet has the instrument dials and data blocks with two sets allowing for any mishaps or to use on another Jeep if needed with the specific markings for the 82nd Airborne recon Jeep with the added armour during the Battle of the Bulge in January 1944 along with a series of numbers so you can just about any Jeep you wish.
 |
The additional etched armour plates gives a very different appearance but to be strictly correct to the period photo of the vehicle you will need to add snow chains to the wheels and as mentioned there is no radio set included.
Rating 8.5/10
Click on thumbnails for larger view


Build images
Sprue detail images


| MB Jeeps in detail Wings & Wheels Publications R 054  |
The US Army Jeep at War Concord Armor at War series #7058  |
 for
the review kit.
for
the review kit. 