
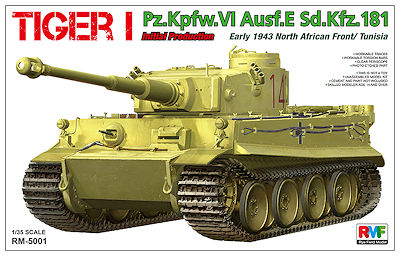
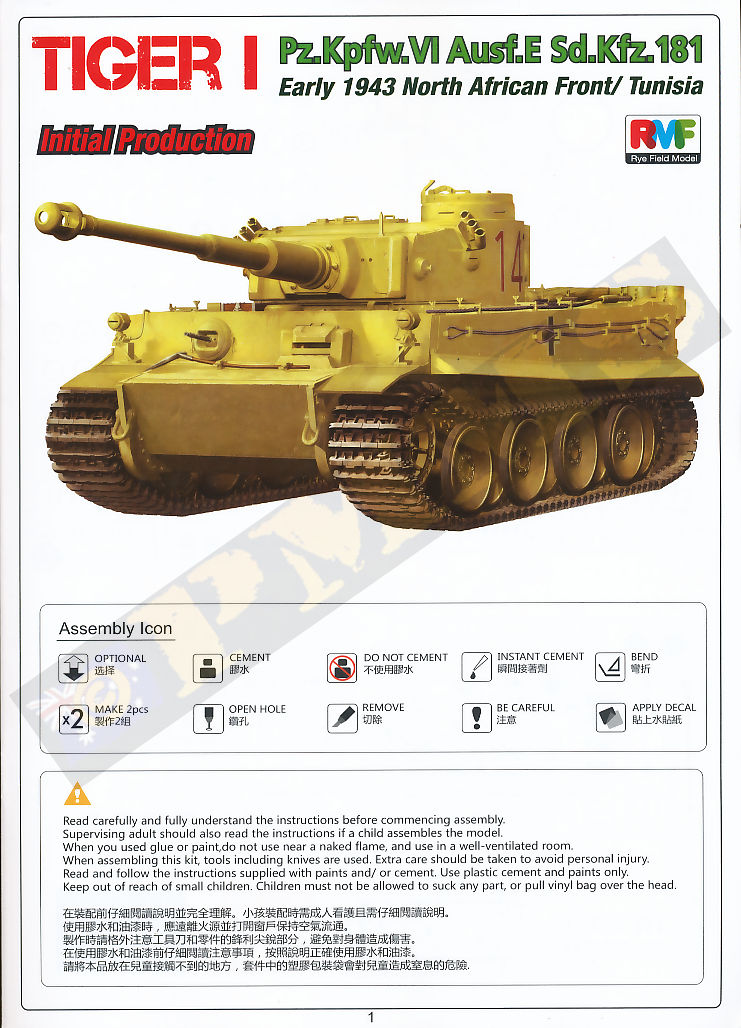
Tiger I Pz.Kpfw.VI Aust.E Sd.Kfz.181
Initial Production, early 1943 North African Front/Tunisia
Rye Field Model kit RM5001
Review by Terry Ashley
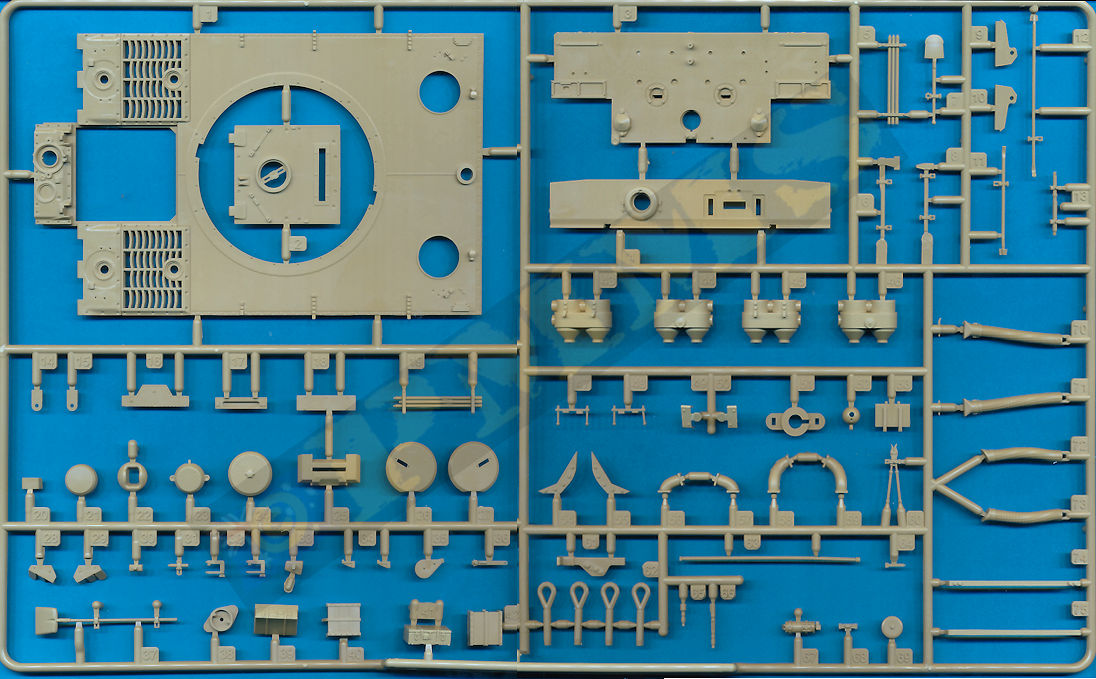
The kit is moulded in light beige plastic with dark grey plastic for the individual track link parts with the full kit consisting of:
487 Parts in light beige plastic
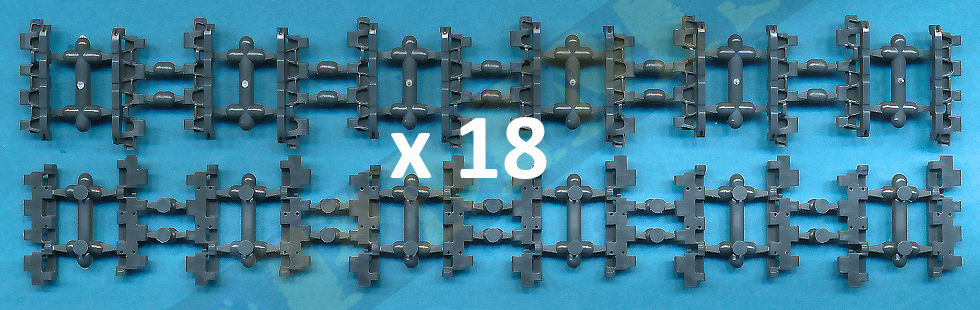
216 x Individual track links in dark grey plastic
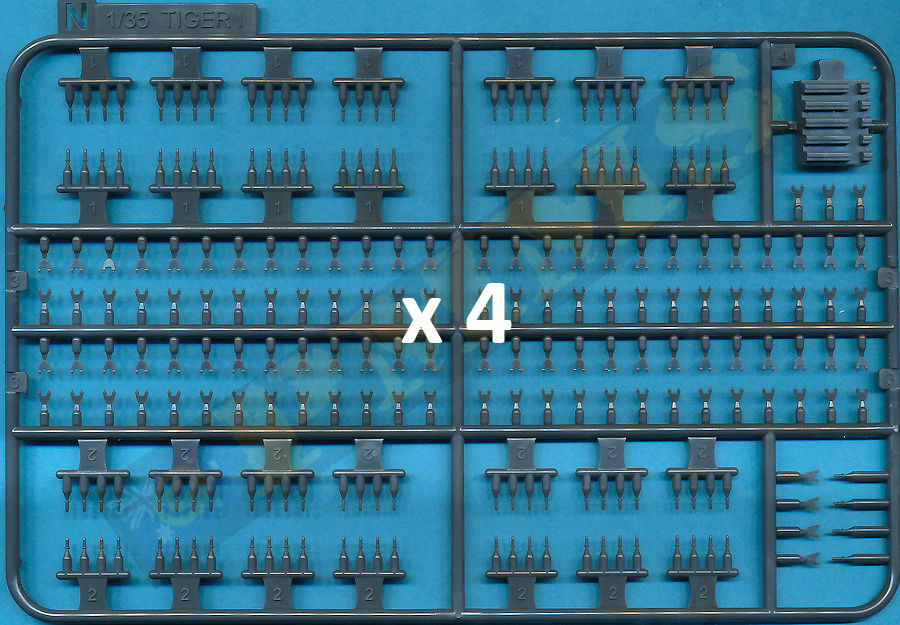
912 x Track link parts in dark grey plastic (444 individual guide horns, 464 track pins, 4 assembly jigs)
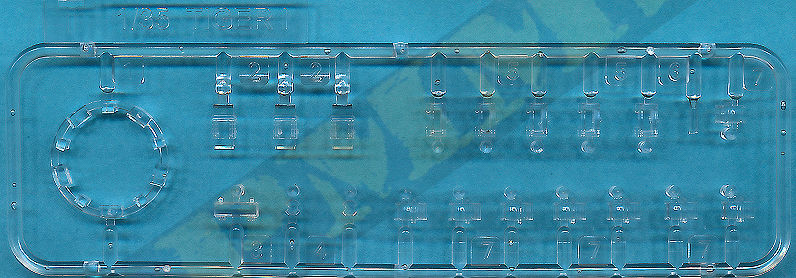
21 x Clear plastic parts
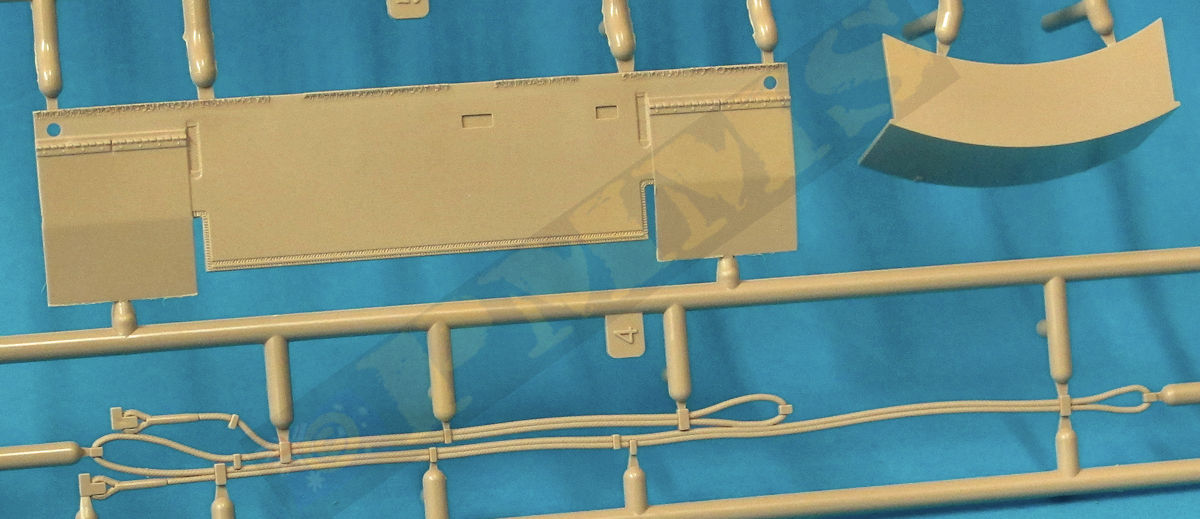
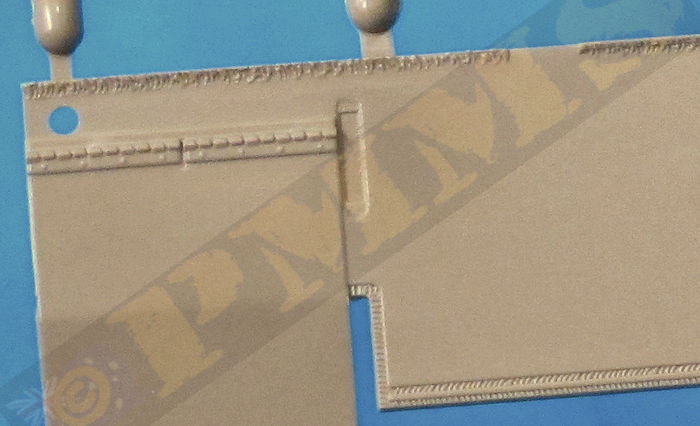
116 x Etched metal parts
1 x Length of twisted copper sire
1 x Decal sheet
1 x 11 page instruction booklet

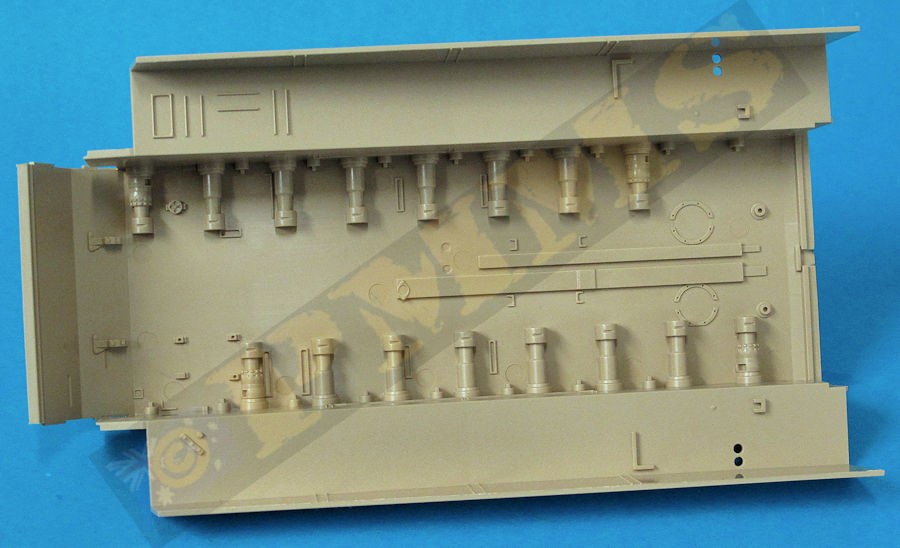
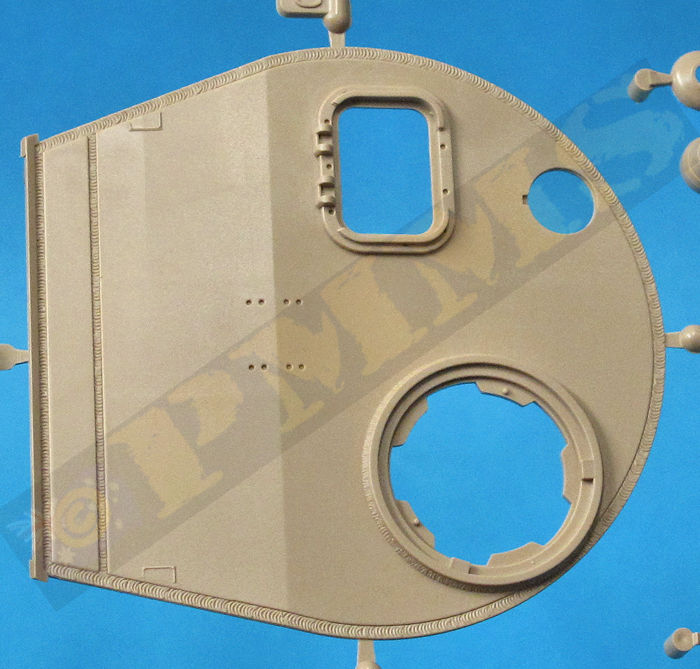
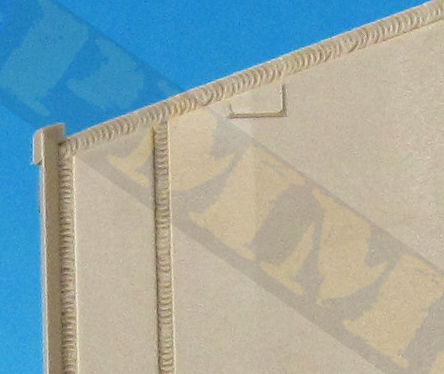
The quality of the mouldings is excellent with crisp clean details overall and no flash or pin marks that will be seen after assembly with just the usual excess plastic nodes and mould lines to be removed from the parts before assembly. The plastic is quite softish and not brittle at all which makes it easy to work with but you do need to take care when removing the sprue attachment burrs to not remove some of the part as well and some of the mould lines will need a little firmer sanding to fully remove. The kit has some alternate parts such as for the Drive Sprockets, Gun Mantlet and Turret left side, Turret bin with other smaller parts not used with this kit which would indicate more kits of later versions to follow. Also there is no interior details with this kit yet detail is moulded on to the inside turret walls/roof and inside the lower hull again for possible future use?
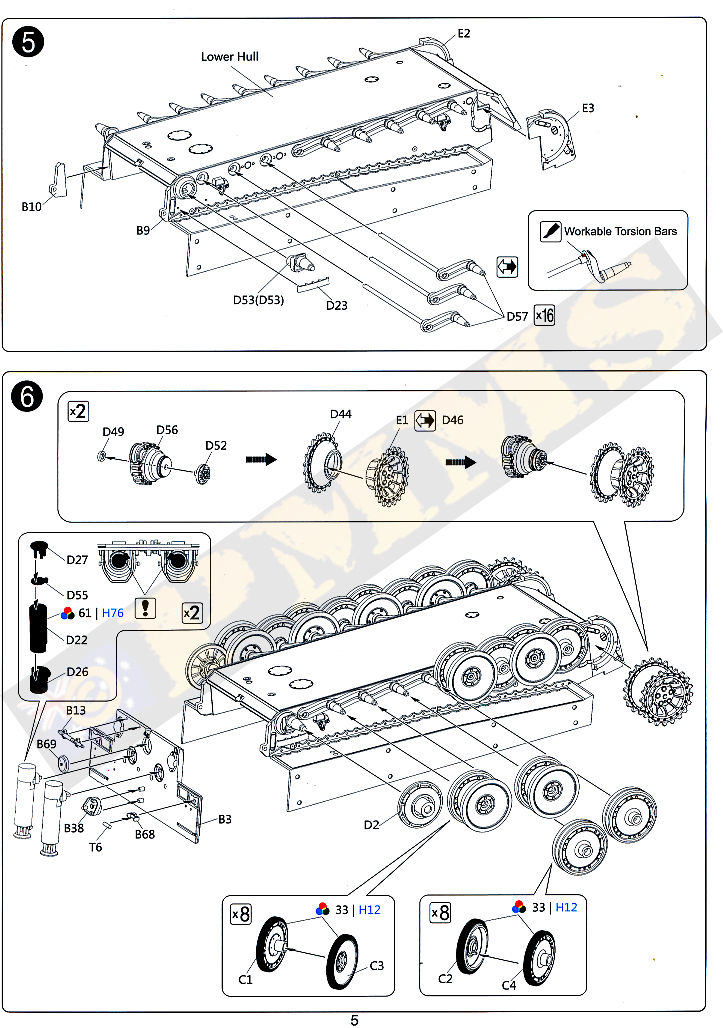
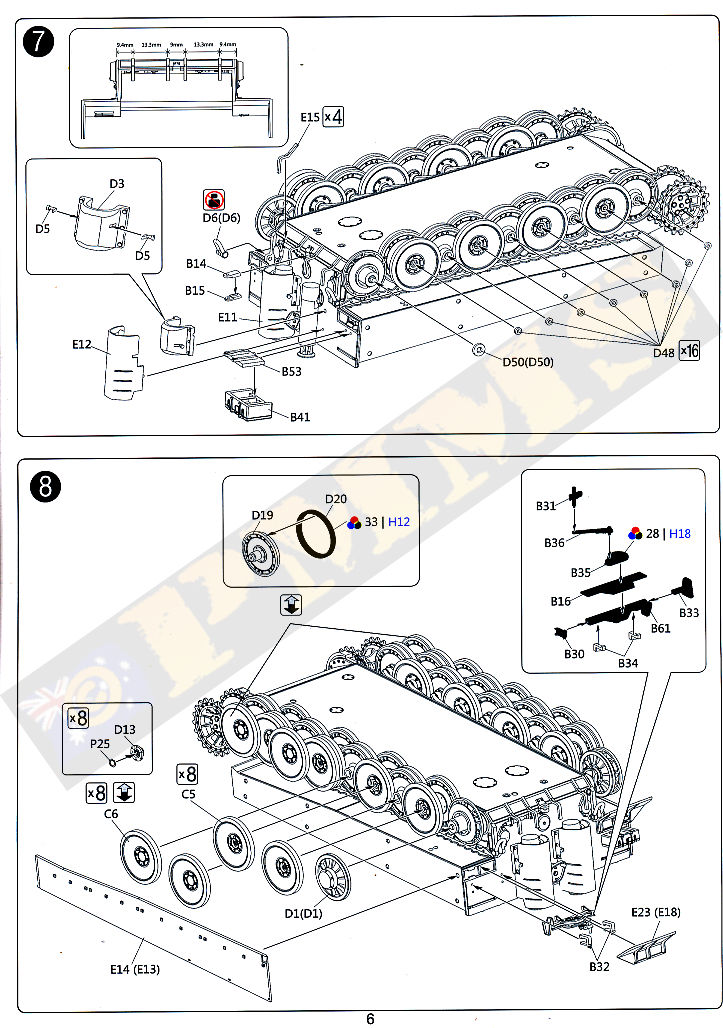
The kit also includes workable or fixed torsion bar suspension if you wish to add some animation to the running gear along with fully workable individual link tracks and all the crew hatches and engine deck hatches are separate and can be displayed open or closed if you did want to add your own interior and engine? Included on the Sprue runner D is a selection of bolt heads of different sizes that can be cut off and used as required on the model.
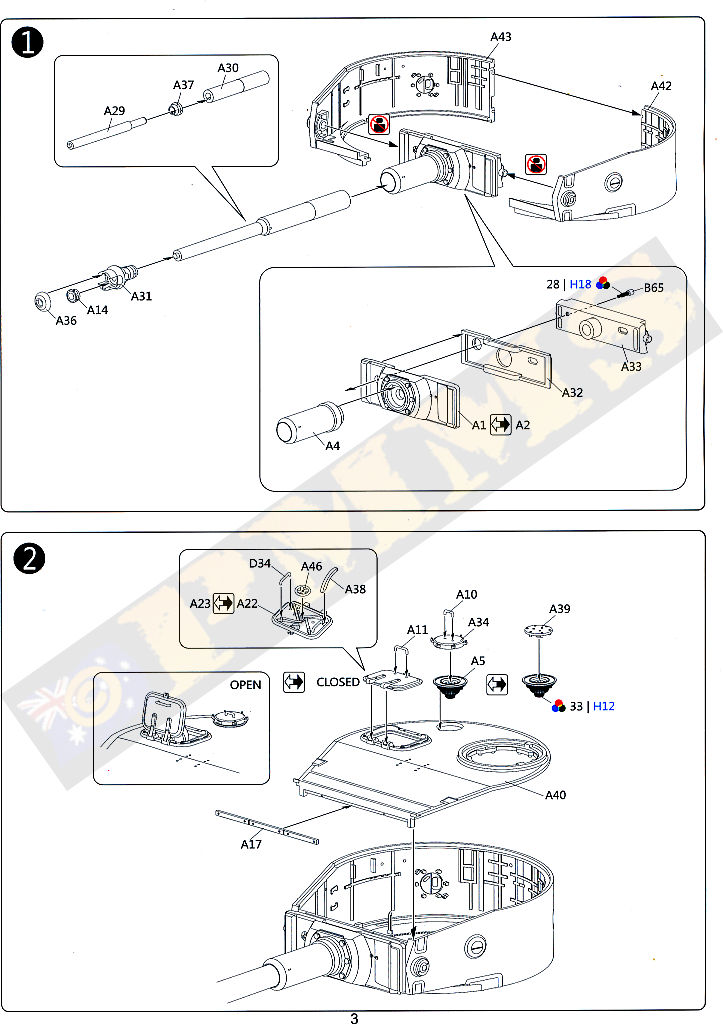
Dimensionally the kit measures out well give or take a fraction against available plans in the references listed below in areas such as turret, hull, running gear etc. apart from one part, the outer section of the barrel tube (part A29) is 3mm too long, but more on that later.
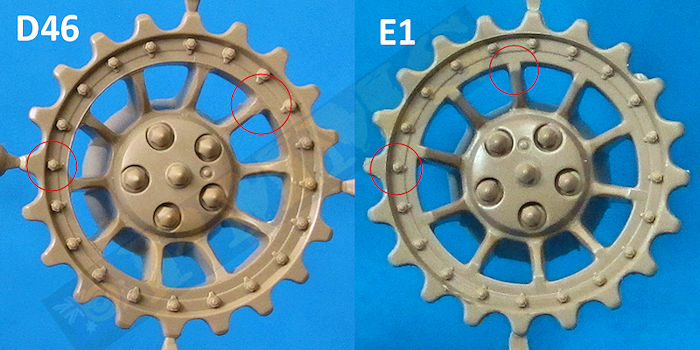
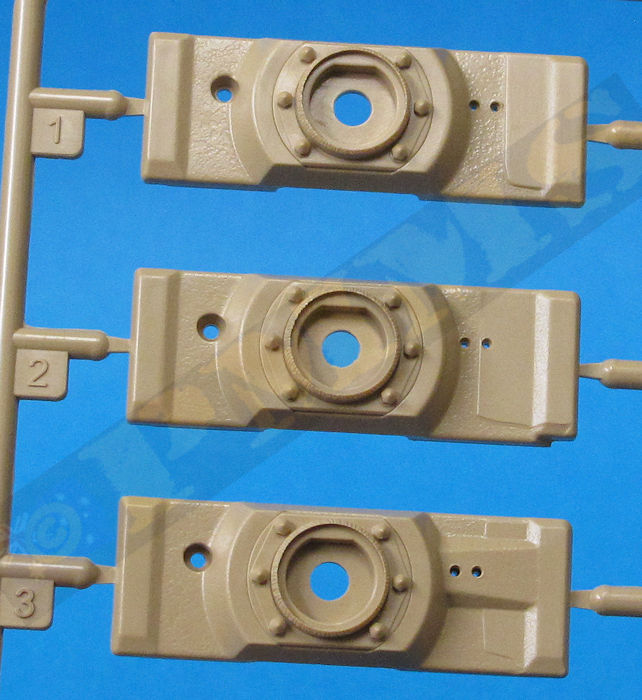
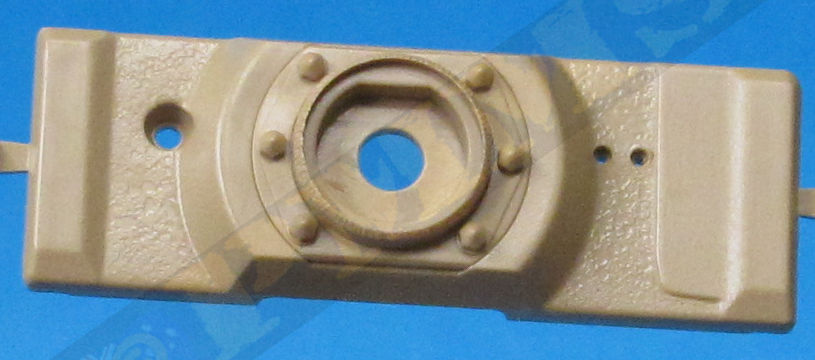
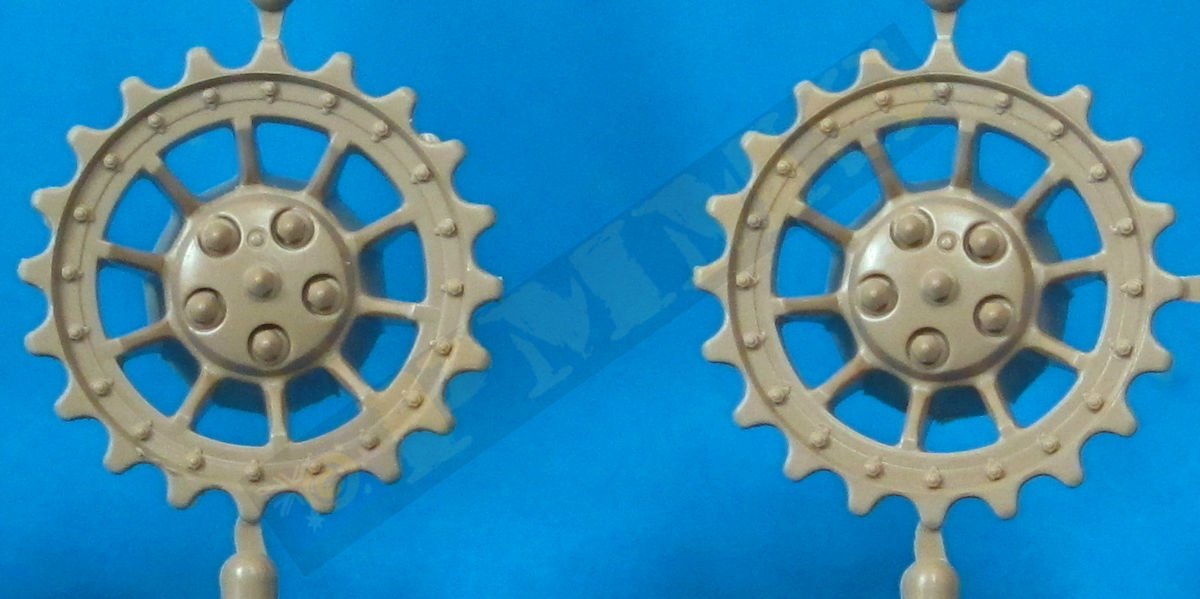
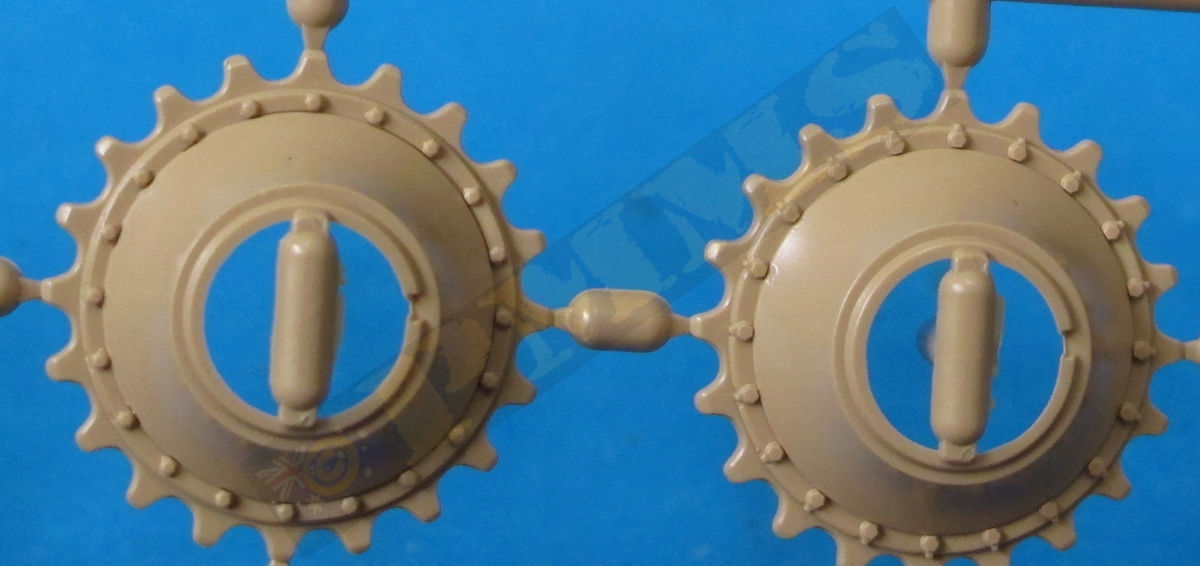
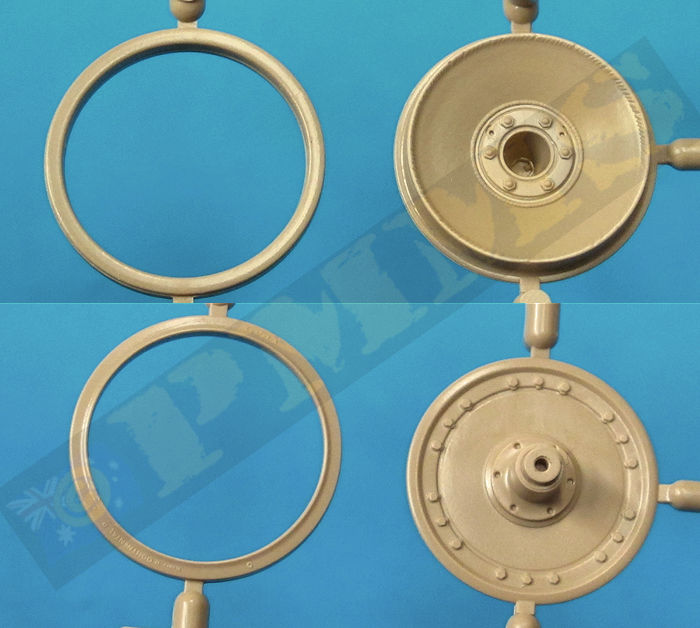
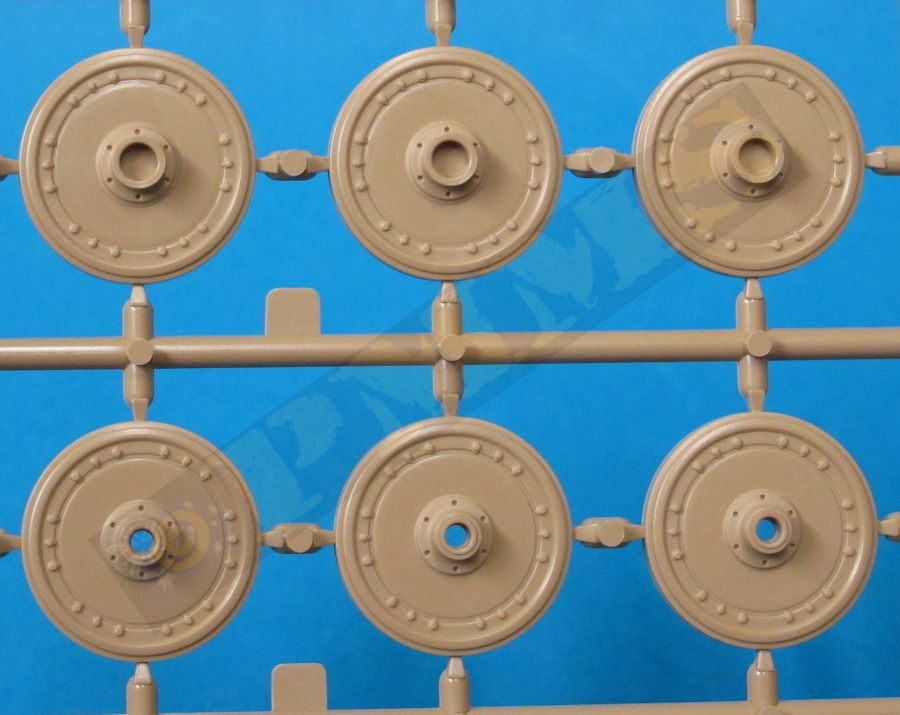
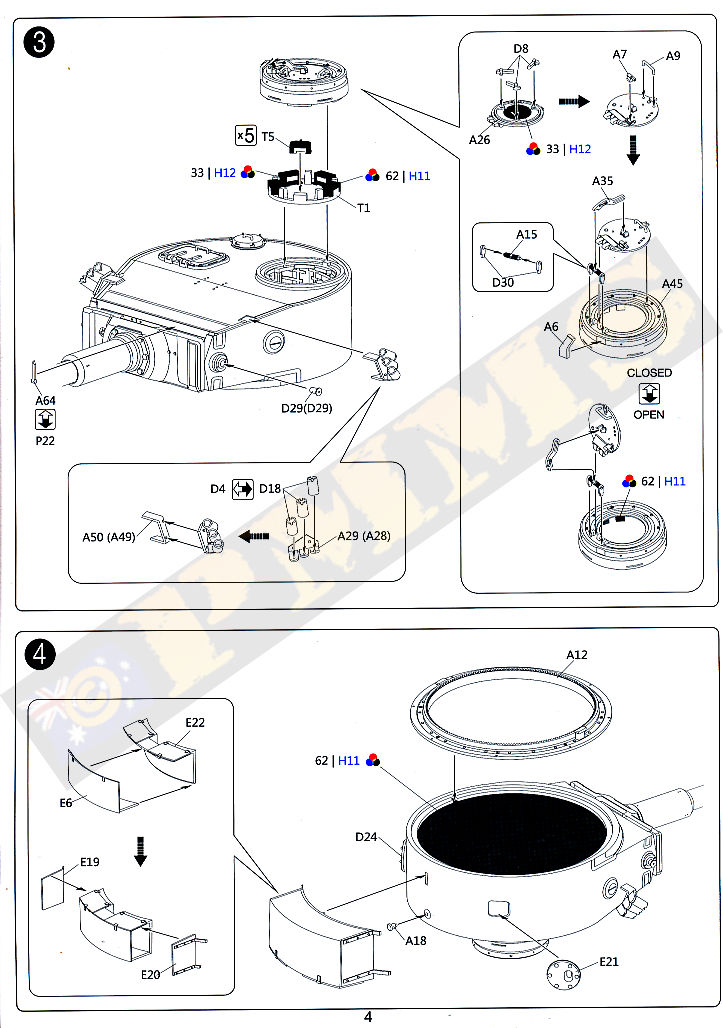
The final drive housing has nice bolt details and the outer sprocket attachment plate is a separate part that is held in place with and inner ring and can be made movable if careful with the glue, the drive sprocket then attached to the plate to allow the sprocket to rotate. There are two alternate drive sprockets applicable to the this kit (part D46/E1) with very minor detail differences, D46 has slightly larger outer sprocket bolts and the end contours of the sprocket ribs are square on E1 and rounded on D46 so you simply choose your sprocket and attach to the final drive.
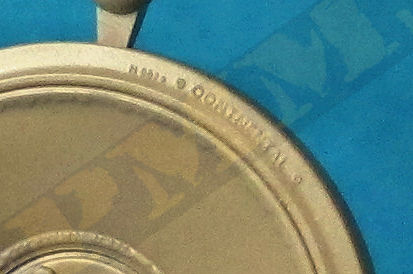
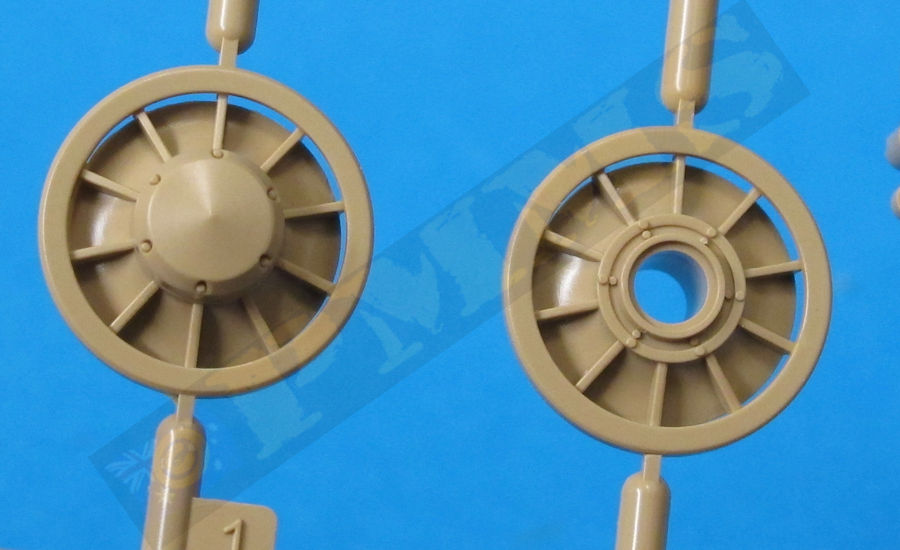
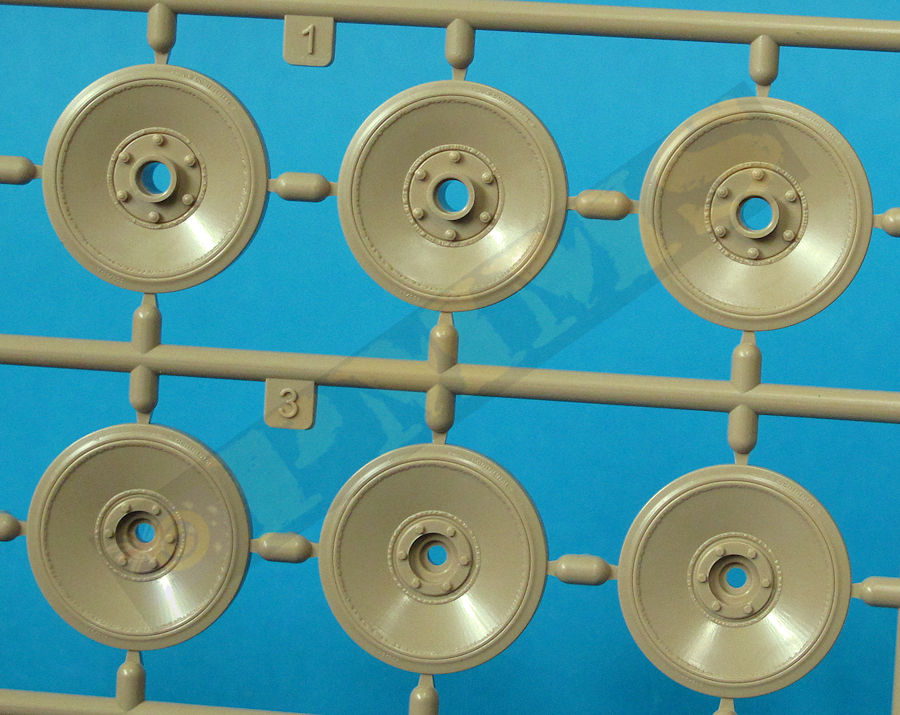
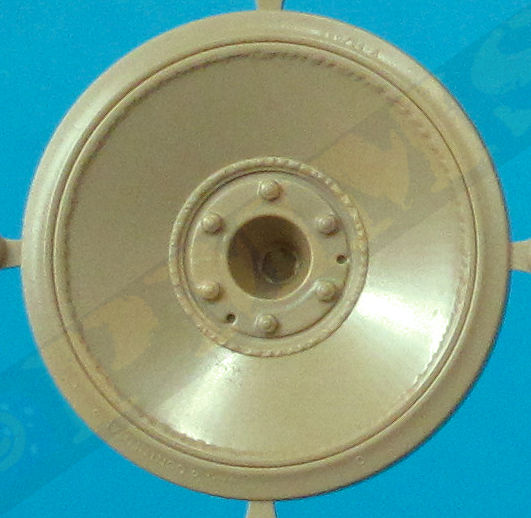
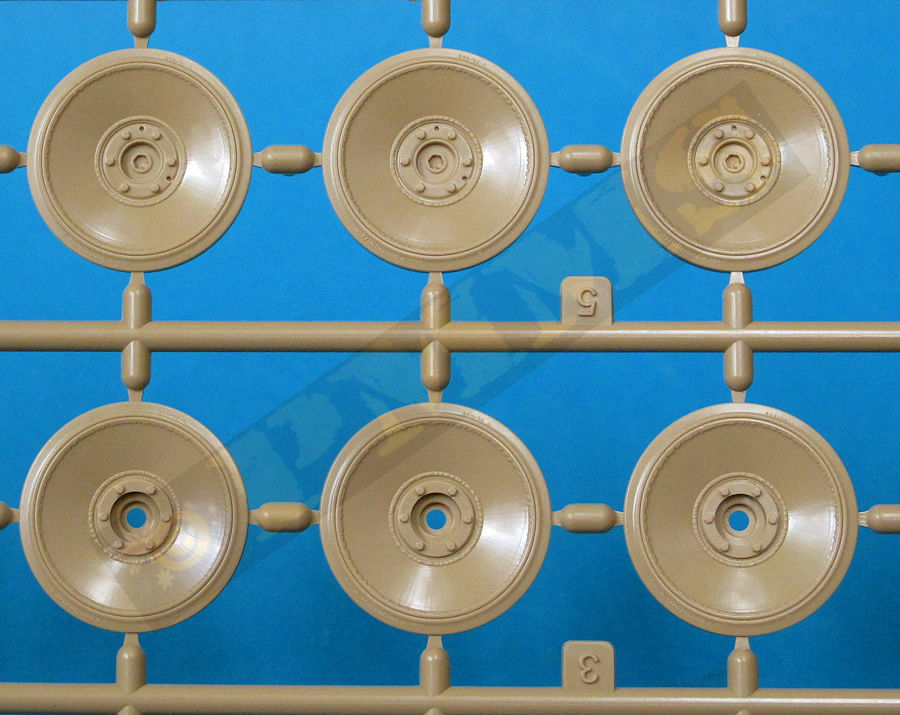
The road wheels have detail on both sides of each wheel for a nice touch and include welds around the outer rim and inner hub for good detail, this includes extremely fine rendering of the name "continental" and data on the rubber sidewalls, this is so fine it's east ot miss when looking at the wheels but can be enhanced with painting.
the two part idlers also have nice details included with a small ring holding the inner idler wheel on the axle allowing this to rotate after assembly as do the road wheels. Just take note of the instructions regarding the overlapping road wheel assembly but this shouldn’t be a problem for those familiar with German road wheels.
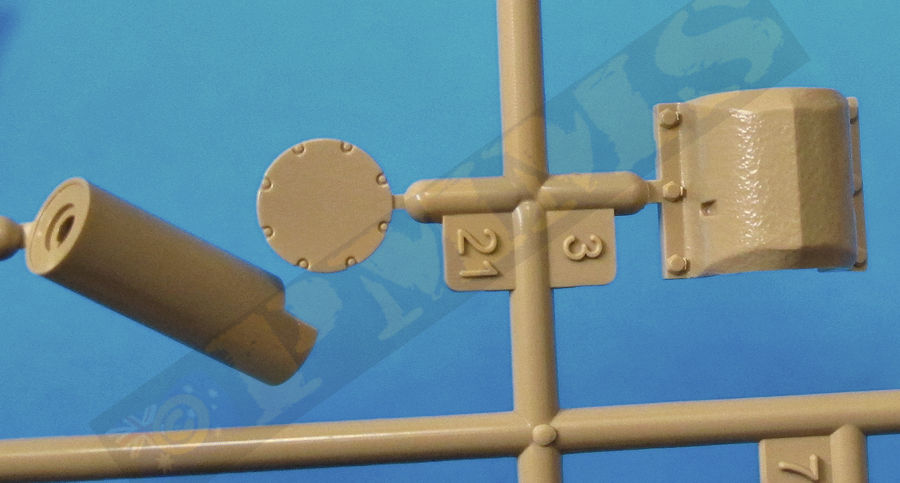
The separate rear hull plate has the exhausts and armoured covers added, just note the instructions tell you fit the dampeners (parts D27) to the top of the exhausts but these were not fitted to the early Tigers as depicted in this kit so just leave these parts off. The outer exhaust shields are moulded a bit on the thick side but no doubt etched replacement will be available shortly from the usual sources?
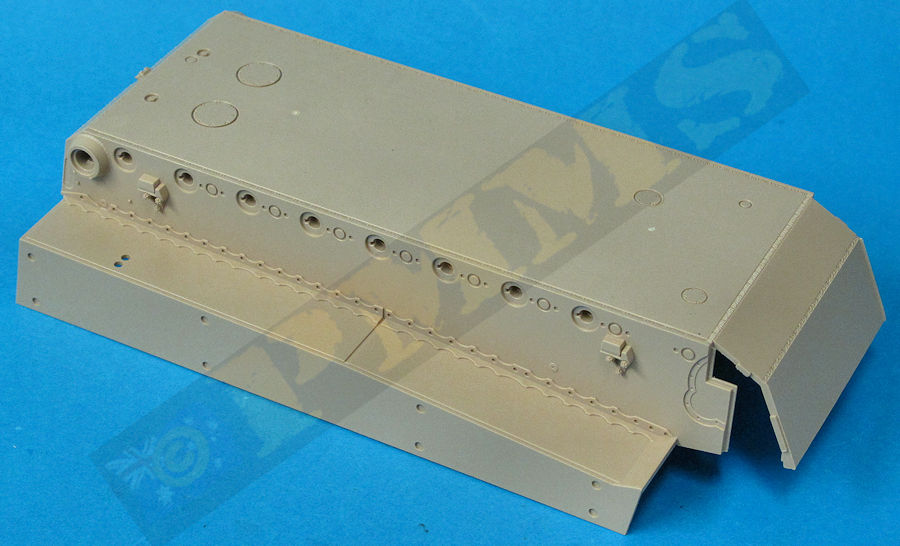
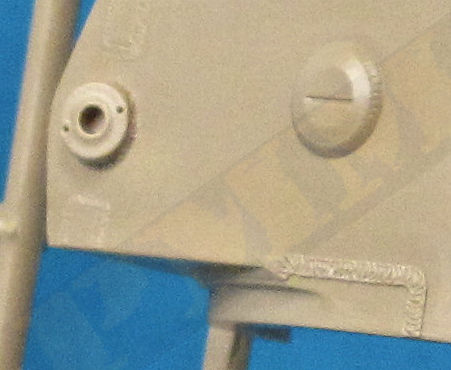
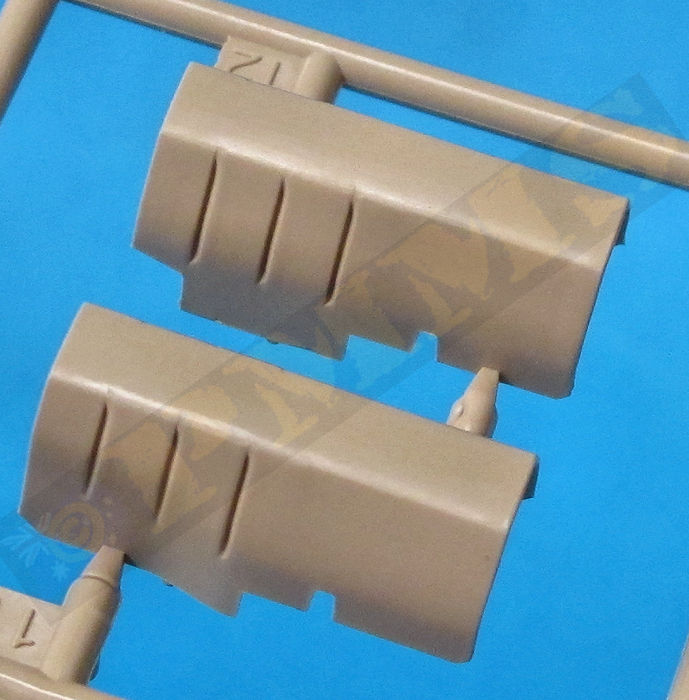
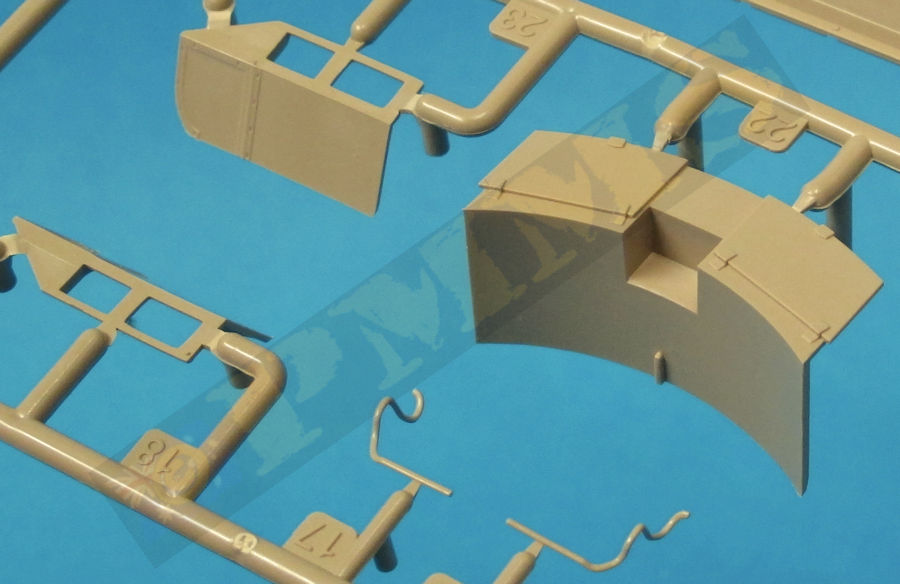
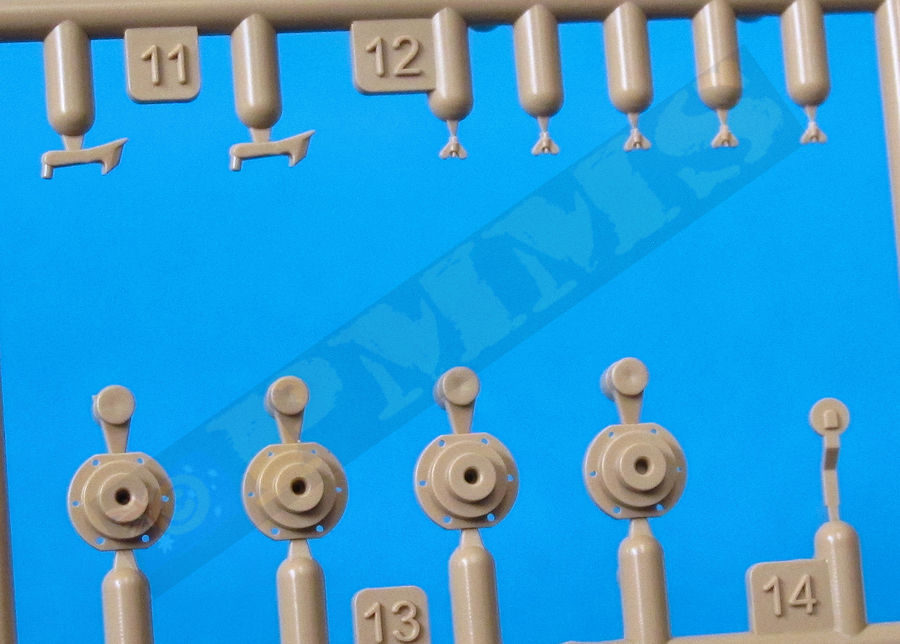
Other details such as the fenders and multi-part jack can be added and the outer hull side plates added, these have the fender mounting bolt lugs included but when you add the outer fender extensions later the bolts on the fenders don’t align with the lugs correctly but this may be difficult to see on the final kit?
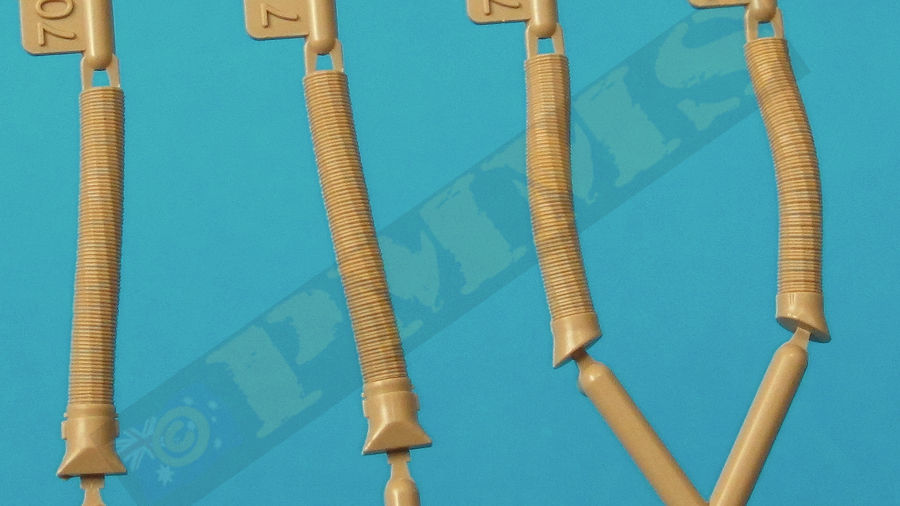
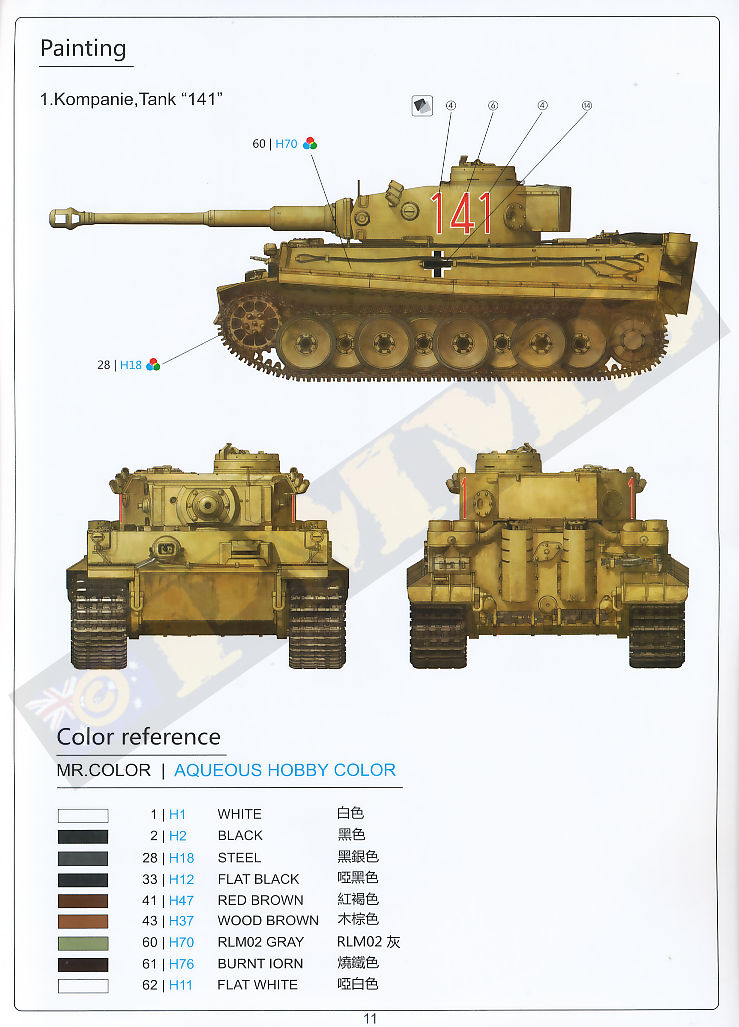
One notable feature is the large tow cable stowed on the top hull is the very early layout with the cable ends clipped onto the engine deck and the cable strung along the sides and front, this layout was only seen on a few very early vehicles and to alter this to the more common layout of cable over the rear deck and cable ends at the front of the hull you would need to cut off the moulded on cable attachments and replace with the etched clips provided in the amended positions, referring to plans in the books listed below will give the appropriate cable layout. Having the cable supplied as the twisted copper wire does make this easier to achieve with the clip brackets needing to be altered in position.
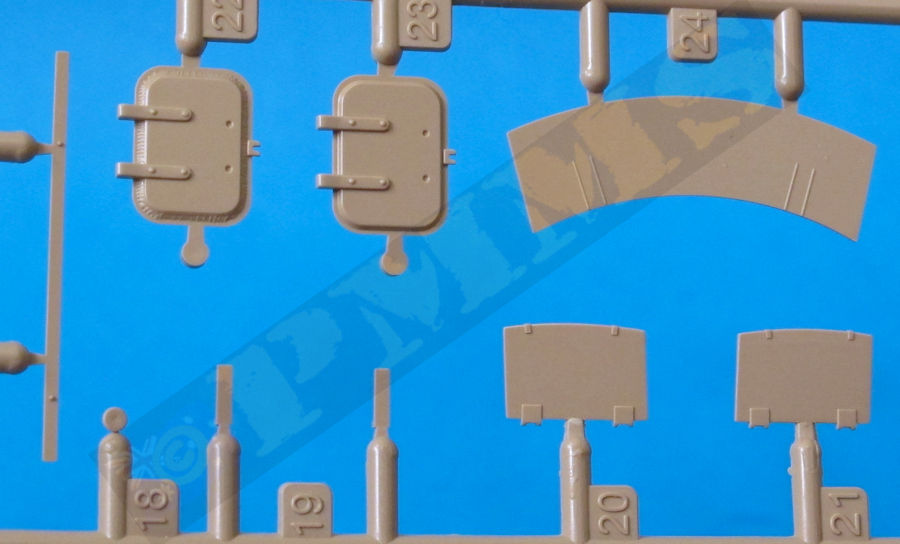
The front crew hatches have the full inner latch and hinges included as well as separate periscope for good details and will allow you to position the hatches open of closed as your wish. All the tools are separate and come with moulded on tool clips but you also get three part workable etched tool clips if you wish to cut away the moulded on clips and replace these for greater detail definition with the etched clips.
The front driver’s plate has separate MG ball mounting but just the outer section of MG34 barrel is provided, the muzzle is slightly indented using slide moulds but replacing the barrel with any of the available metal MG34 tanks barrels will improve the look further. The driver’s armoured visor housing is also separate and depicted in the open position with the front plate attaching to the hull once the top plate has been fitted.
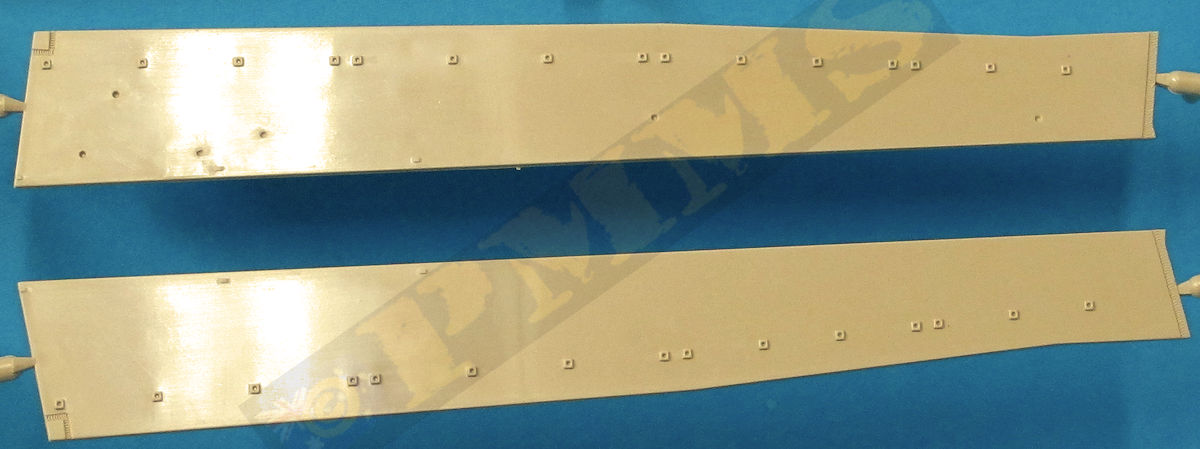
The small front glacis has the visor guard included and the early style outer fenders with three different styles of embossed etched treadplate to add to the fenders as required. The twin head lights are made up of seven parts each (with clear lens inside the light) and etched bracket plus the electrical cable for nicely detailed additions.
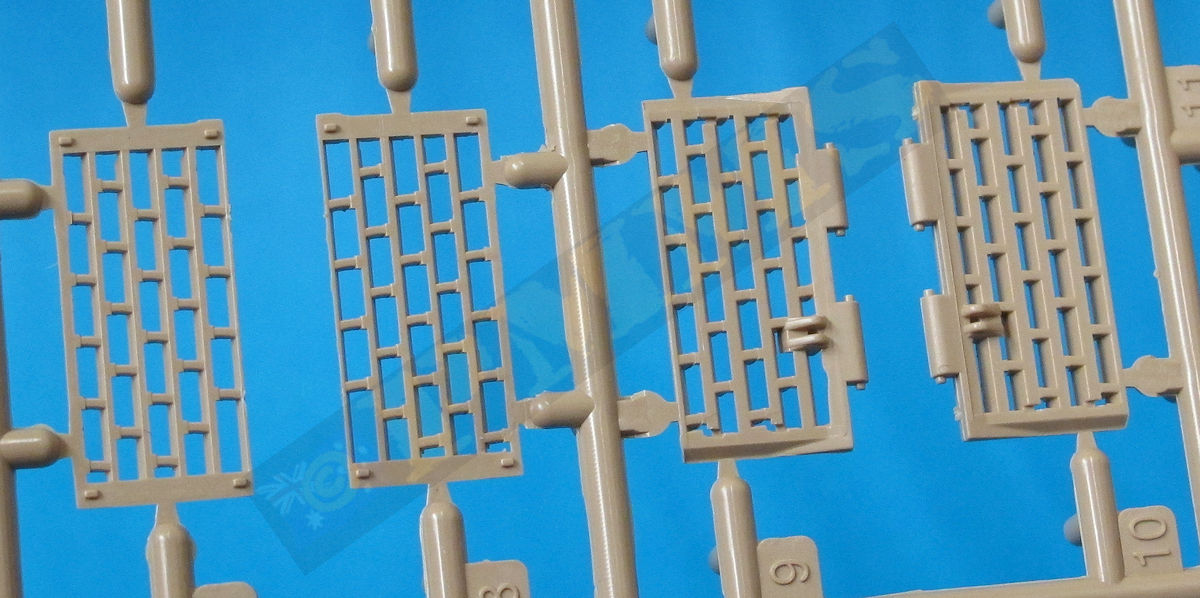
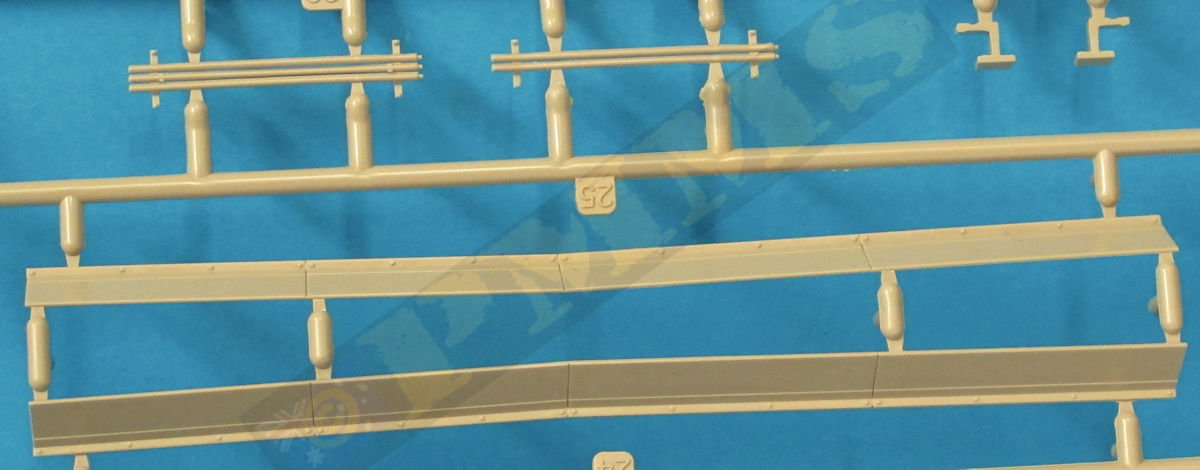
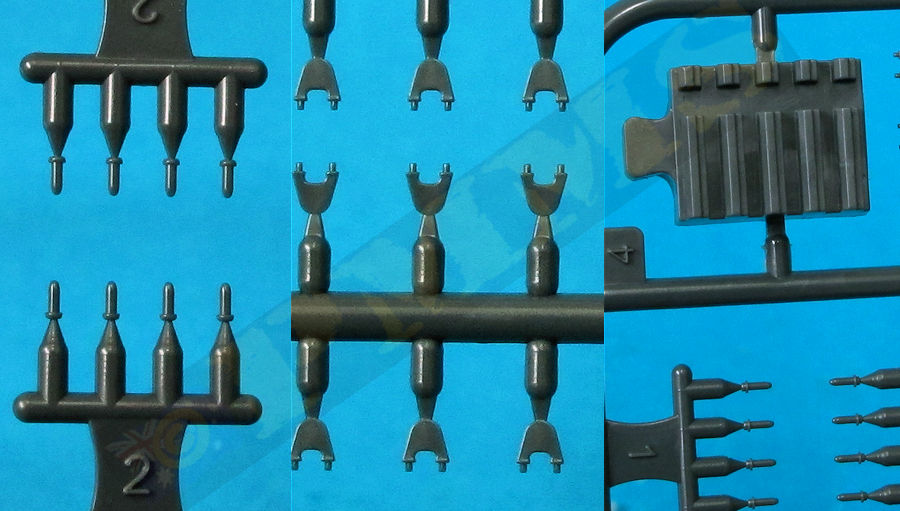
The rear mounted early Feifel air filter has four sections of piping for each filter and the texture on the pipe sections is nicely done and there are separate fine clips provided for the piping once fitted to the hull.
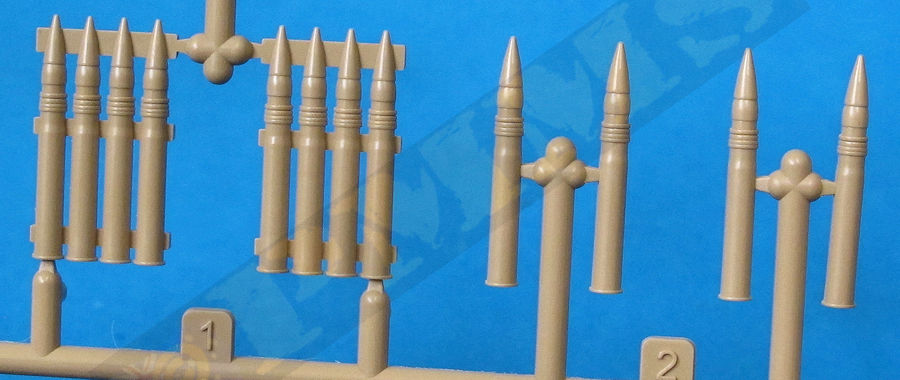
Detail on the links is very well done and the pins on the sprues are spaced so you can fit four pins while still on the sprue and then cut off once glued in place, note be sparing with the glue if you want the track to be fully workable after.
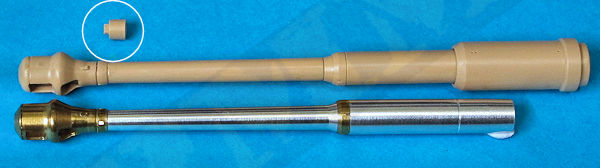
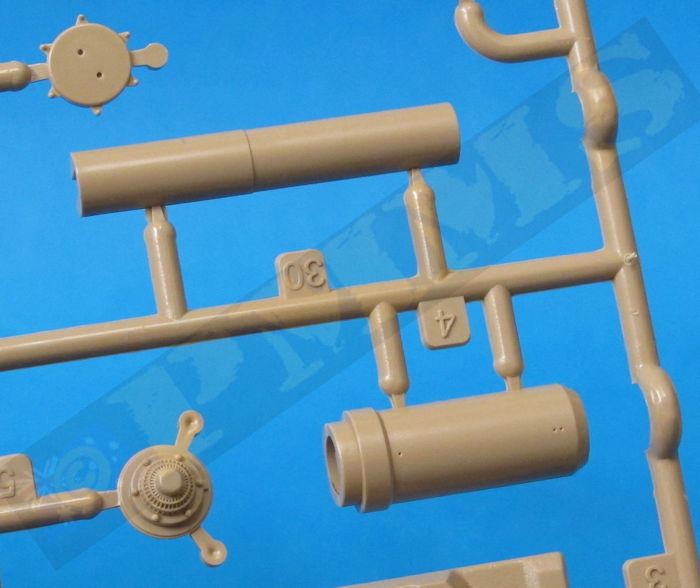
The gun mantlet has the inner mounting plate with the elevation pivot lugs but no other interior is provided, also just the outer barrel for the co-ax MG34 is also included with the main 88mm gun made up of the large collar attached to the mantlet and three part barrel tube and a three part muzzle brake. The detail on the mantlets is very well done with welds and cast texture on the mantlet face nicely done as are the other details. You need to take care removing the mould seams on the barrel parts to keep the round profile with assembly fairly straightforward.
There is an issue in that the outer section of the barrel tube (A29) is 3mm too long and you could simply trim this at the muzzle end by 3mm and then butt join the muzzle brake as the taper on the barrel tube is very slight and it should mate with the muzzle brake ok after trimming. The muzzle brake is in one main part with separate inner ring and face ring, the contours of the main brake is nicely done with just the mould line to be removed beforehand.
and comparison with the ABER metal barrel of the correct length.
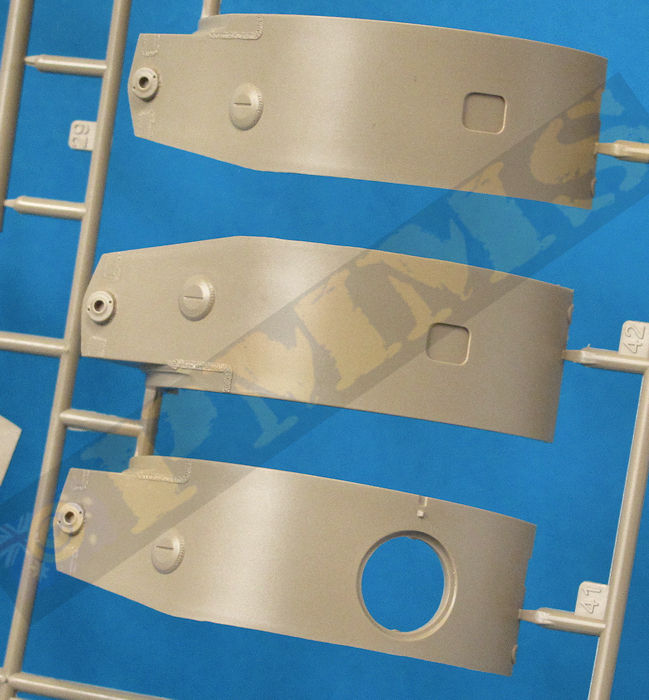
There are alternate style top crew hatches with the inner locking wheel and holds and this can be shown open if you wish and there is also alternate exhaust fan covers depending on the vehicle being modelled? The one piece cupola is nicely moulded and has clear plastic periscope inserts as well as the hatch having inner latch details if you wish to have this open?
The three smoke grenade launchers at Step 3 have some miss-numbered parts in the instructions to confuse matters, parts shown as A29(A28) should be B29(B28) and A50(A49) should be B50(B49), part A64 should be B64 and part D18 should be D16. All correct numbers are shown in bold.
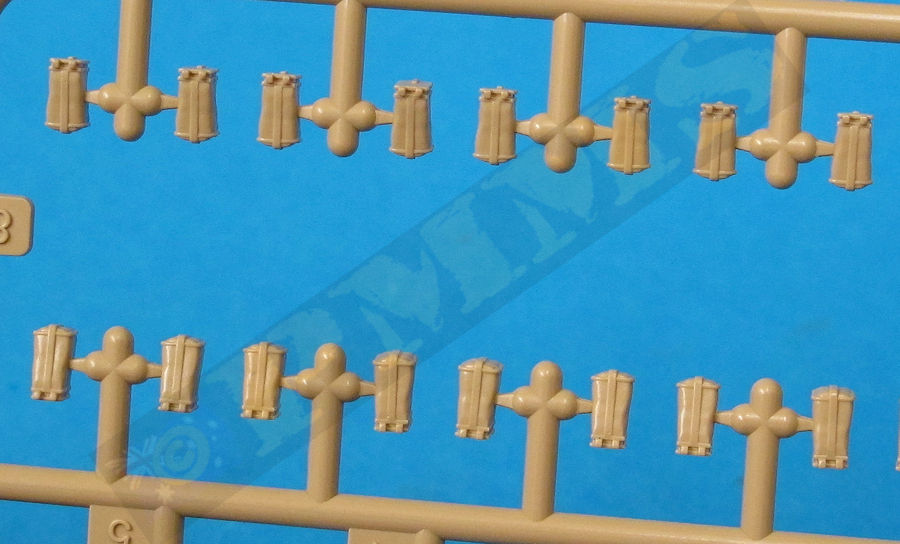
That aside you have a choice of empty pots (D16) or loaded with the grenade (D4) with the racks fitting to the turret roof as shown. At the back is a four part turret bin, this is the early style bin with a later style also included with the kit but not used
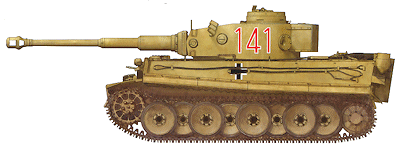
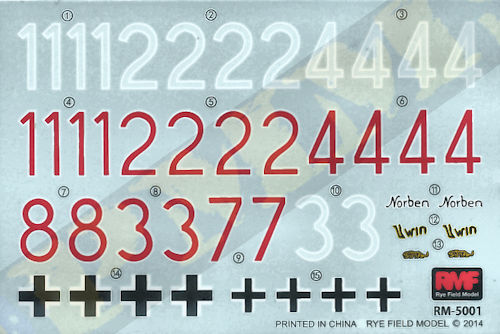
The decals include an assortment of turret numbers in red with white outline and just white outlined numbers and different style Balkenkreuz and a couple of vehicle names but the instructions only show one example of vehicle 141 with red with white outlined numbers and referring to additional references will be needed to determine other options.
The kit measures at well against references apart from the one small barrel length blemish and there are a number of optional parts to allow different finishing options although the marking option information is a little thin on the ground.
This kit should be welcomed by Tiger fans as well as modeller’s in general and goes well for future releases from Rye Field Models.
Rating 8/10
See here for a build blog by David Coyne on Track Link of this kit.
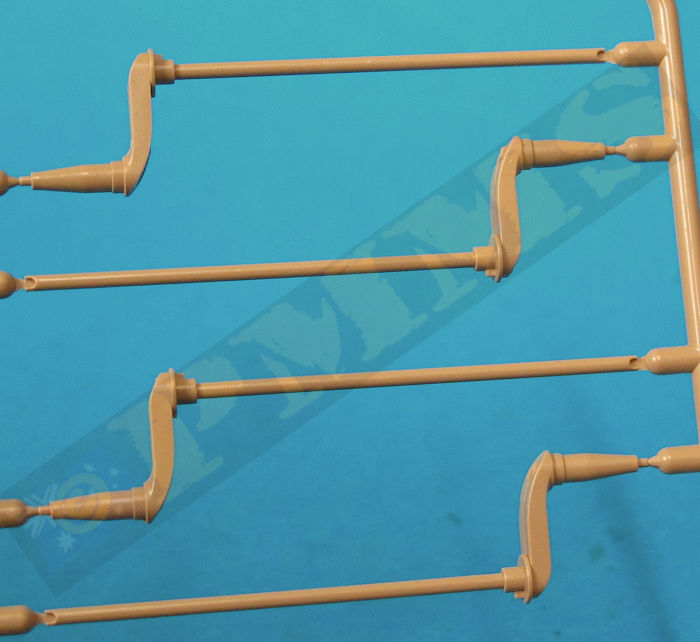
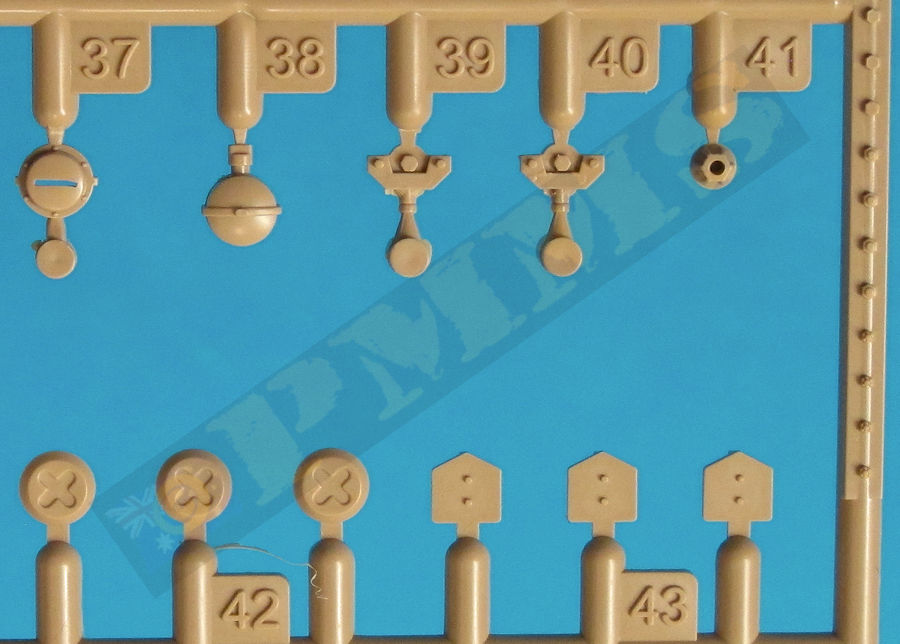
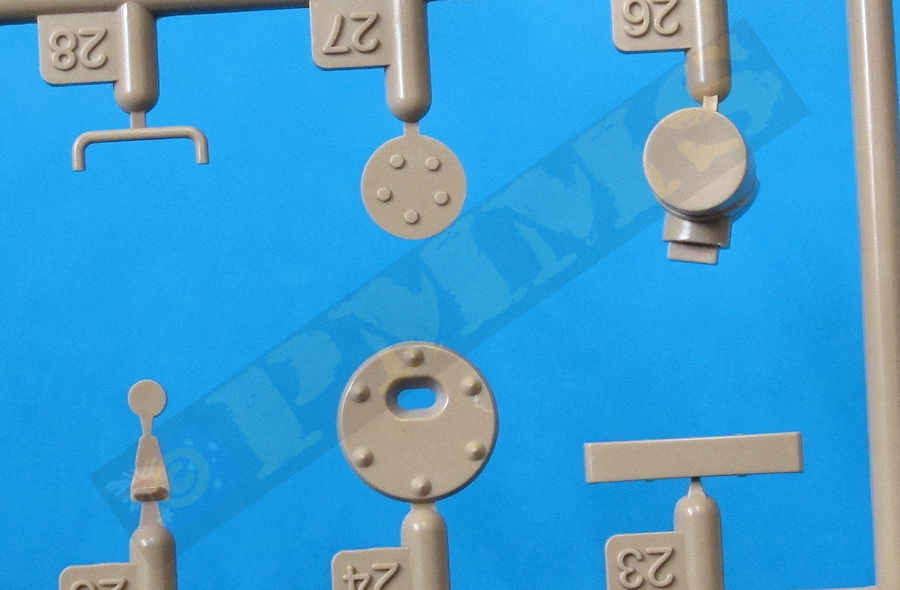
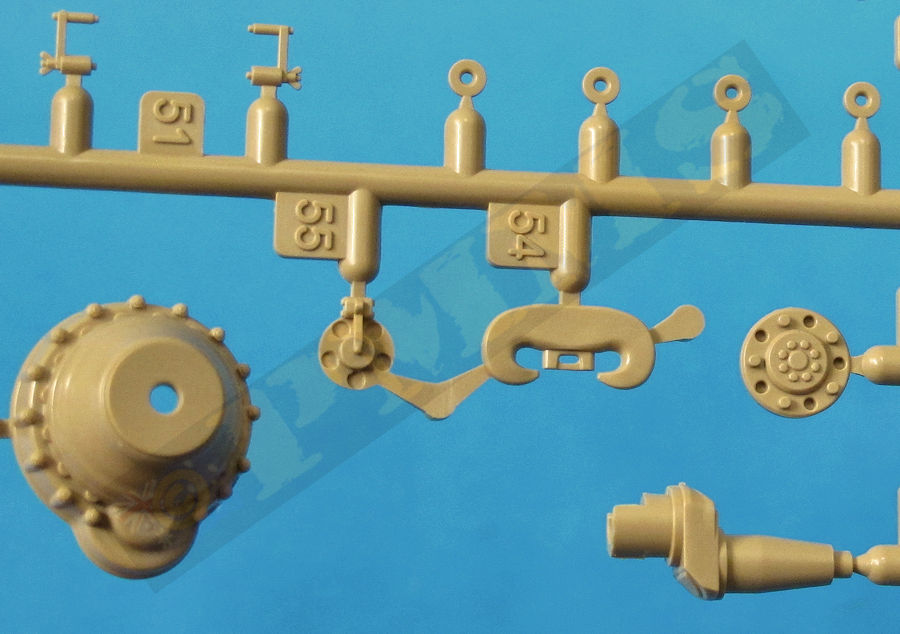
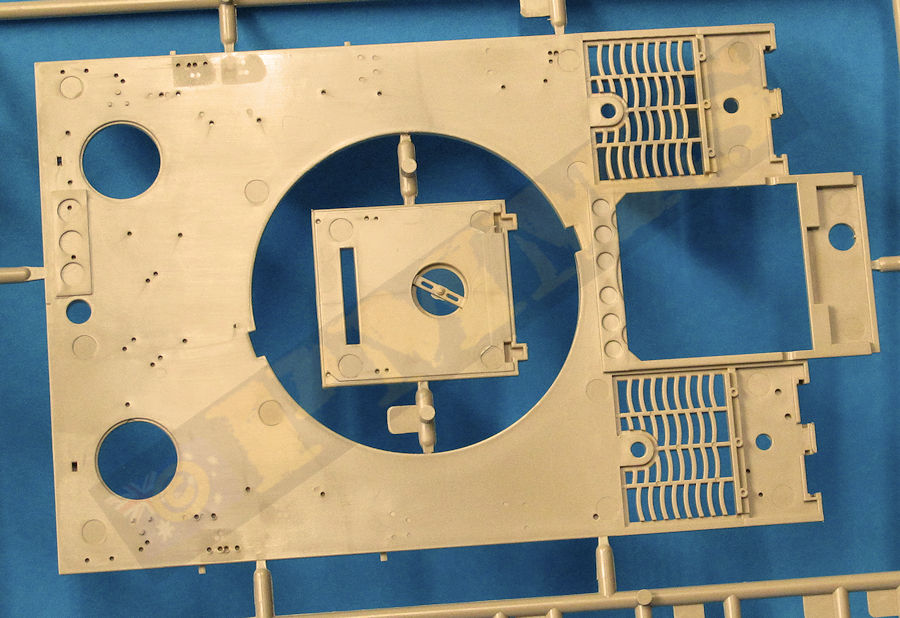
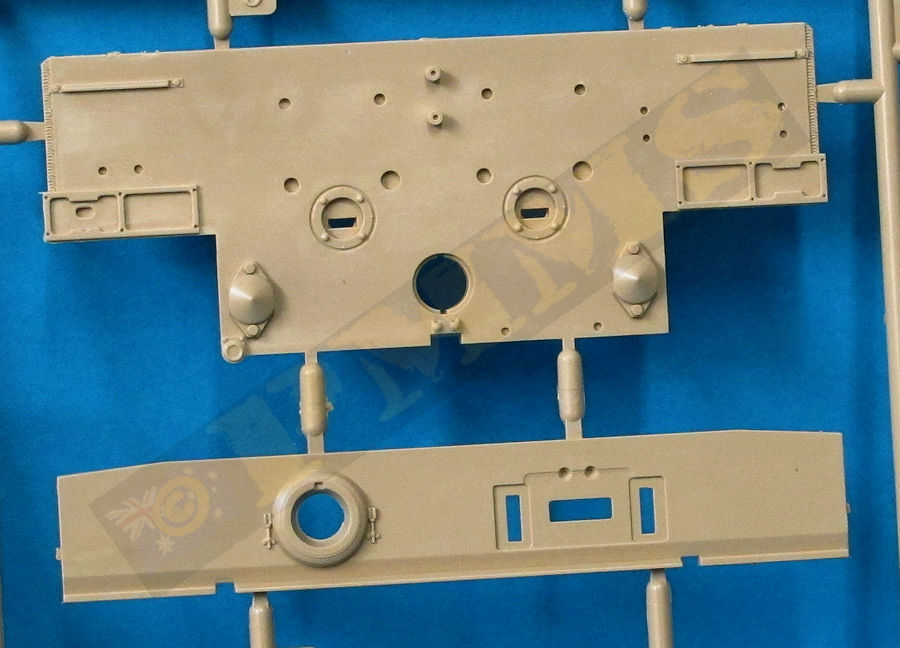
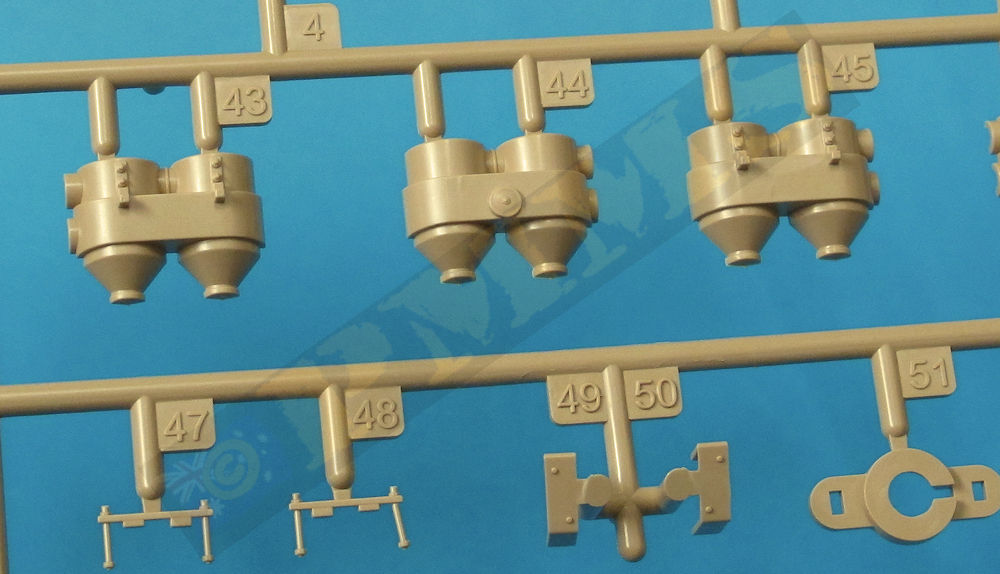
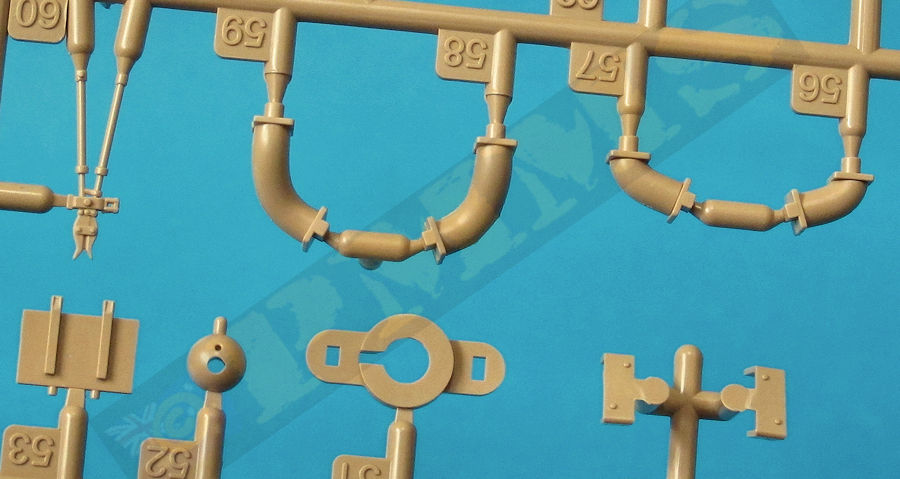
Kit Sprues
Click on thumbnails for larger view

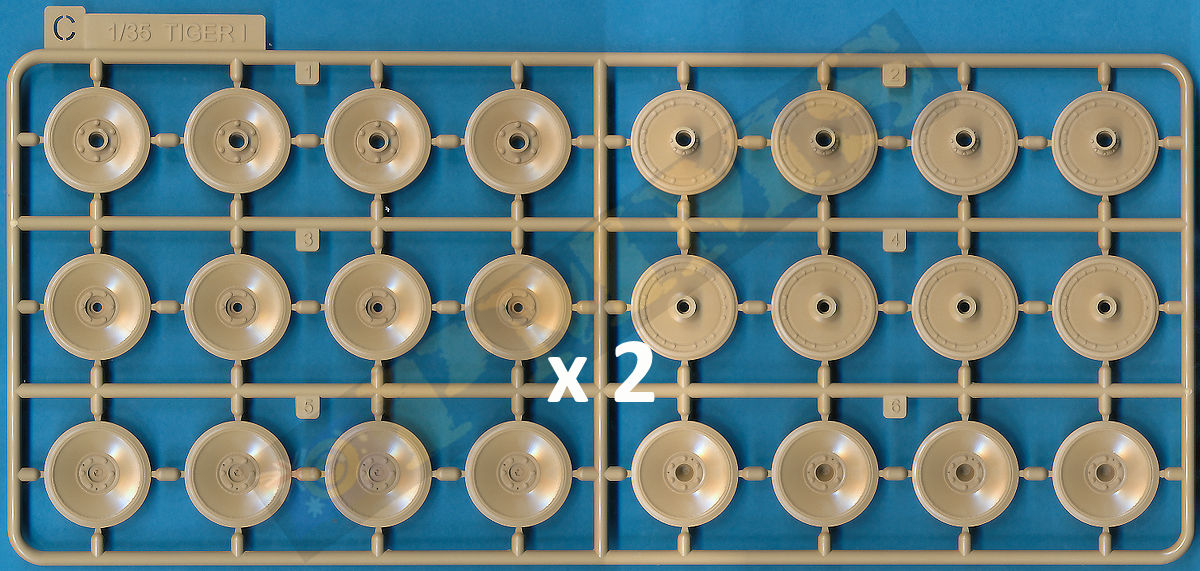
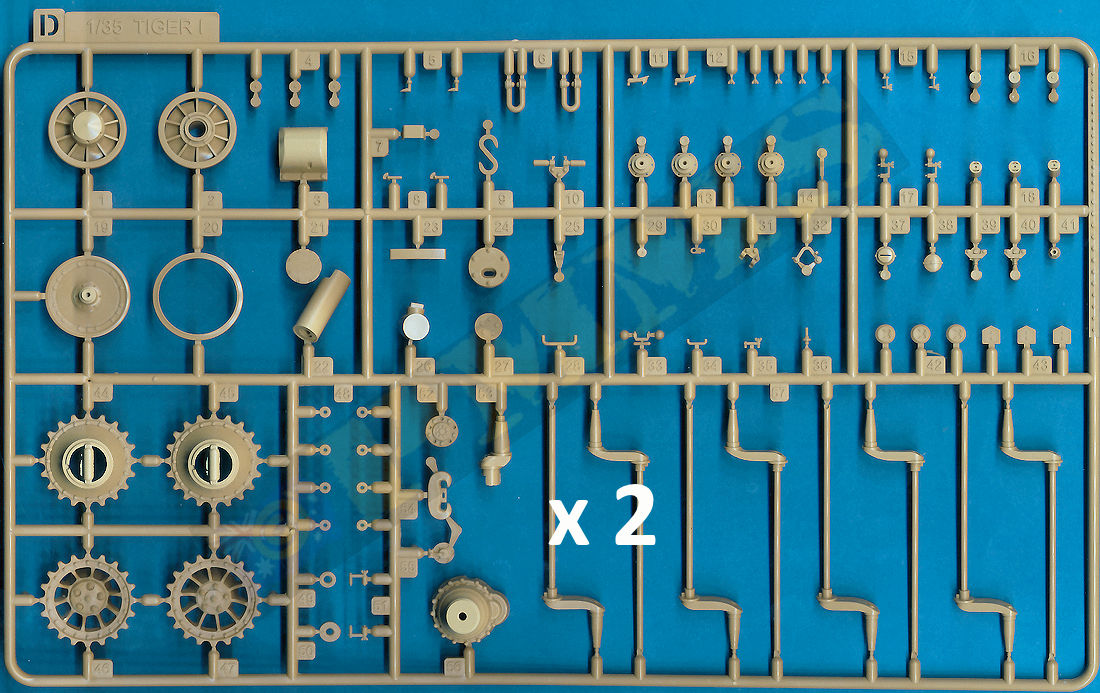
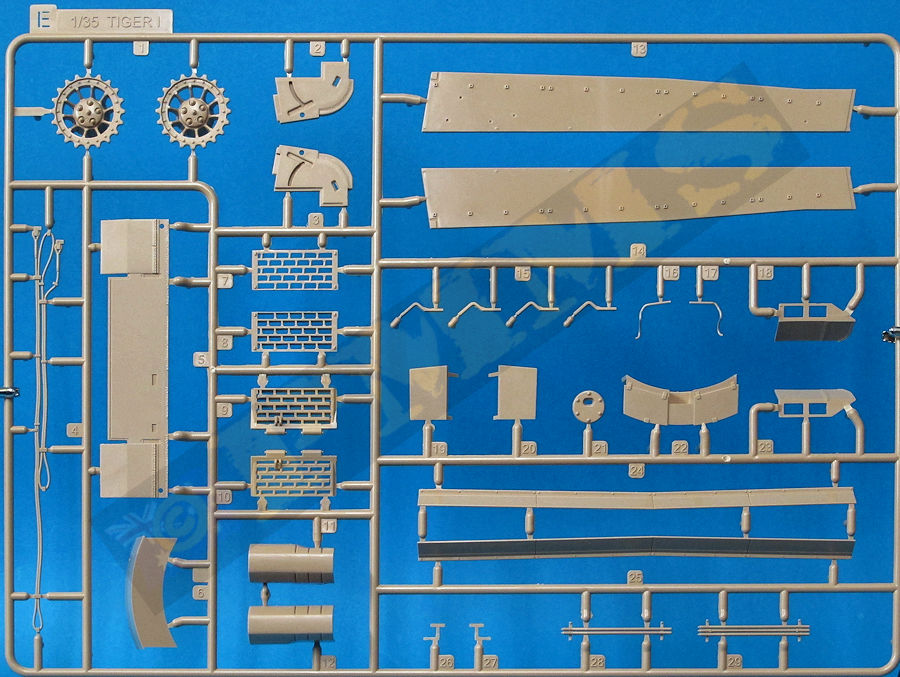

Sprue detail images


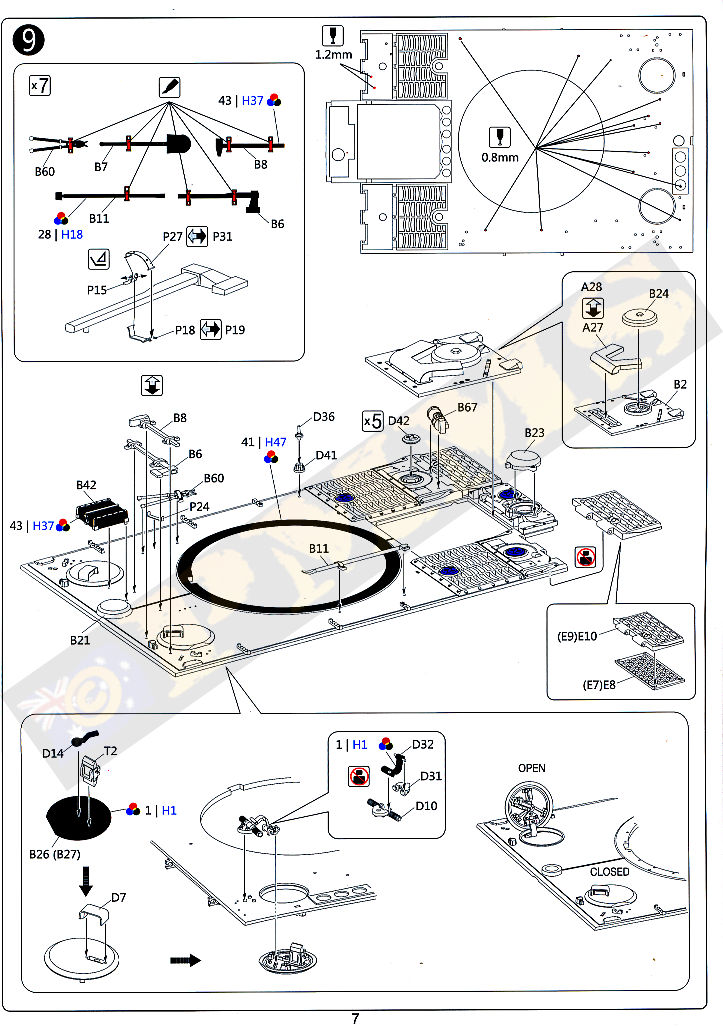
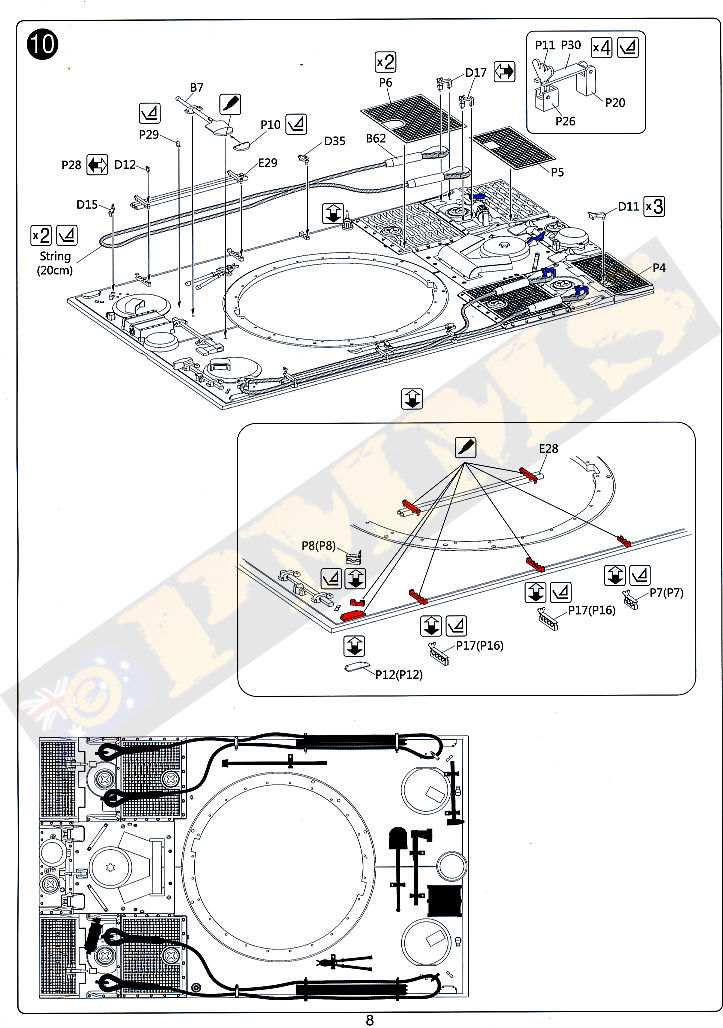
Instructions


Close new window to return to page
| Germany's Tiger Tanks Thomas L Jentz and Hilary Louis Doyle  |
Modeler's Guide to the Tiger Tank A complete and comprehensive guide to modelling the Tiger I and Tiger II in 1/35th scale Military Miniatures in Review. Ampersand Publishing. 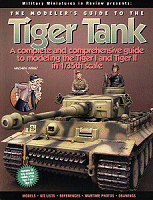 |
| Panzerkampfwagen Tiger Actung Panzer No.6 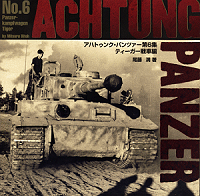 |
Tank Power 13 Tiger I (Vol.1), 14 Tiger I (Vol.2), 15 Tiger
I (Vol.3), 16 Tiger I (Vol.4) and Sturmtiger. AJ Press 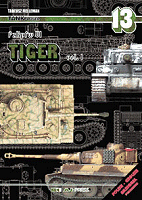 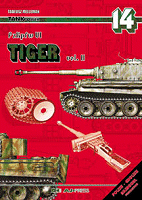   |
Thanks to Rye Field Model for the review kit.
Please to help the reviews continue, thank you