
French Heavy Tank St.Chamond
Early Type/Iron Mask Man
Takom 1:35 Scale Kit #2002
Review by Terry Ashley

Another point of note is the early versions used 326mm wide track, later increased to 412mm and finally to 500mm wide but this doesn’t seem to correspond with the production types as period photos of the two marking options in the kit “Chantecoq” and “Fantomas” of AS31 both show them to be the second production version but with the later 500mm wide track that is included in the kit. Other early types are seen with the narrower early track so you should take care if you wish to model a different tank than those included in the kit markings options.
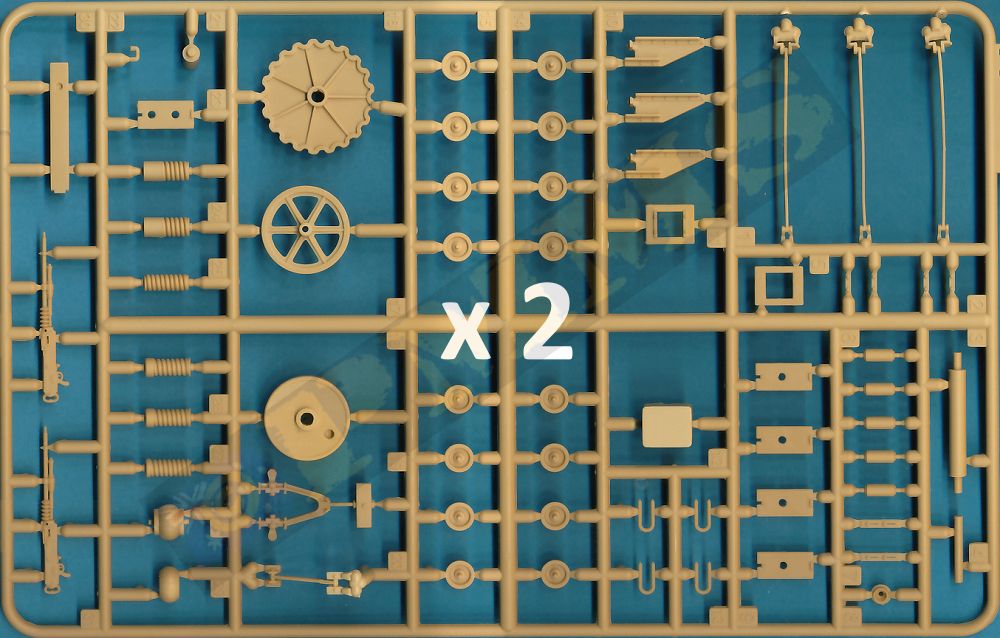
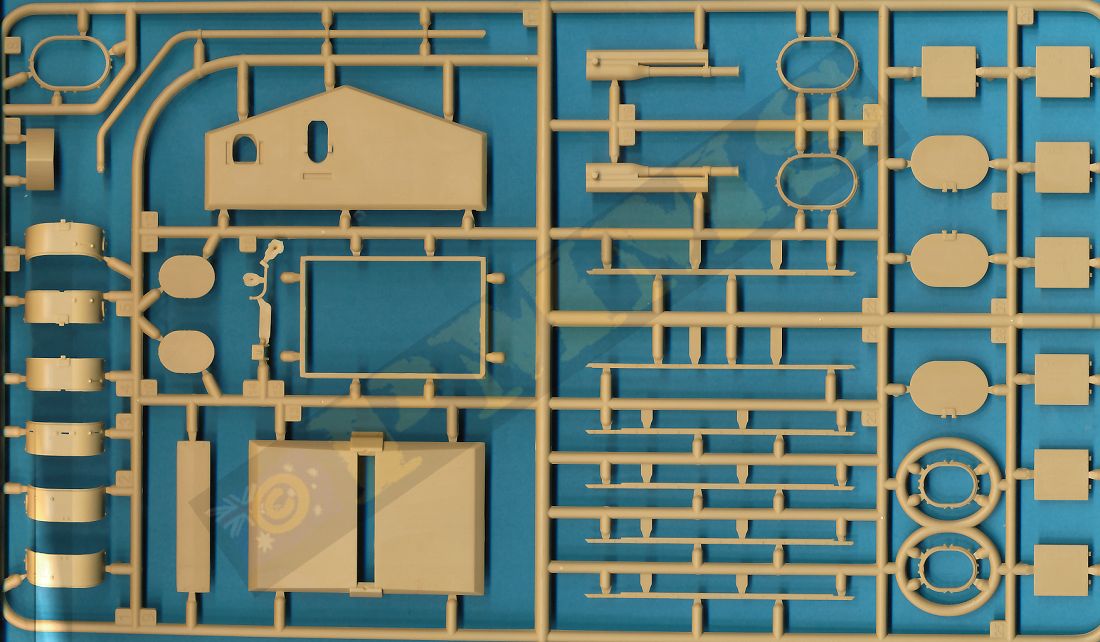
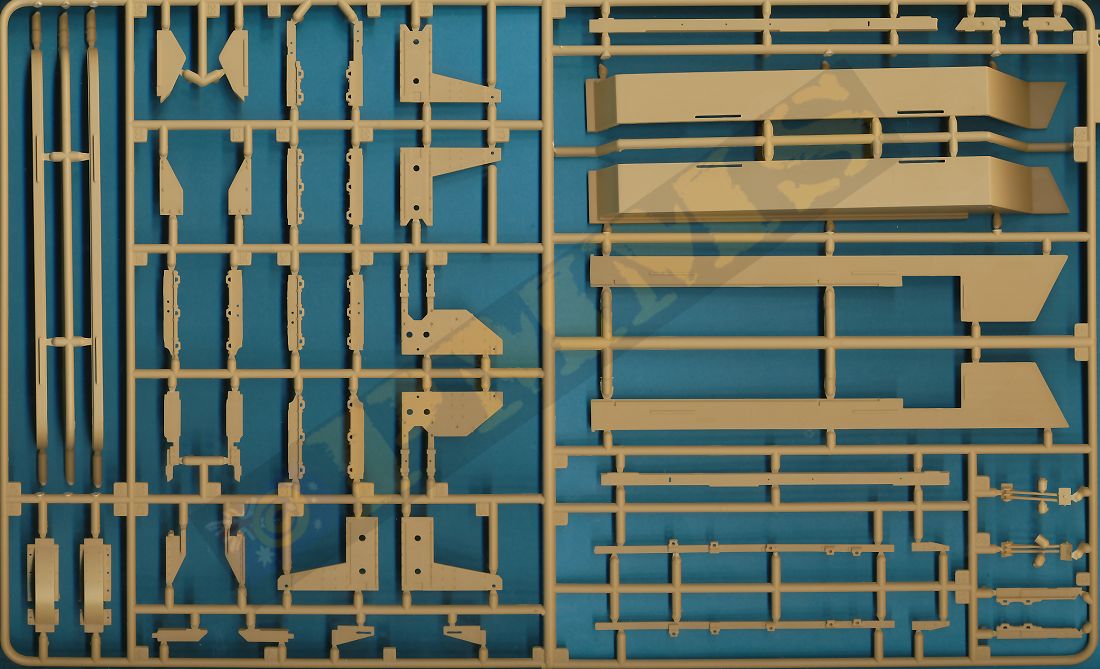
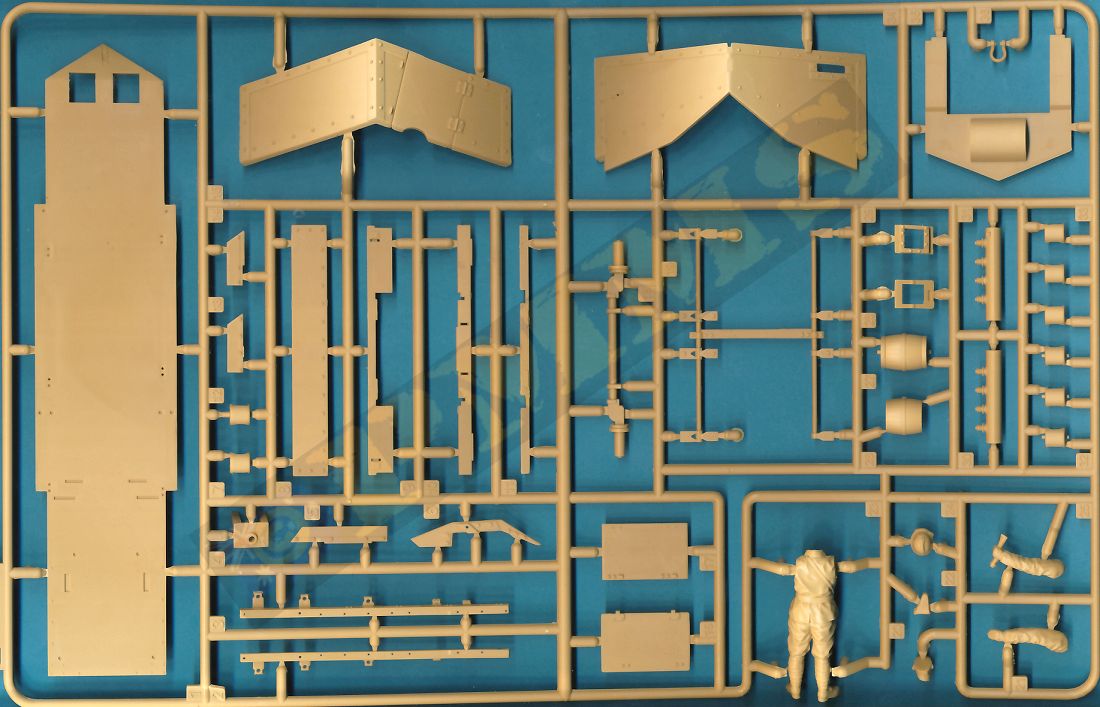
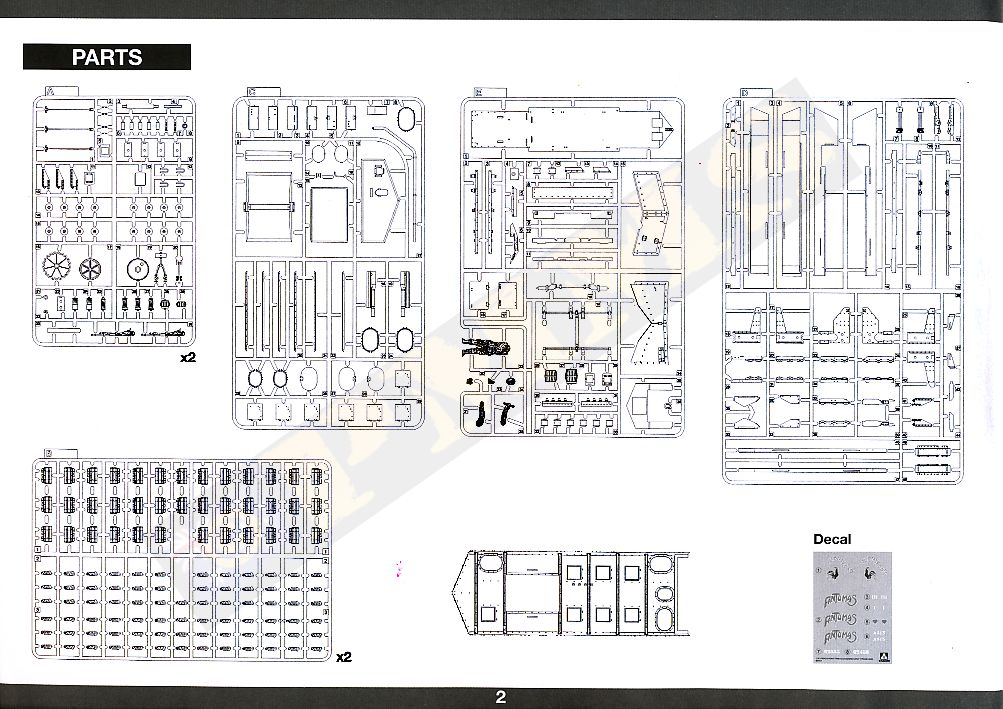
- 258 parts in light beige plastic
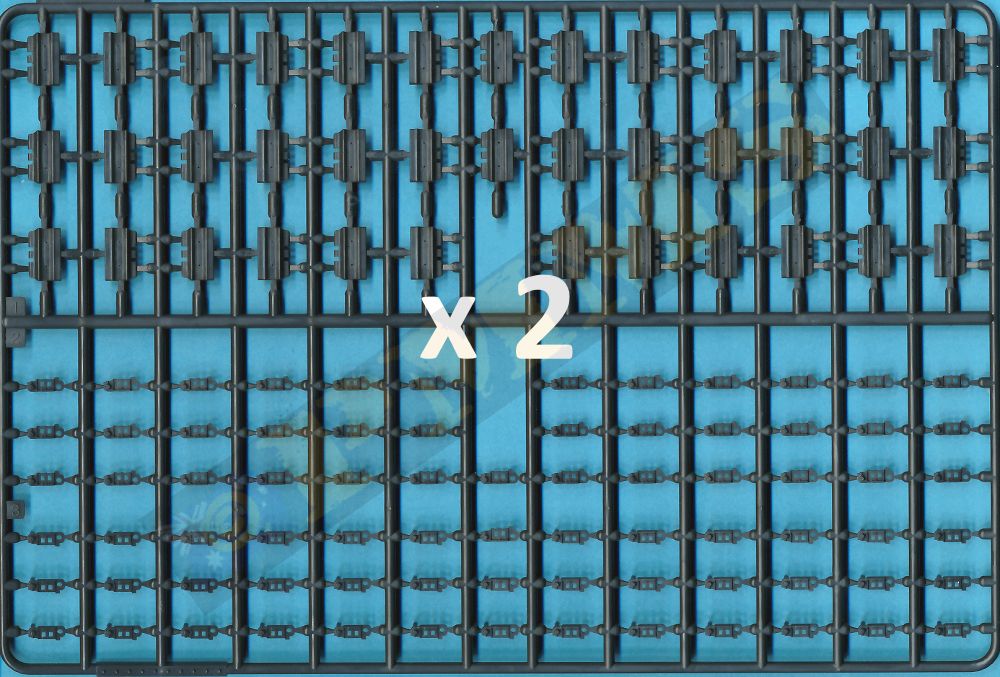
- 230 Track link parts in black plastic
- 1 small decal sheet
- 1 x 20 page instruction booklet
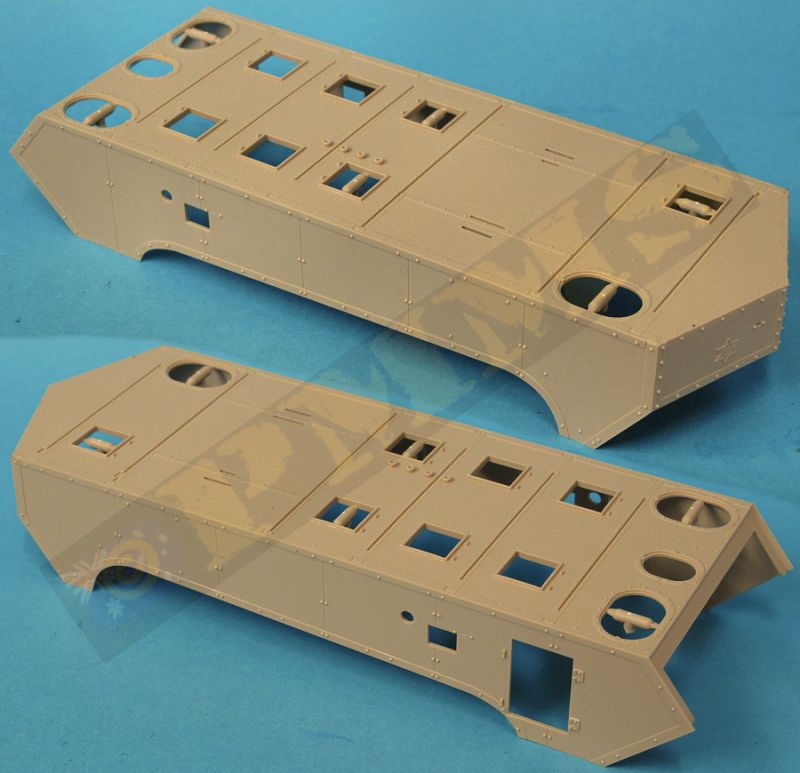
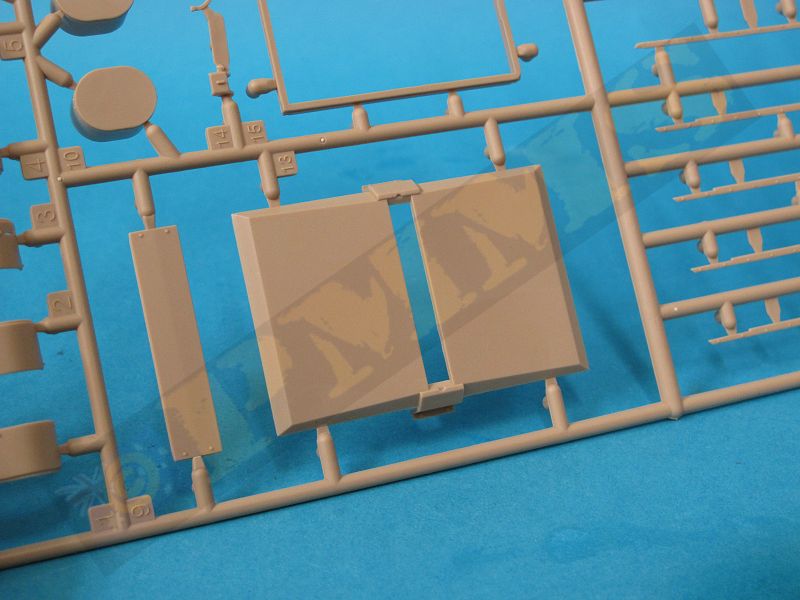
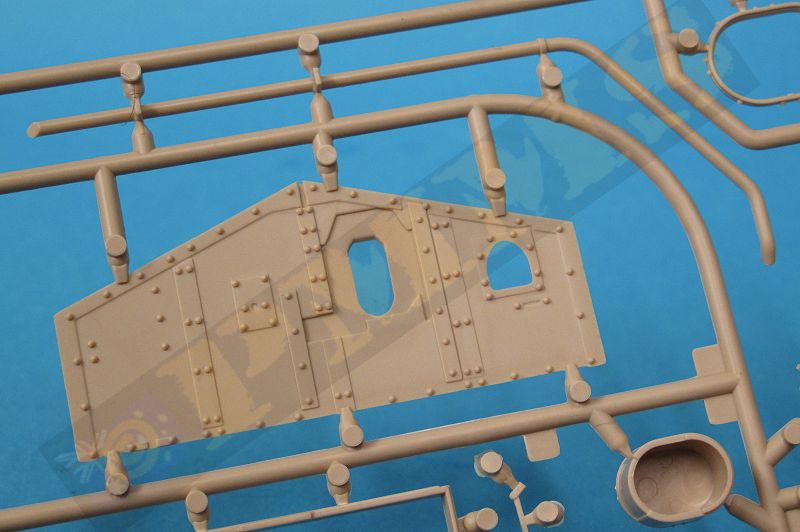
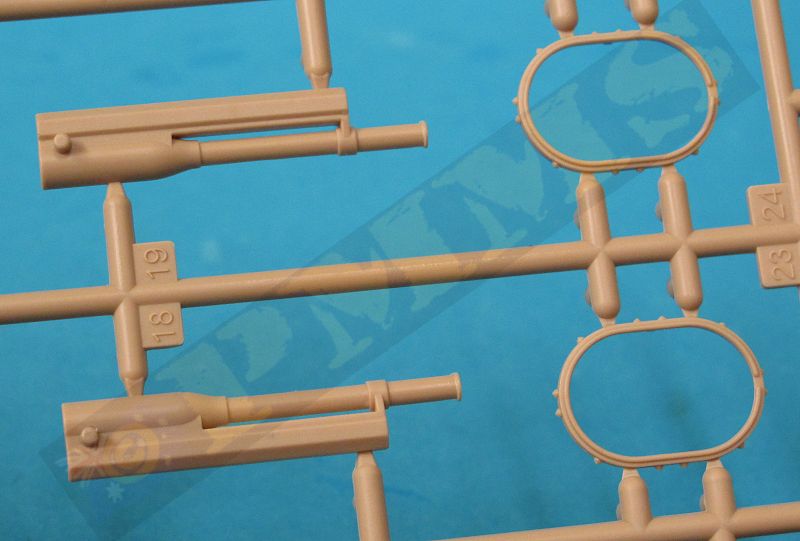
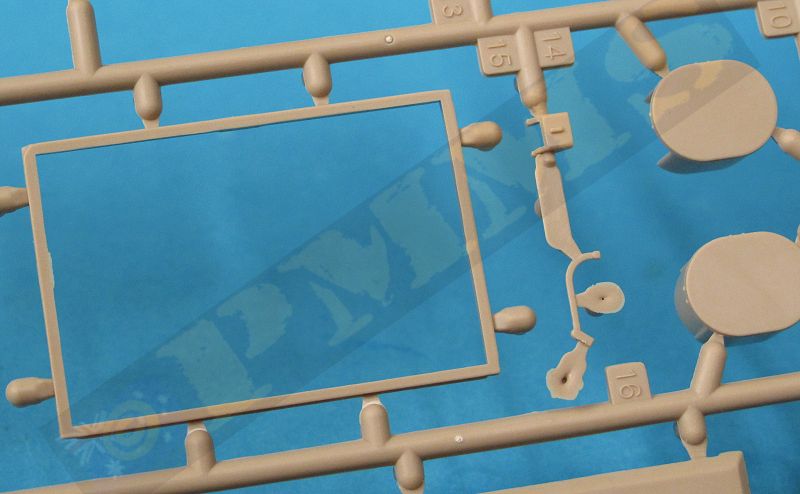
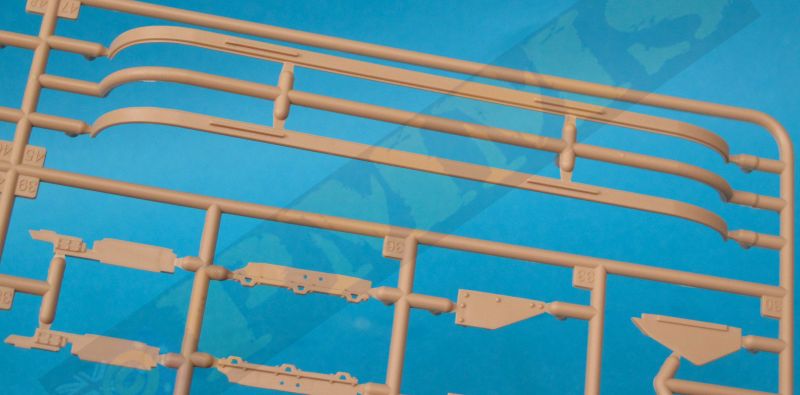
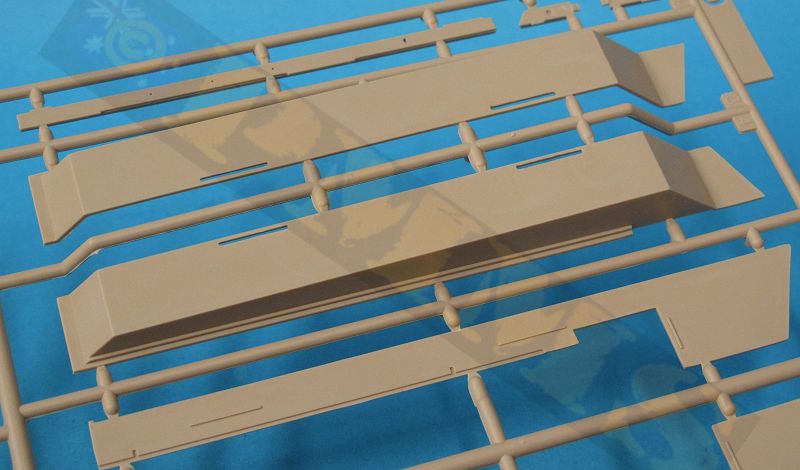
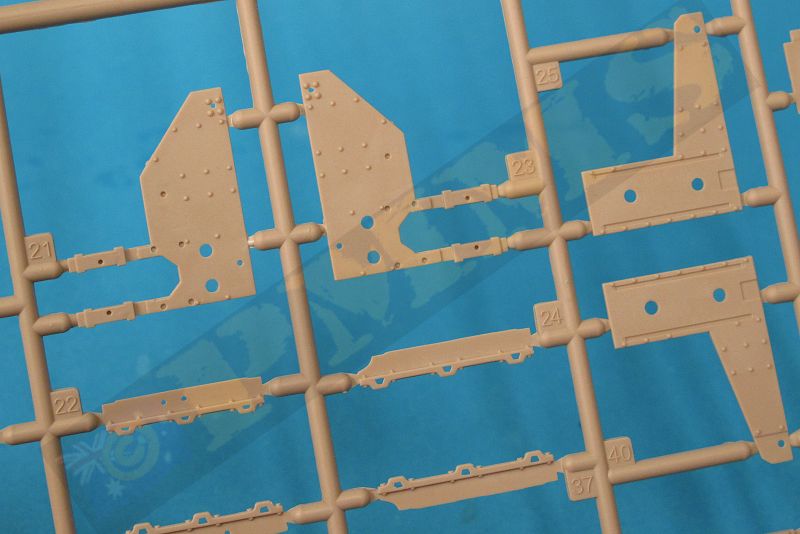
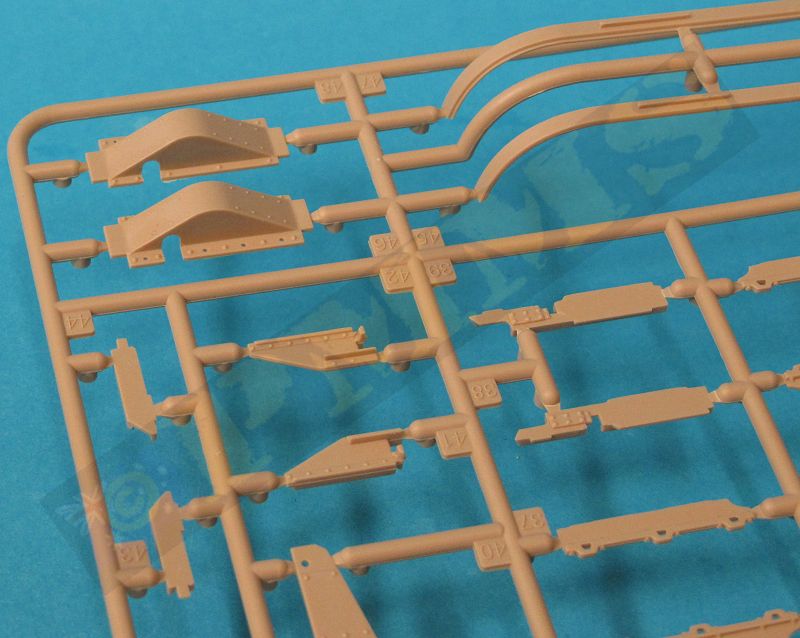
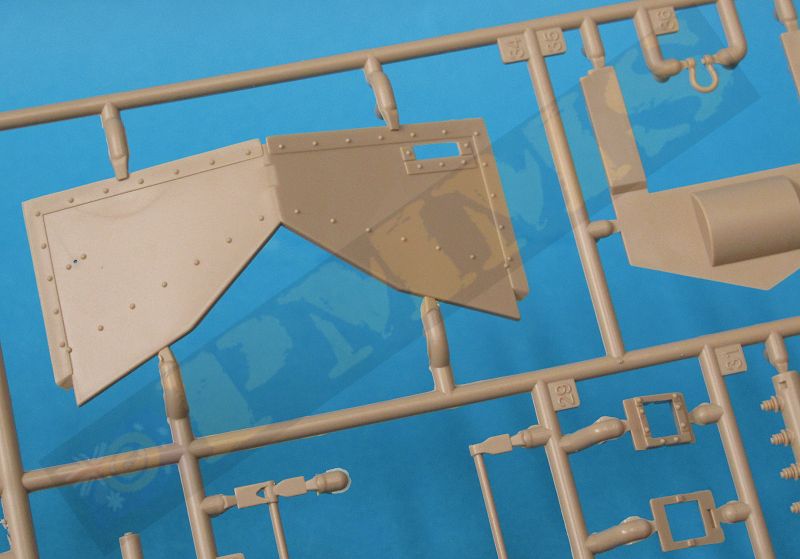
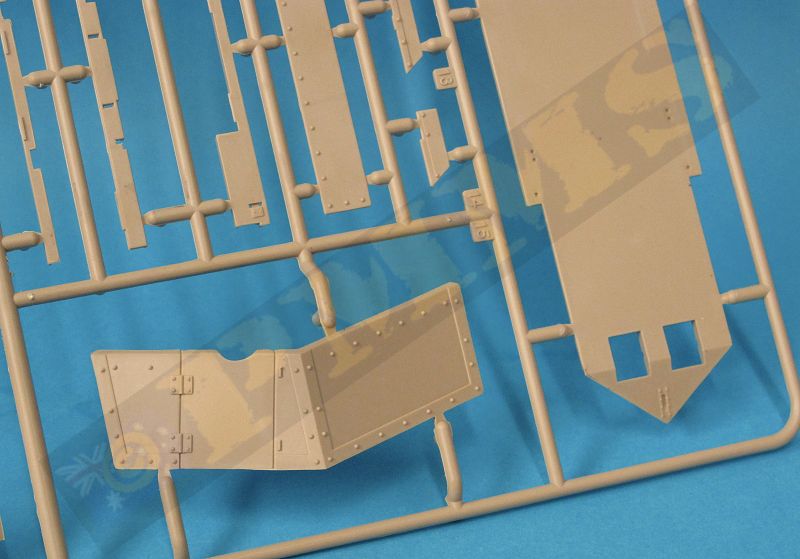
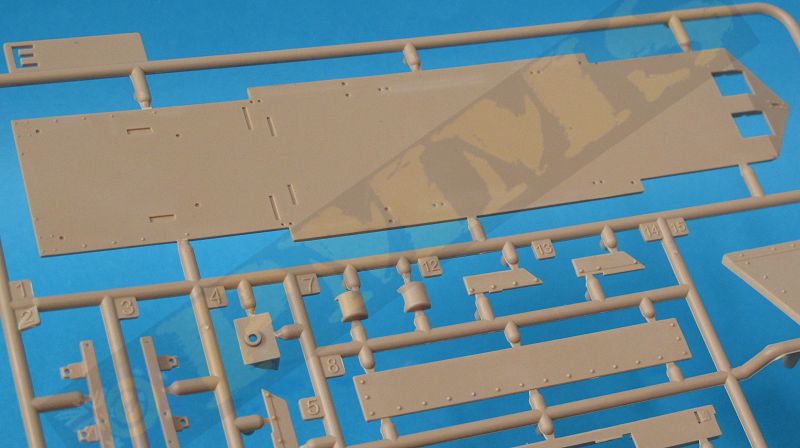
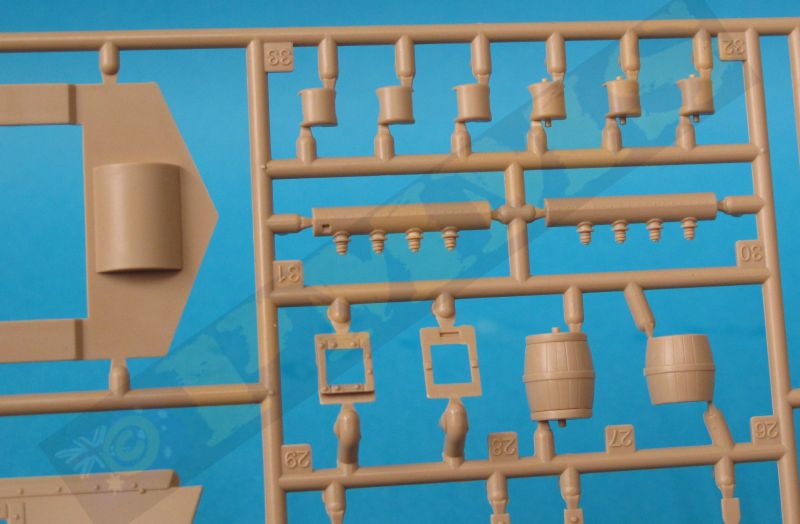
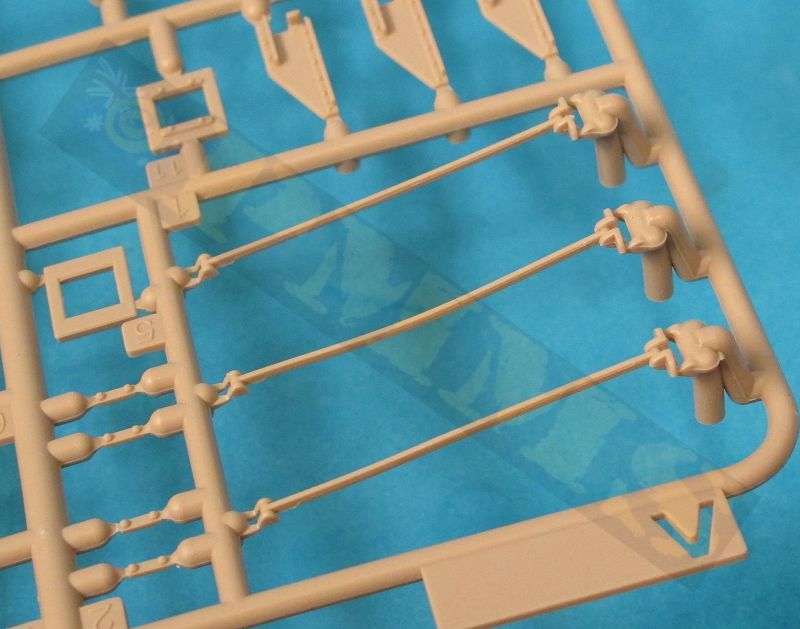
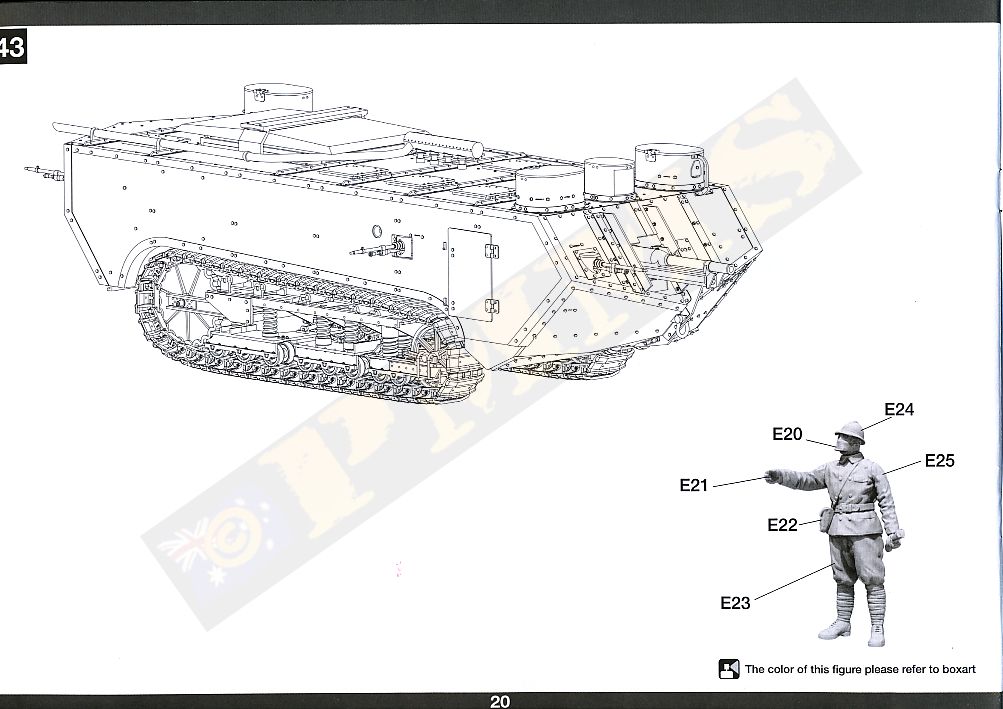
The standard of moulding is excellent with clean crisp details and virtually no visible pin marks of flash on the parts with just the usual fine mould lines to be removed as just a few of the additional plastic nodes on some parts. The hull rivet and panel detail is very well done with additional strips for the roof riveted strips to add additional detail definition. All the hull hatches are separate parts but there is no interior provided apart from the full 8mm Hotchkiss M1914 machine guns of which only the barrels can be seen after assembly.
Dimensionally the kit measures out very well to available data although the only 1:35 plans I have are in the GUNpower 29 book listed below but quite frankly I wouldn’t be putting my house on these as there are some clearly evident errors. Especially with the suspension with the drive sprocket teeth depicted incorrectly and the idler wheels drawn about 2/3 the size they should be along with some other suspension components shown too small in the plans. The kit drive sprocket, idlers and details match available photos perfectly so you should dismiss any concerns if comparing the book plans to the kit parts in that regard.
There is a discrepancy with the hull length between the kit and the GUNpower plans but given the known issues with the plans I’m not going to make a big deal of this as the other hull dimensions all match and the kit hull looks in proportion.
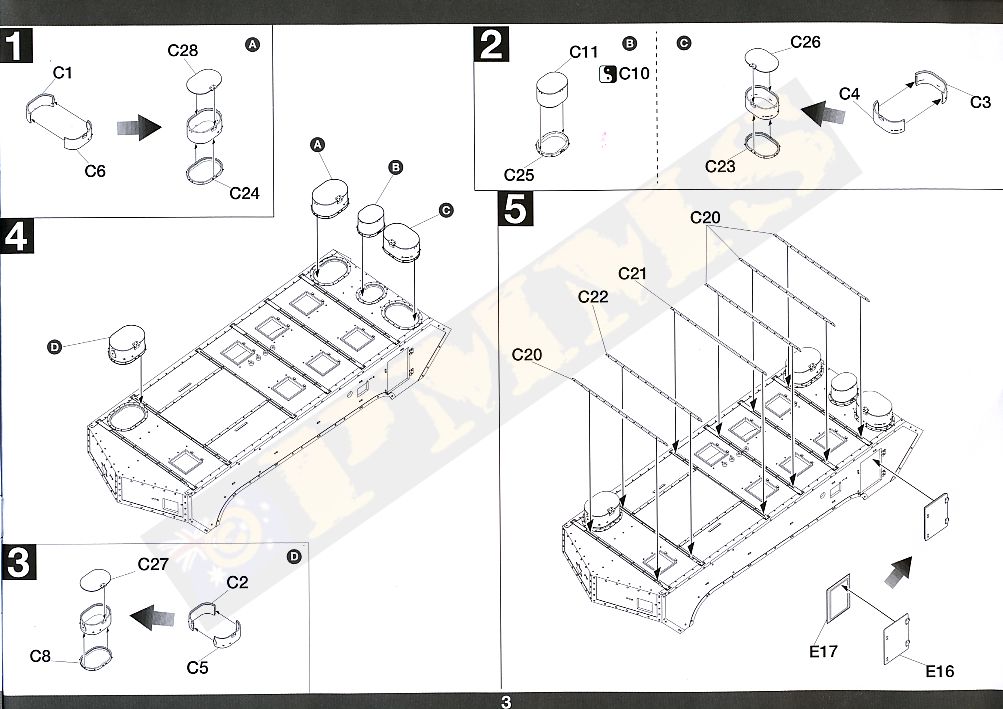
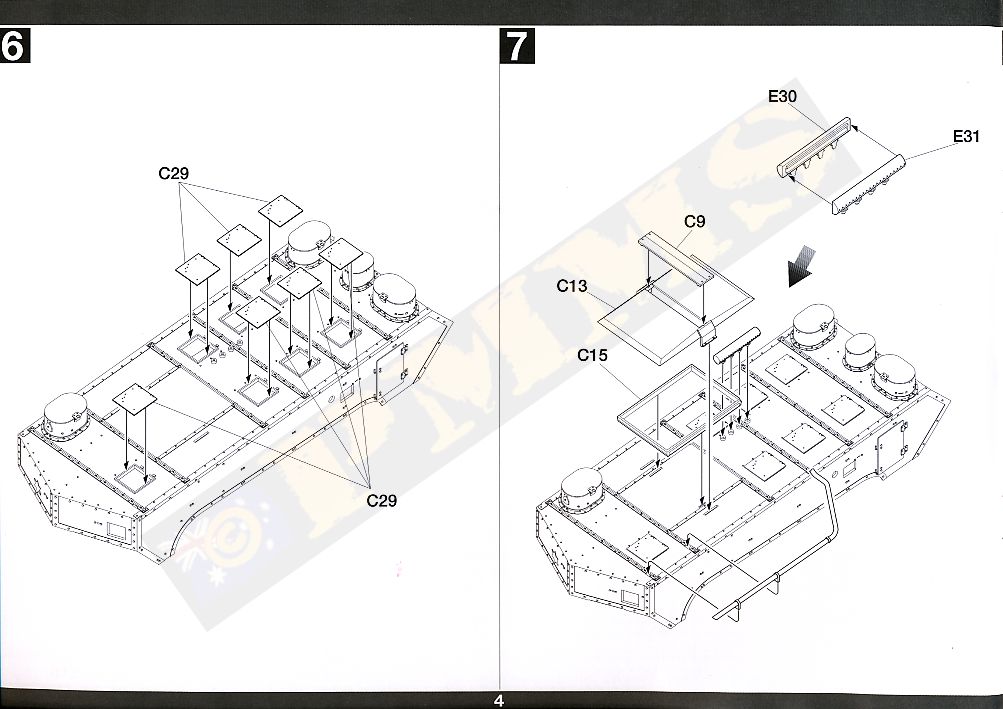
The main hull is a single large moulding with additional plates for the front and rear panels, these have bevelled edges for a perfectly flush join line. The only clean-up is the sprue segments inside the hatch openings and as mentioned the rivet and panels is very well done with other details such as the small top turrets and hatches, the exhaust pipe and muffler for fairly quick and easy assembly. The four Hotchkiss MGs fit into swivel mounting added from inside the hull allowing the guns to move after assembly, the guns are nicely detailed but you may wish to drill out the muzzle for a better appearance although this is a very small hole in scale (about 0.2mm) so it’s up to you if you wish to do this?
The separate front plate again has excellent rivet and panel details with the 75mm canon in two halves leaving the small join line to be eliminated and the gun will elevate slightly after assembly if you wish, as mentioned the front plate has a bevelled edge for a perfect flush join not requiring any filler.
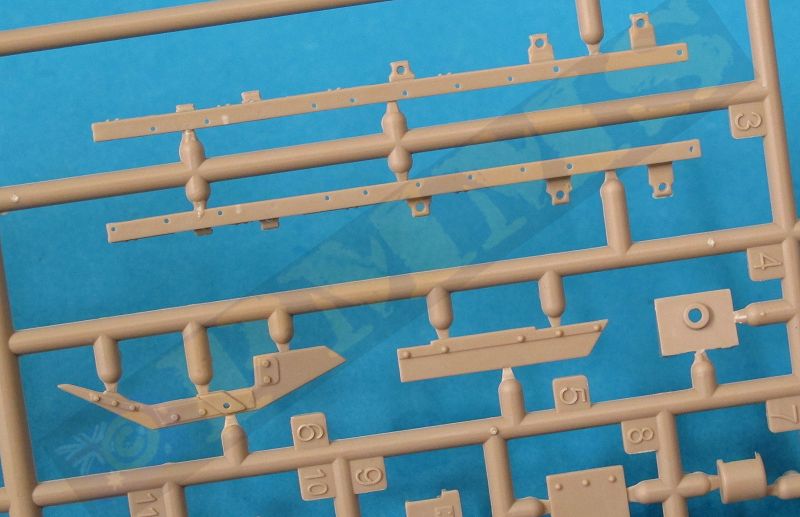
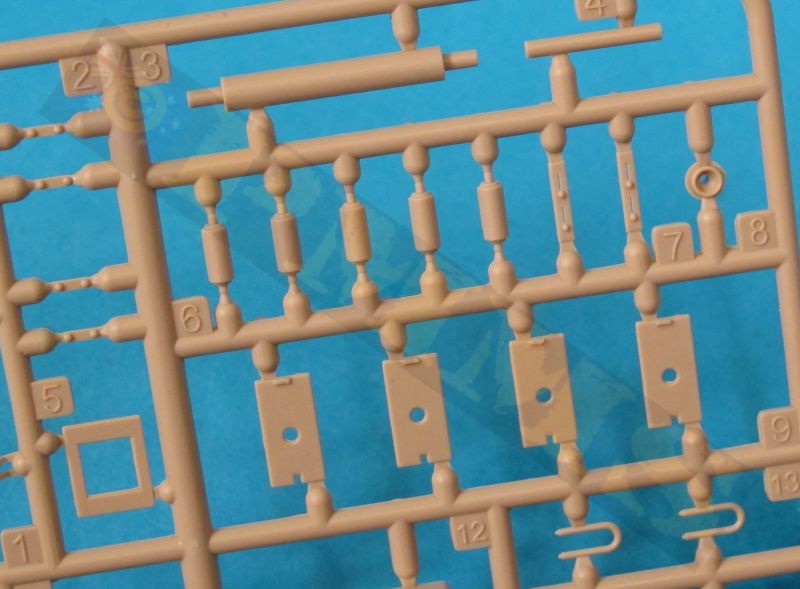
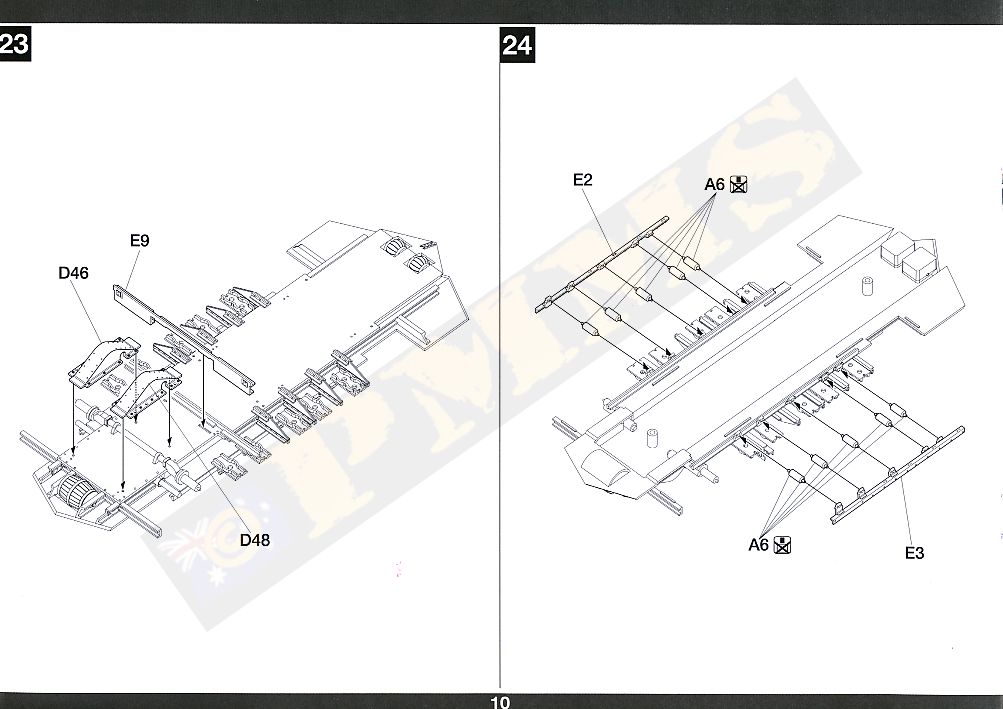
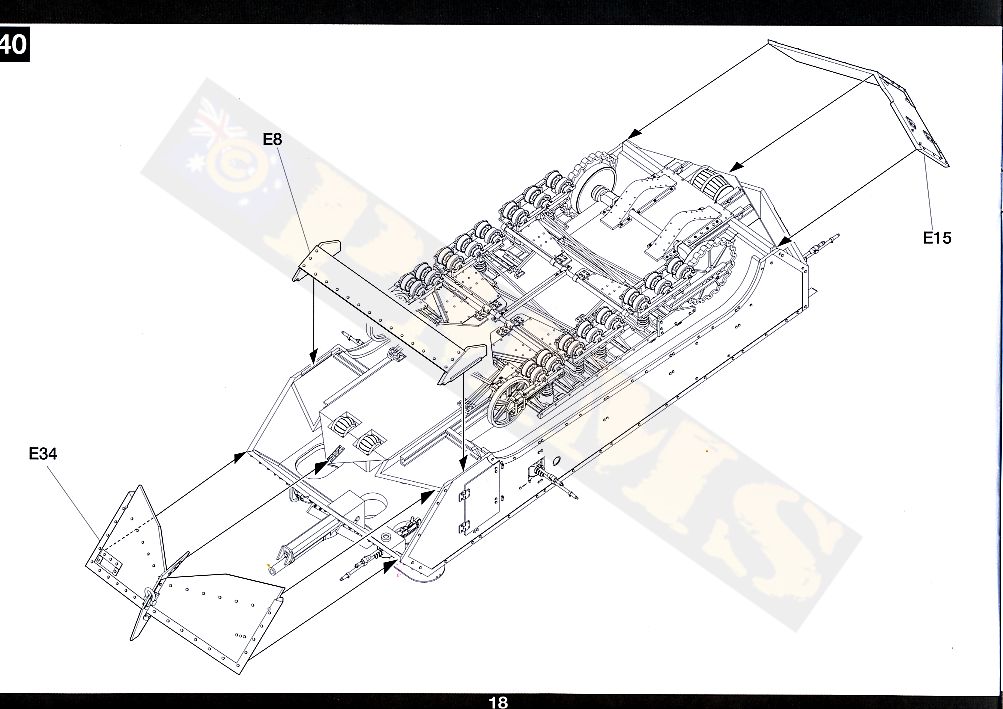
There is a separate hull floor plate to which is attached the suspension and lower hull plate fittings that takes up most of the parts and is extremely detailed with the multi-part lower hull mountings that include the final drives for the drive sprockets and the side bogie mountings. The instructions don’t mention but if you wish the drive sprockets to be movable you should not glue the sprockets (parts A16) to the inner drum (parts A18) but leave the sprockets loose and just trap them between the drum and the outer girder (part A30) when fitting to the axles.
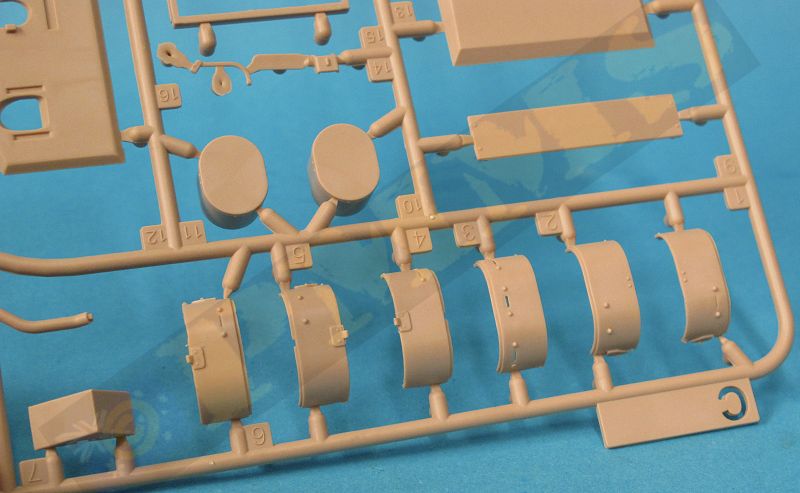
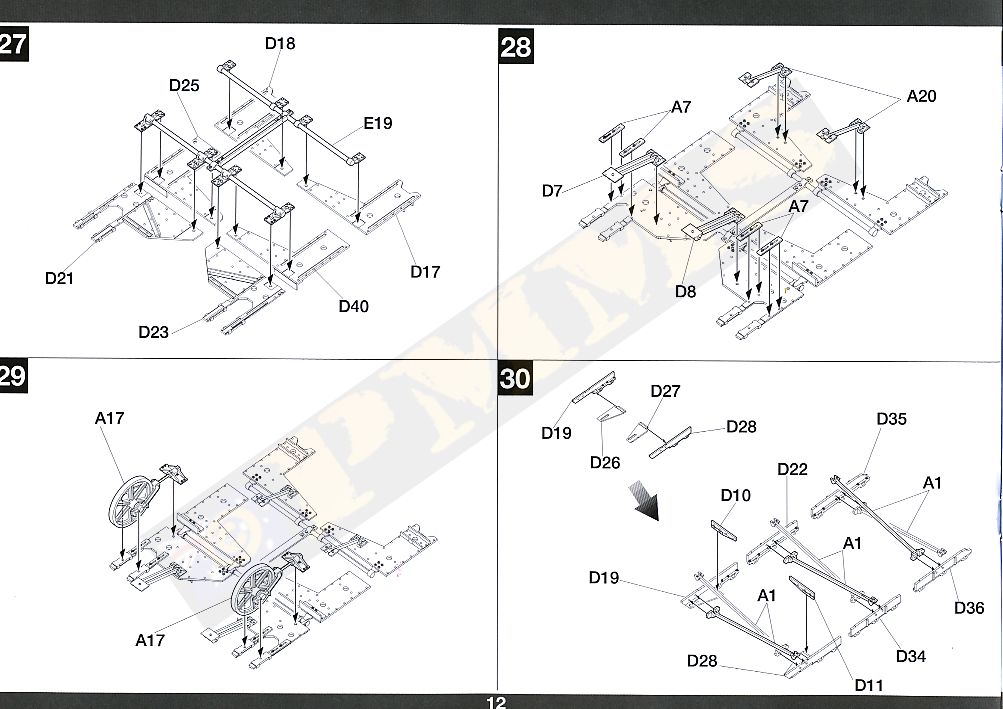
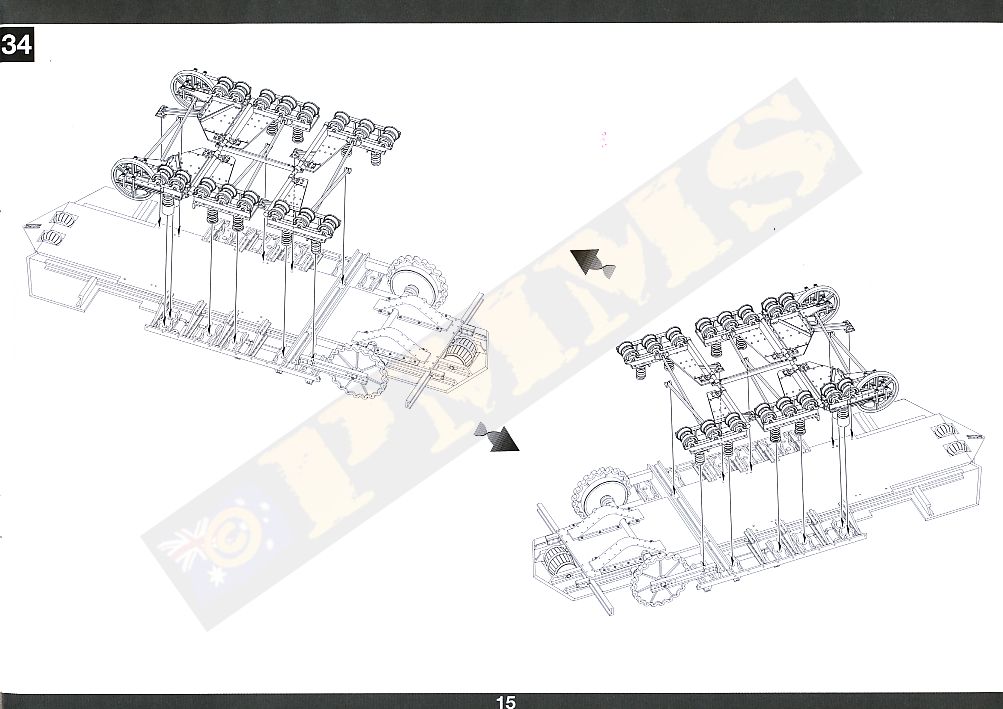
There are six separate under hull bolted panels for mounting the road wheel bogies and you need to take note of the part number to get the right location with the panels held together with a large connecting rod part.
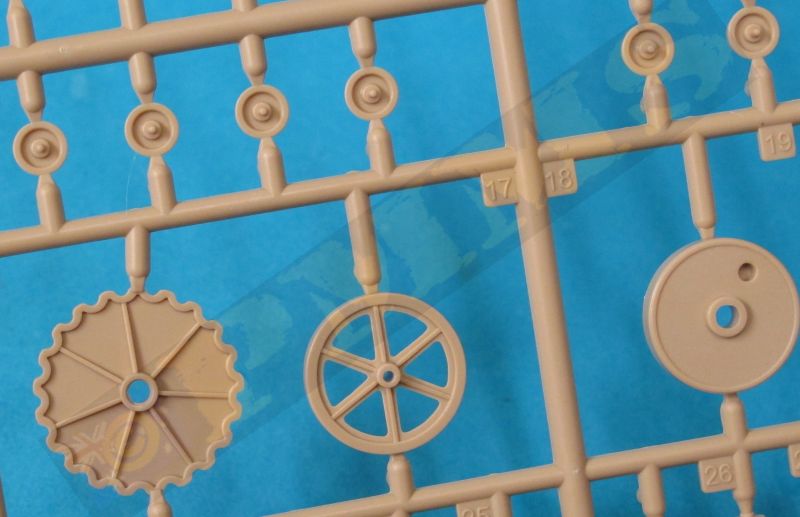
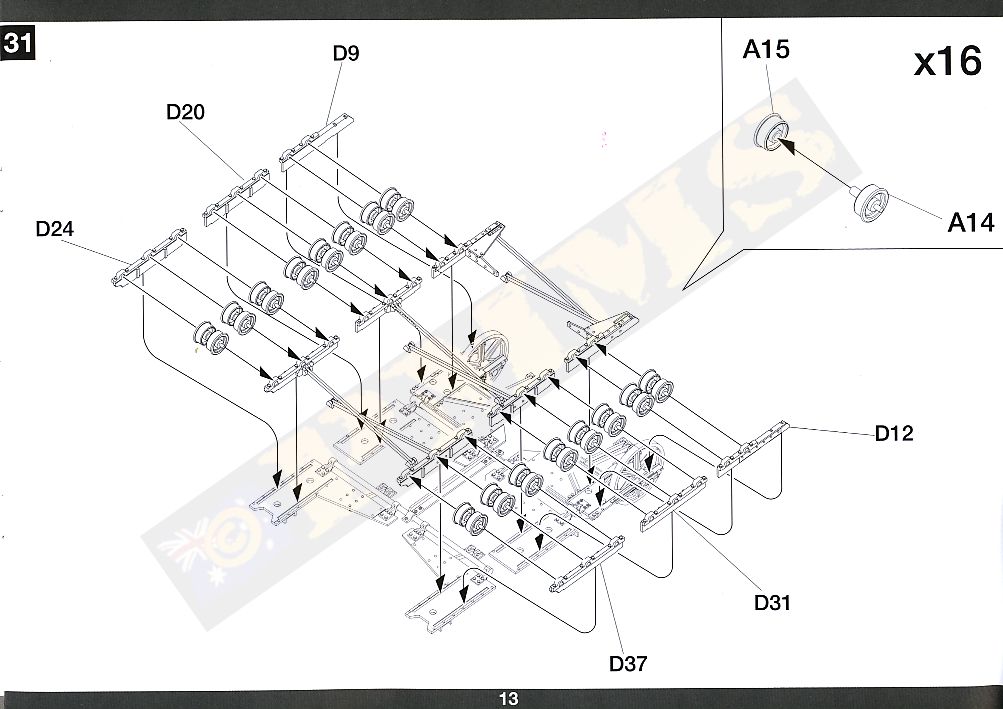
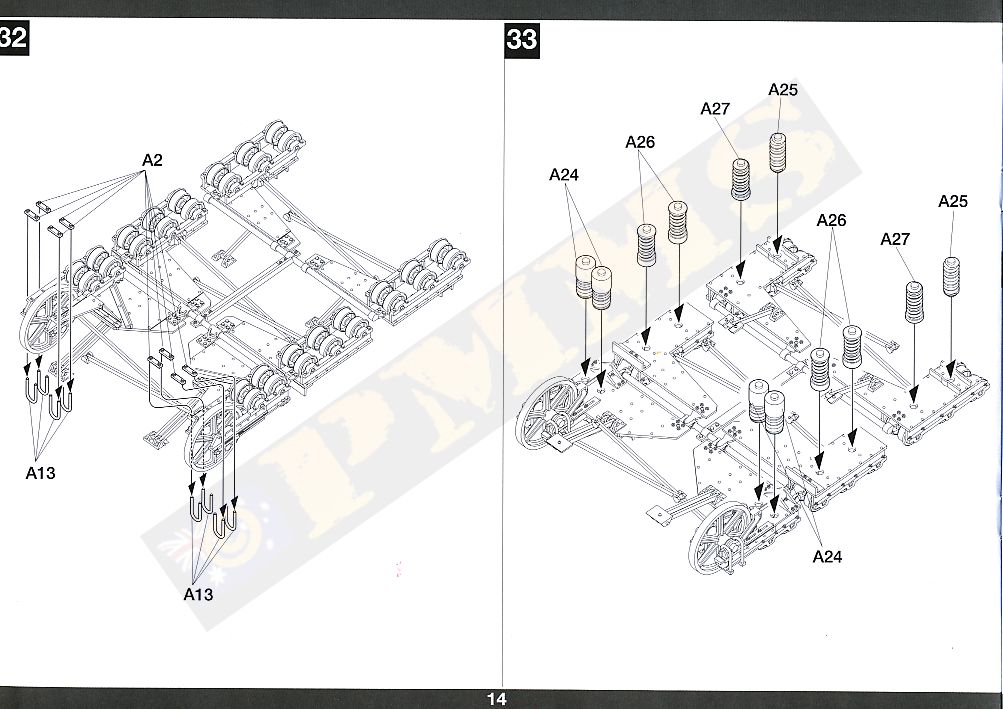
The bogie units themselves are further multi-part assemblies for the 16 small 2 part road wheels that are movable after being trapped between the road wheel mounting brackets, and added to the top side of the assembly are the 12 suspension springs, these are moulded solid in plastic and the spring gauge is scale accurate so should look okay when painted but of course these can be replaced with wire for more definition if you wish?
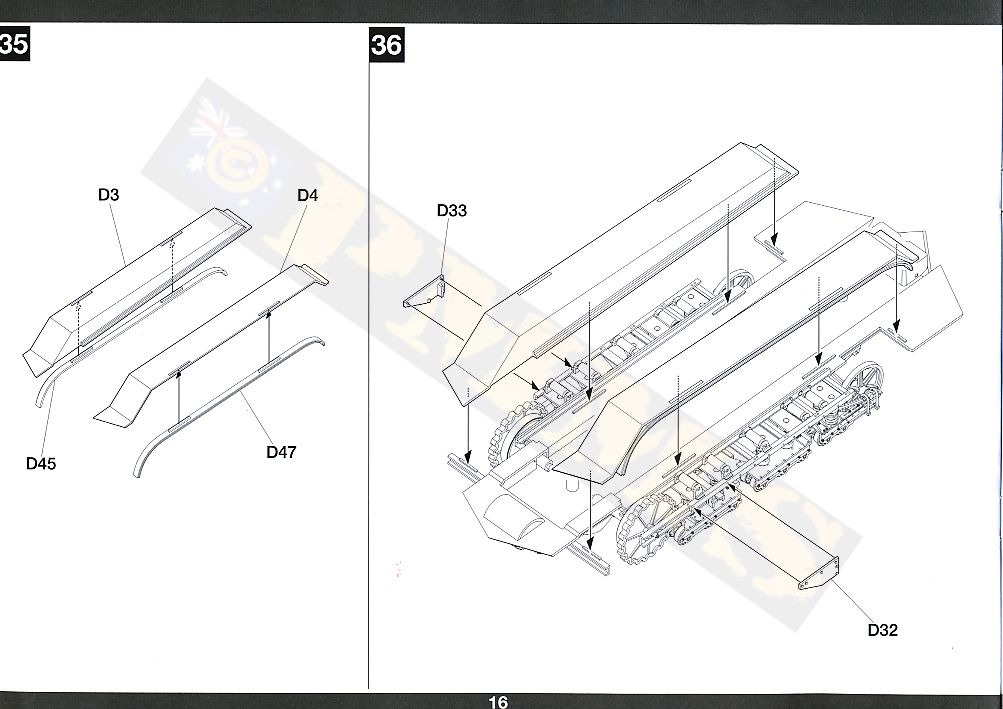
The fully assembled bogie units are then attached to the floor plate along with the large upper suspension covers with this in turn attached to the underside of the upper hull to form the completed hull. After fitting the lower floor the remaining front and rear panels can be attached and again test fitting these saw a perfect flush join due to the bevelled edges on the panels.
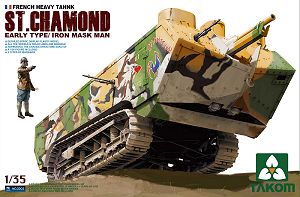
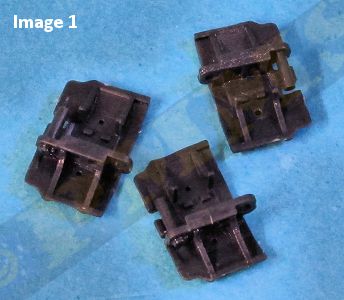
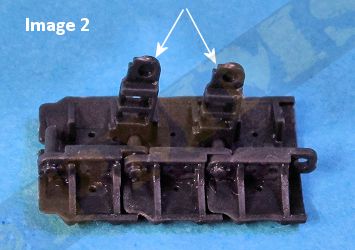
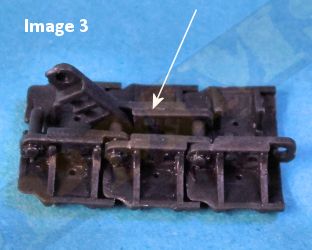
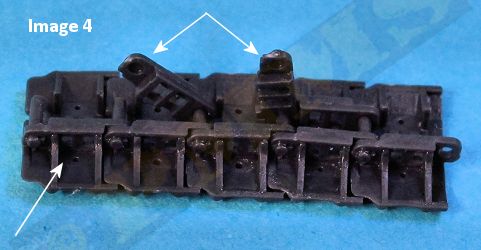
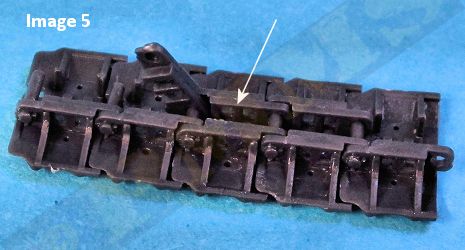
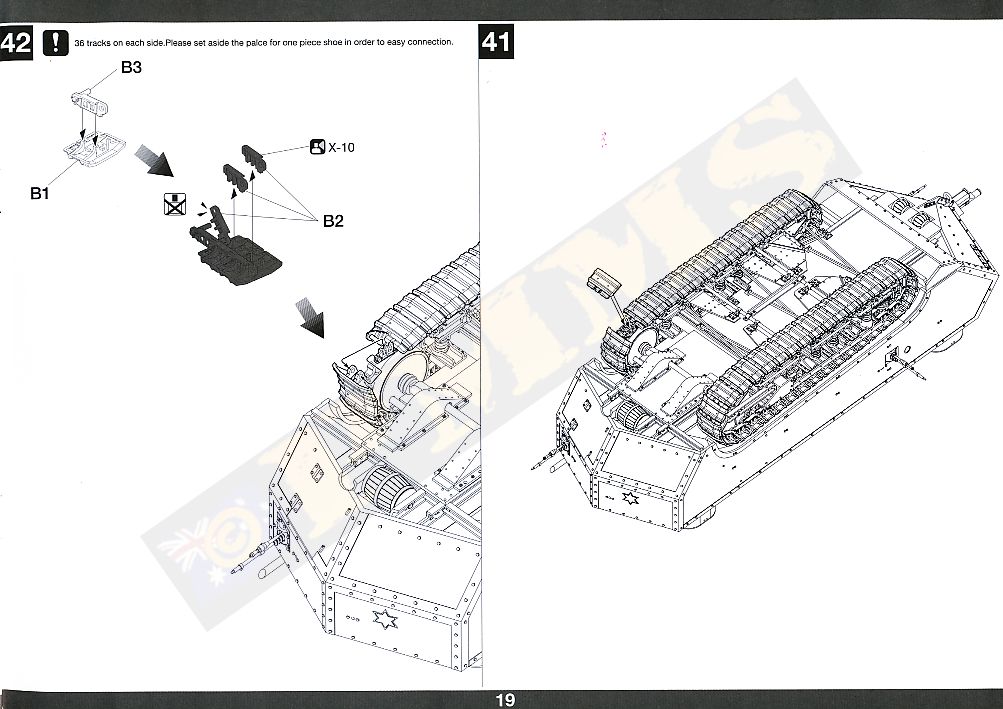
Assembly of the tracks is fairly straightforward providing you follow a set procedure, it easiest to firstly glue all the brackets with pins (parts B3) to the track shoes and let the glue dry before proceeding (image 1). You next slip two more track shoes together in the pin bracket to have three links in the series (image 2), next slip two of the opposite brackets (parts B2) over the pins, you will need to hold the bracket at right angles for clearance to slip bracket B2 into place (image 3). You then clip the first of the bracket B2 over the pin to secure the links while leaving the second of the brackets B2 loose at this stage. (image 4). You then fit the next track shoe and bracket B2 over the precious link (image 5) and repeat step 4 for each subsequent link to assemble the 36 track links required for each track run.
When joining the final links together around the suspension it’s easier to leave the track show off and just join the brackets (B2, B3) and fit the track show after as shown in the instruction as this give more working room to join the final brackets together. The assembled tracks articulate very well just like the real thing for good detail definition.
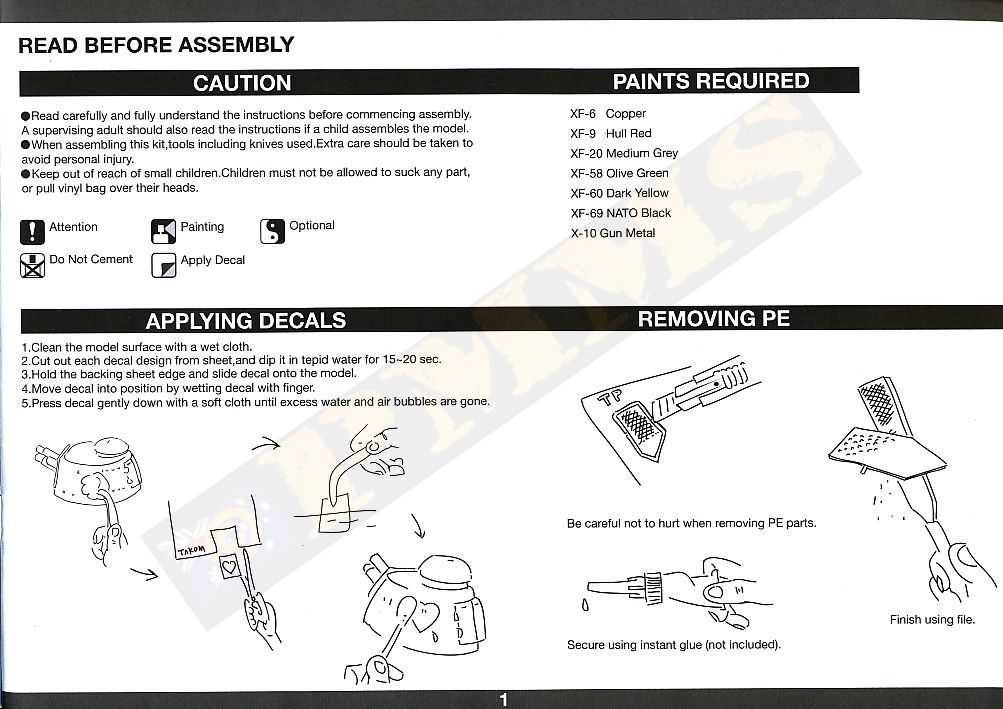
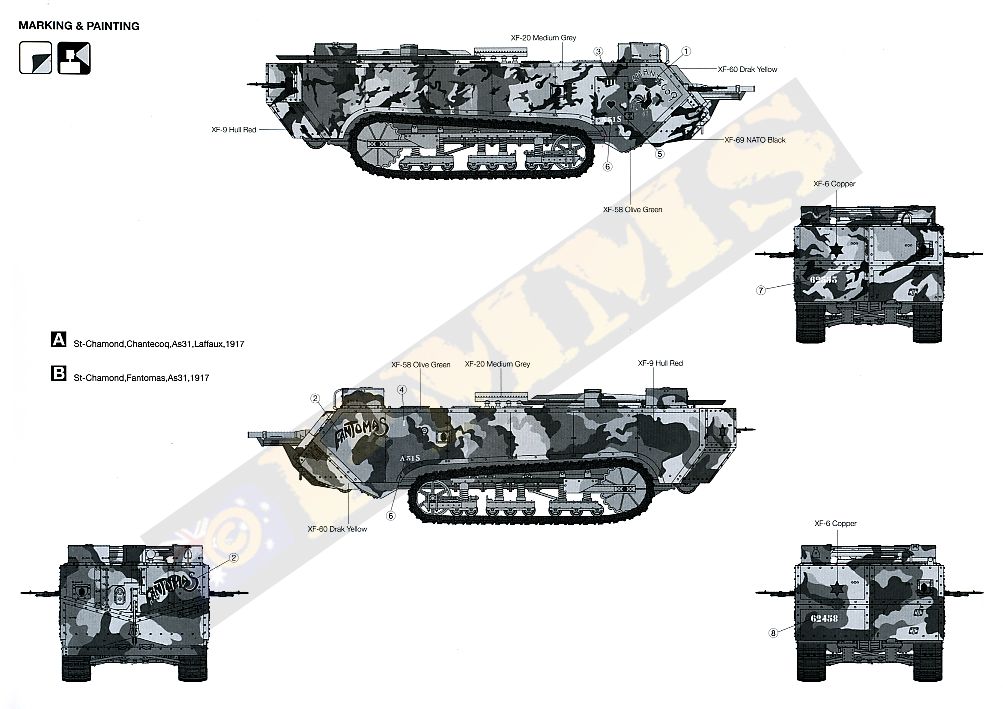
The small decal sheet has markings for two vehicles for the same unit As31 in 1917 with the sheet just having the vehicle names and serial numbers. The complicated camouflage scheme is shown in 4 view B&W drawings in the instructions as well as colour side plan views on the side of the box. The camouflage schemes are based on that on the only surviving St.Chamond at Saumur in France. There is some discussion that the colours in the museum scheme are too bright and the actual colours were toned down somewhat, that will up to the individual modeller to determine I presume?
| Option A: St-Chamond, Chanecog, As31, Laffaux, 1917 Reference image Option B:St-Chamond, Fantomas, As31, 1917 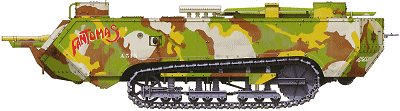 Reference image 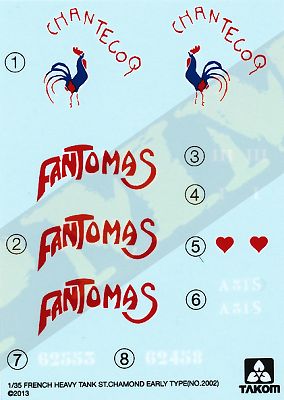 |
As noted above the kit is the second production version but has the later 500mm wide tracks and while period photos show this is correct for the two marking options in the kit you should take care if building other vehicles as they may well have the earlier narrower track types. This site has lots of period St.Chamond photos that could be of assistance?
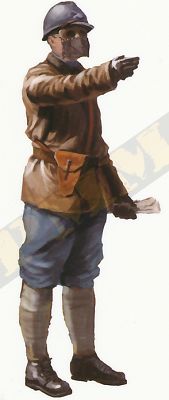
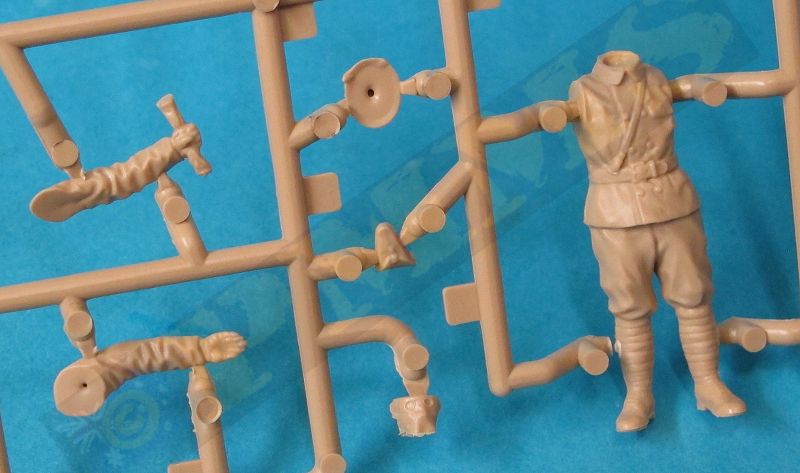
The added bonus figure is a nice touch and the kit should be welcomed by armour modellers in general as well as WWI fans and will add to the growing list of WWI kits making an appearance in time for the 100th anniversary of the start of the ‘War to End all Wars’ next year.
Rating 8.5/10
Click on thumbnails for larger view
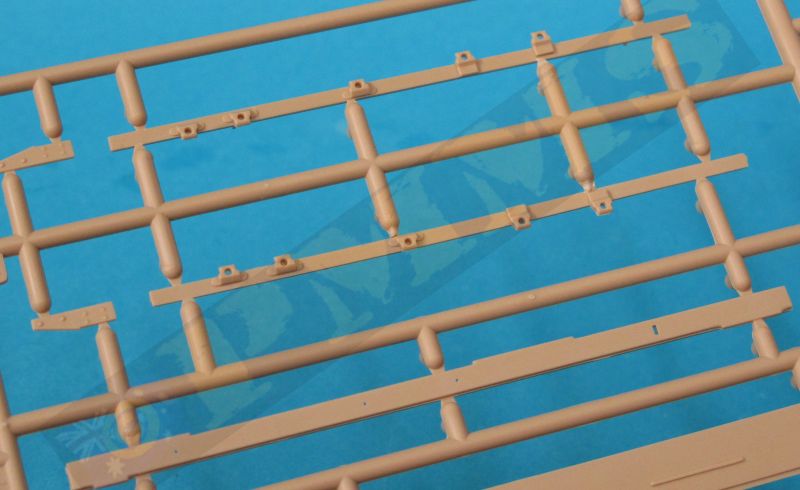
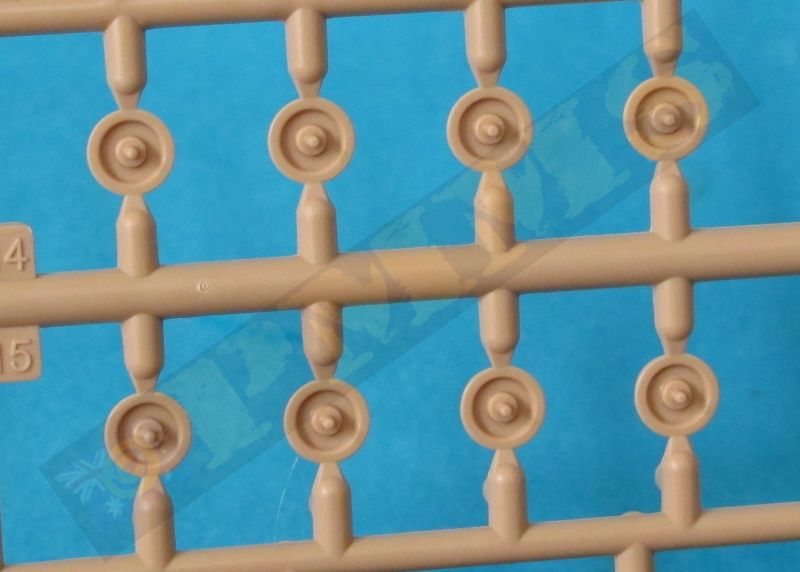
Sprue Detail Images


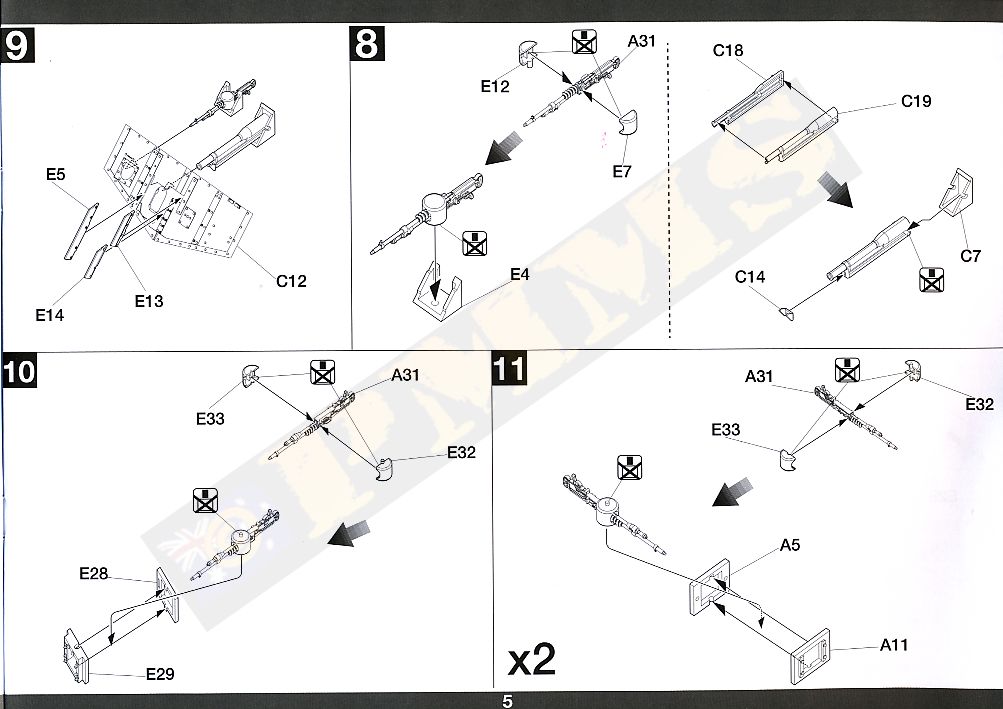
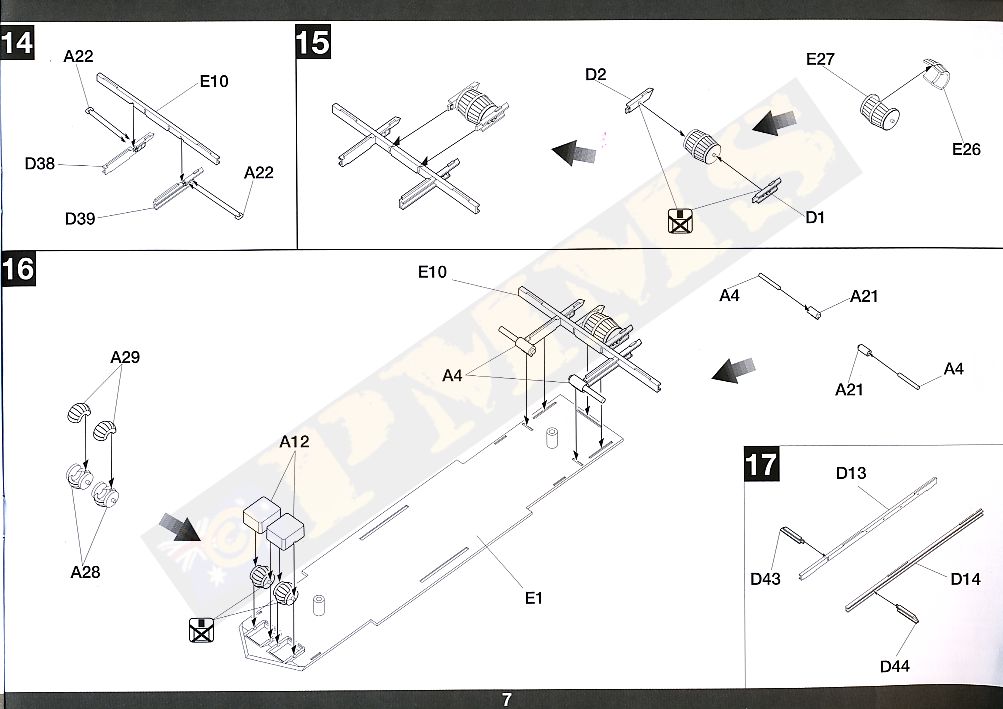
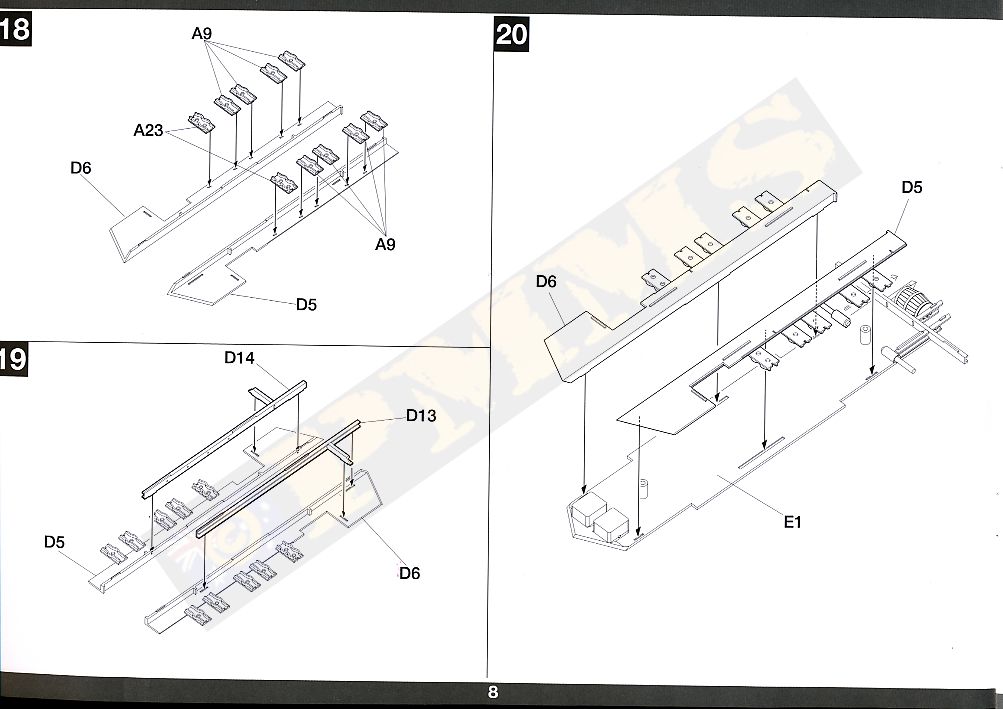
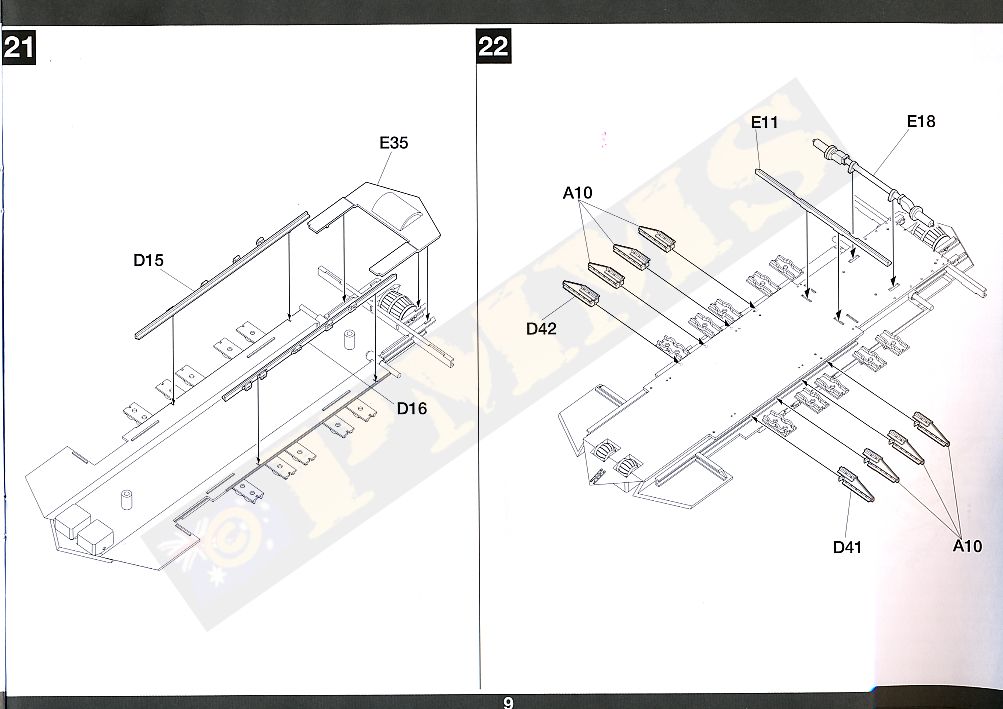
Instructions


Close new window to return to page
| Schneider CA
St. Chamond GUNpower 29 Published by AJ Press ISBN 978-83-7237-196-6 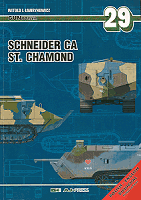 |
French Tanks of World War I Osprey New Vanguard 173 Steven J. Zaloga ISBN: 978 1 84603 513 5 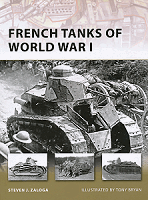 |
Thanks to my credit card and
 for
the review Kit.
for
the review Kit.